The Real Reason Your New Floor Leveler Is Chalky and How to Fix It
The Real Reason Your New Floor Leveler Is Chalky and How to Fix It
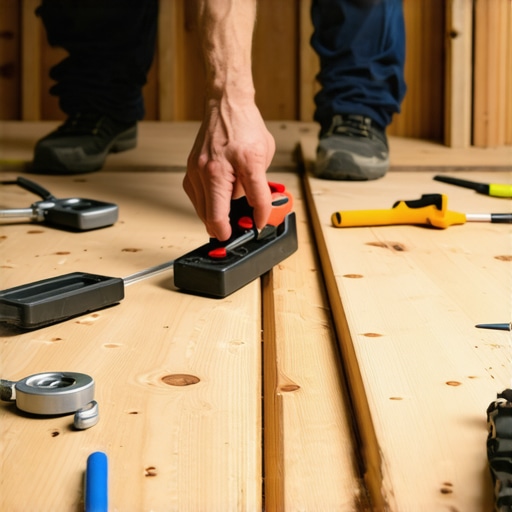
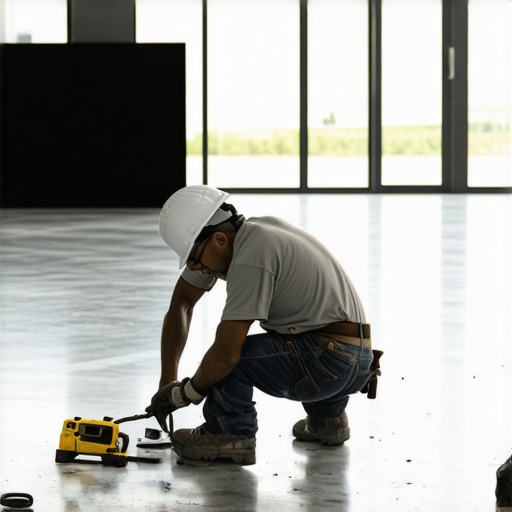
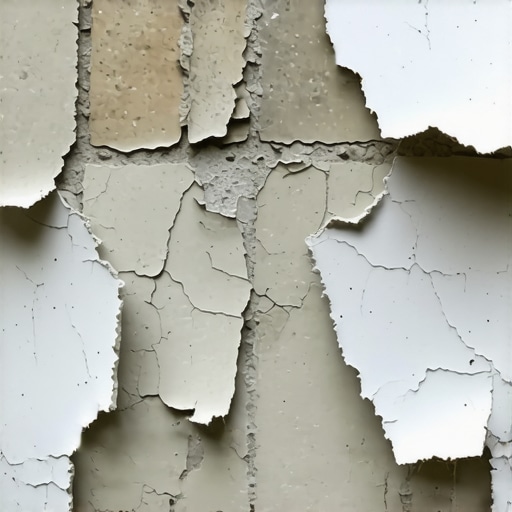
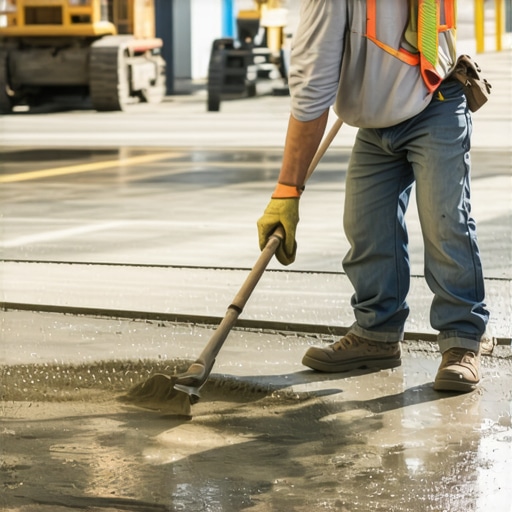
I spent three days grinding concrete on a job last month just so the floor wouldn’t click like a castanet. Most guys skip the leveling compound. They think the underlayment will hide the dip. It won’t. I walked onto a site where the previous installer poured three bags of self-leveling underlayment and walked away. When I arrived, the surface looked like a dried-out salt flat in the desert. You could scrape it with a fingernail and generate a cloud of white dust. This is the death of a flooring project. Whether you are prepping for a carpet install, laying down laminate, or setting up for showers, a chalky leveler is a structural failure waiting to happen. It is not a cosmetic issue. It is a chemical breakdown of the bond between the substrate and your finished surface.
The hydration betrayal
Self-leveling underlayment fails when the water ratio is ignored during the mixing process. If the mix is too thin, the polymers and binders separate from the aggregate. You end up with a weak, dusty surface that lacks structural integrity and prevents any flooring adhesive from bonding. This is chemistry, not magic. Most people treat a bag of leveler like a cake mix, thinking a little extra water will help it flow better. It is the opposite. When you over-water a calcium aluminate or Portland cement-based leveler, you trigger a process called laitance. The heaviest particles sink to the bottom, and the water, carrying the finest particles of cement and lime, rises to the top. When that water evaporates, it leaves behind a brittle, chalky film that has no strength. You cannot stick a floor to a cloud of dust. If you try to glue down a wood floor or even lay a floating laminate over this, the friction of walking will grind that chalk into a fine powder, creating a permanent crunching sound every time you take a step.
Why your primer is not a suggestion
Primer seals the pores of the concrete substrate to prevent pinholes and flash-drying. Without it, the dry slab sucks the moisture out of the wet leveler too fast, leading to a brittle finish. It is the most common mistake in residential floor leveling today. Think of your concrete slab like a giant, hard sponge. It is thirsty. If you pour wet leveler directly onto dry concrete, the slab immediately pulls the water out of the mix. This stops the chemical hydration process in its tracks. The leveler needs that water to build its crystalline structure. When the water is stolen by the subfloor, the leveler just dries out instead of curing. This results in a surface that looks solid but is actually a fragile crust. I always use a high-solids acrylic primer, sometimes two coats if the slab is particularly old and porous. You want that concrete to look wet and shiny before the leveler even touches it. If the primer sinks in and disappears, you are not ready to pour.
“A floor is only as good as the subfloor beneath it; deflection is the enemy of every joint.” – Master Flooring Axiom
The myth of the self-leveling floor
Gravity does the work but preparation does the heavy lifting for any subfloor. You cannot just pour it and walk away without mechanical agitation. A 1/8 inch dip can ruin a laminate install. The term self-leveling is a bit of a lie told by marketing departments. It should be called highly-flowable leveler. It still requires a human hand with a gauge rake to move the material into the corners and a spike roller to release the surface tension. If you leave it to its own devices, the surface tension of the water will cause the mix to mound in some areas and pull away from others. This creates uneven thickness. Thinner areas dry faster than thicker areas. This differential drying creates internal stress which can lead to the very chalking and cracking you are trying to avoid. I have seen guys pour leveler into a room and then go have lunch. They come back to a mess of ridges and dusty valleys. You have about a fifteen-minute window to get that material where it needs to go and break the bubbles with your roller.
| Factor | Correct Approach | The Result of Failure |
|---|---|---|
| Water Ratio | Measured to the ounce | Chalky laitance and weak surface |
| Mixing Speed | Low RPM (approx 650) | Air entrainment and pinholes |
| Primer Application | Two coats for porous slabs | De-lamination and flash-drying |
| Ambient Temp | 65 to 75 degrees Fahrenheit | Cracking and poor flow characteristics |
The physics of the bond breaker
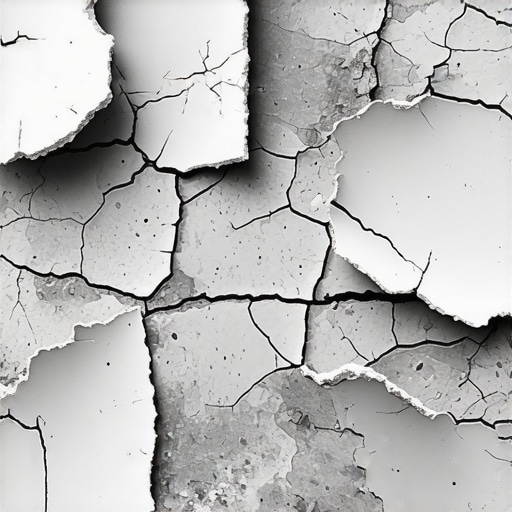
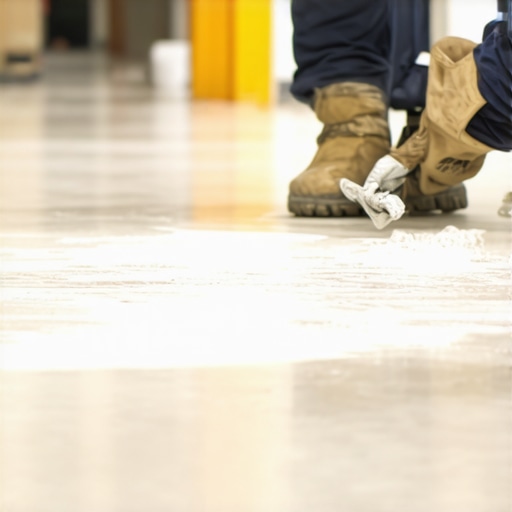
Contaminants on the subfloor act as a bond breaker between the leveler and the concrete. This includes drywall dust, overspray, and old adhesive residue. If you do not vacuum with a HEPA filter, your leveler will sit on top of the dust. This is why you see leveler peeling up in big sheets like a scab. I have walked into jobs where I could kick the leveler and it would slide across the floor. That is because the installer was too lazy to use a scraper and a vacuum. In the world of showers and high-moisture areas, this failure is even more catastrophic. If water vapor gets under a poorly bonded leveler, it will expand and contract, eventually pulverizing the leveler into a paste. You must get down to a clean, sound substrate. That means grinding off old paint and ensuring the concrete is rough enough to have some mechanical tooth. If the concrete is as smooth as a polished garage floor, the leveler has nothing to grab onto.
- Strip all old adhesive using a mechanical scraper or floor maintainer.
- Vacuum the entire surface twice to remove microscopic particles.
- Check the moisture vapor emission rate (MVER) of the slab.
- Apply the recommended primer and let it get tacky but not dry.
- Mix the leveler using cold, clean water to extend the working time.
- Pour in a continuous serpentine motion to maintain a wet edge.
Calculated measurements or inevitable failure
Precision in measuring water is the difference between a professional floor and a DIY disaster. A half-pint of extra water can lower the compressive strength of the leveler by 1,000 PSI. This is where the 25 years of experience comes in. I use a dedicated measuring bucket that is never used for anything else. I do not guess. I do not eyeball it. If the bag says 5.25 quarts, it gets exactly 5.25 quarts. If you over-water, you are effectively diluting the glue that holds the sand and cement together. The result is that white, chalky residue. If you find yourself with a chalky floor, you have two choices. You can try to save it with a deep-penetrating consolidator, which is an expensive liquid that tries to re-glue the particles together. Or, you can do what I do: grind it off and start over. It is painful, but it is the only way to sleep at night. A floor that is built on a foundation of chalk will eventually fail, and when it does, it will take the expensive laminate or hardwood with it.
“Failure to properly prime the substrate is the primary cause of secondary bond failure in cementitious underlayments.” – TCNA Handbook Standards
How to salvage a dusty disaster
Remediation of a chalky subfloor involves mechanical abrasion and the application of a high-solids primer. If the dust is only on the surface, you might be able to sand it back to a solid core. I use a floor buffer with a 60-grit screen. You run it over the surface until you hit the harder material beneath the laitance. Once you have cleared the dust, you vacuum it until you can wipe your hand across the floor and see no white residue. Then, you re-prime. If the leveler is chalky all the way through, there is no saving it. It has to come up. This usually happens when someone uses hot water to mix the leveler. Hot water makes the cement set too fast, preventing the crystals from interweaving. It creates a flash-set that is weak and brittle. Always use the coldest water available on the job site. If the house is under construction and the pipes are sitting in the sun, run the water until it is cool before you fill your buckets.
The hidden danger of the expansion gap
Expansion gaps at the perimeter are mandatory for self-leveling underlayment to handle thermal movement. If the leveler is poured tight against the drywall or sill plates, it will buckle or crack as the building moves. I use foam expansion strips around the entire perimeter. This creates a soft joint. Many installers think leveler is like concrete and does not move. It moves. It expands and contracts with the temperature of the house. If it has no room to go, it will exert pressure on itself, causing internal fractures that manifest as surface chalking and flaking. This is especially true over radiant heat systems. The constant cycling of heat causes the leveler to grow and shrink. If you have not prepared the perimeter, you are asking for a callback. Every 1/8 inch of movement matters in a large room. Proper engineering of the floor requires looking at it as a living system, not a static one. When you respect the physics of the material, you get a floor that lasts a lifetime. When you skip the details, you get a floor that turns to dust under your feet.