The Chalk Dust Test for Finding Low Spots
The average homeowner views a floor as a static surface, a decoration that simply sits there. To a professional with twenty five years of sawdust under his nails, a floor is a living, breathing structural assembly. Most guys skip the leveling compound. They think the underlayment will hide the dip. It won’t. I spent three days grinding concrete on a job last month just so the floor wouldn’t click like a castanet. I have seen fifteen thousand dollar wide plank walnut floors cup until they look like potato chips because the installer ignored the crawlspace humidity. The chalk dust test is the only thing that keeps you from that heartbreak. It reveals the lies your subfloor tells you before you lay a single plank of laminate or start a carpet install. You cannot trust your eyes. You have to trust the physics of the straightedge. A floor that is not flat is a floor that is destined for mechanical failure. We are talking about the integrity of locking joints and the chemical bond of adhesives. If you ignore a three sixteenths inch dip, the floor will deflect every time someone walks on it. That deflection fatigues the tongue and groove. Eventually, the joint snaps. Then you are looking at a full tear out. It is better to spend the time now with a bag of chalk and a grinder than to explain to a client why their new floor sounds like a drum kit three months later.
The physics of a flat plane
Floor leveling requires a tolerance of three sixteenths of an inch over a ten foot radius to prevent structural failure of the floor covering. This standard is not a suggestion. It is the boundary between a silent floor and one that squeaks. When we talk about the physics of a flat plane, we are discussing the distribution of weight across the substrate. In the world of laminate and LVP, the locking mechanism is the weakest point. These joints are often made of high density fiberboard or a composite stone core. They are rigid. If the subfloor has a valley, the plank will bridge that gap. Every step applies downward pressure that the joint was never designed to handle. Over time, the internal bond of the core material breaks down. You will see it first at the short ends of the planks. The gaps will start to open. Then the edges will start to chip. This is the result of vertical deflection. The chalk dust test identifies these valleys before they become a liability. We use a ten foot straightedge, usually a professional box beam level, to find where the substrate falls away from the plane.
Why your subfloor is lying to you
Subfloors often appear flat to the naked eye while hiding significant dips and ridges that exceed industry tolerances. Wood subfloors are prone to settling and joist shrinkage, while concrete slabs often have humps near the footer or depressions in the center of the pour. Even a new build is not immune. Builders are in a hurry. They nail down three quarter inch OSB and call it a day. But those sheets can swell at the edges if they get rained on during construction. That creates a peak at every seam. If you lay laminate over that, the floor will feel like a seesaw. Concrete is even more deceptive. As it cures, it loses water and shrinks. This shrinkage is rarely uniform. It creates a topography that would make a mountain range look smooth. You must evaluate the surface with mechanical precision. We look for high spots to grind and low spots to fill. This is the only way to ensure the long term stability of products like laminate or tile in showers. In wet areas, the subfloor must be even more precise to ensure proper drainage and the integrity of the waterproofing membrane.
“A floor is only as good as the subfloor beneath it; deflection is the enemy of every joint.” – Master Flooring Axiom
The chalk dust ritual
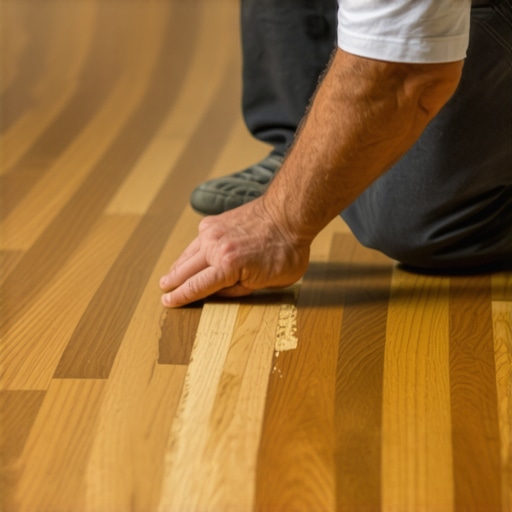
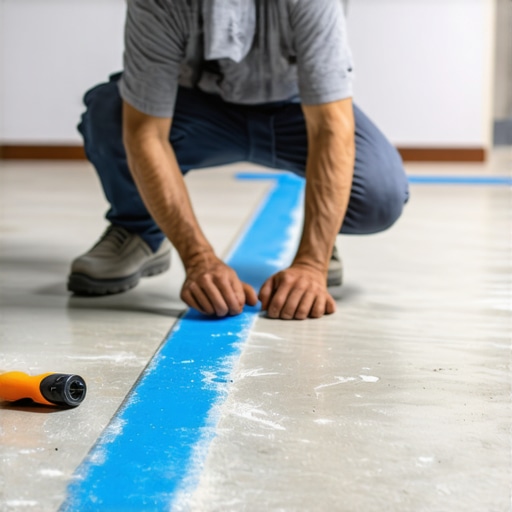
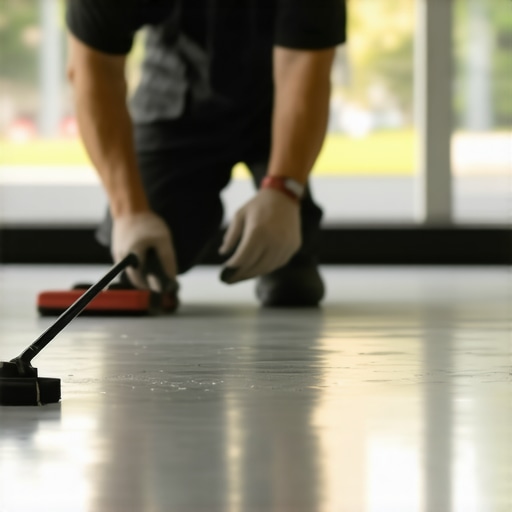
The chalk dust test involves dragging a straightedge across a dusted floor to reveal high and low spots via friction. This is the most honest test in the trade. First, you sweep the floor until it is hospital clean. Any debris will throw off your readings. You take a bottle of blue carpenter chalk, the kind you use for snap lines, and you dust the entire area. You are not looking for thick piles, just a light coating. Then you take your ten foot straightedge. You drag it slowly across the floor in a north to south direction, then again east to west. Where the straightedge hits the floor, it will scrape the chalk away. Those are your high spots. Where the chalk remains undisturbed, you have found a valley. These are the shadow zones. You circle them with a pencil. This map tells you exactly where you need to apply self leveling underlayment or where you need to get out the seven inch diamond cup wheel and start grinding. It takes time, but it saves the job. I have seen guys try to eyeball it. They always miss the three foot wide dip in the corner where the refrigerator goes. When the heavy appliance is installed, the floor bows and the baseboards look like they are floating.
| Floor Type | Tolerance (per 10ft) | Primary Failure Mode |
|---|---|---|
| Laminate | 1/8 inch | Locking joint fatigue |
| Engineered Wood | 3/16 inch | Delamination and Hollowing |
| LVP (Rigid Core) | 3/16 inch | End joint separation |
| Ceramic Tile | 1/8 inch | Lippage and cracking |
The science of leveling compounds
Self leveling underlayment is a high flow hydraulic cement that uses gravity to create a perfectly flat surface. It is not just watery concrete. These compounds are engineered with polymers and plasticizers that allow them to flow into the deepest parts of a low spot. They have a high compressive strength, often exceeding four thousand PSI. But they are temperamental. You have to prime the subfloor first. If you skip the primer, the thirsty wood or concrete will suck the water out of the leveling compound before it has a chance to flow. This results in a lumpy mess that is harder to fix than the original dip. You also have to watch the water ratio. Too much water and the aggregate settles to the bottom, leaving a weak, chalky surface that will crumble under your floor. Too little water and it will not level. It is a chemical balance. When used correctly, it creates a surface that is as flat as a billiard table. This is especially vital for a carpet install where a dip might not break the material, but it will create a visible pool of shadow that looks like a stain under certain lighting.
Laminate demands a perfect base
Laminate flooring is a floating system that relies on subfloor flatness to maintain the integrity of its locking mechanisms. Unlike glue down hardwood, laminate is not anchored. It moves as a single unit. This movement creates air pressure. If there is a void beneath the plank, that air has nowhere to go. It compresses and then expands as you walk. This is what creates that hollow, clicking sound. Many people think a thick underlayment will fix this. That is a myth. In fact, too much cushion actually causes the locking mechanisms on LVP or laminate to snap under pressure because it allows for too much vertical movement. You want a thin, high density underlayment and a flat subfloor. The chalk dust test ensures that the laminate sits flush against the substrate. This eliminates the bellows effect and makes the floor feel solid underfoot, almost like a real hardwood floor. If you have a low spot in the middle of a hallway, every person who walks through will feel the floor give way. It creates a sense of insecurity in the home’s construction.
The moisture trap in showers
Floor leveling in showers is a matter of both structural integrity and water management to prevent mold and rot. When we talk about showers, we are following the TCNA standards. The floor must be sloped toward the drain, but it must be flat within that slope. If you have a dip in a shower floor, water will pool there under the tile. It cannot reach the drain. Even with a waterproof membrane, standing water is a recipe for disaster. It leads to efflorescence, which is that white crusty stuff that grows in your grout lines. It also puts a strain on the thinset bond. The chalk dust test is harder to do on a sloped surface, but you can use a smaller straightedge to ensure there are no birdbaths in the mud bed. You are looking for a consistent plane. If you are doing a curbless entry, the transition between the bathroom floor and the shower must be perfect. Any height deviation will cause the tile to kick up, creating a trip hazard and a point where the waterproofing can fail.
“Subsurface preparation is the most overlooked phase of tile installation; eighty percent of failures start at the floor line.” – TCNA Field Manual
Carpet hides the sins of the builder
A carpet install may mask minor subfloor imperfections, but deep valleys will eventually cause visible wear patterns and furniture instability. Builders love carpet because it is forgiving. You can have a half inch dip in the middle of a room and the carpet will bridge it. But the homeowner will notice it the first time they try to place a bookshelf or a dresser. The piece will lean at a precarious angle. Over time, the carpet fibers in that low spot will wear differently because they are being stretched into the void. This creates a permanent dark spot. If you are replacing carpet with a hard surface, you must go through the leveling process. You cannot assume the floor is fine just because the carpet looked okay. The chalk dust test will show you the truth that the padding was hiding. Every carpet install should start with a check of the subfloor, especially if the house is older and the joists have had time to settle. A quick application of a floor patch can make the difference between a professional finish and a sloppy one.
The final check for a silent floor
- Sweep the substrate clean of all construction debris to ensure the straightedge sits flush.
- Check for bond breaking chemicals like sealers or oil that might prevent leveler adhesion.
- Identify the highest point in the room using a laser level as your primary benchmark.
- Execute the chalk dust drag in a grid pattern across the entire room.
- Circle the shadow zones where the chalk remains untouched and measure their depth.
- Prime the subfloor before applying any cementitious leveling compounds.
- Allow for full cure time based on the humidity and temperature of the job site.
The success of your flooring project depends on the work you do before the first box is opened. The chemical cure of the leveler and the mechanical bond of the adhesive are the silent partners in a quality installation. Do not rush the preparation. If you find a low spot, fix it. If you find a hump, grind it. The goal is a floor that doesn’t just look good on day one, but stays quiet and solid for thirty years. Once you see the chalk patterns on the floor, you cannot unsee them. They are a roadmap to a better installation. Professionalism is found in the details that the client will never see, like the flat slab hidden beneath the beautiful planks. Taking the time to master the chalk dust test is what separates a floor layer from a master floor architect. Your knees will hurt and the dust will be everywhere, but the result is a surface that stands the test of time. Acclimate your materials, check your moisture levels, and never trust a subfloor that hasn’t been tested. The air in the room should smell like clean wood and success, not the damp scent of a failing foundation.