Why Your Floor Leveler Is Peeling Up in Large Sheets From the Concrete
The physics of subfloor failure
Most guys skip the leveling compound. They think the underlayment will hide the dip. It won’t. I spent three days grinding concrete on a job last month just so the floor wouldn’t click like a castanet. That job was a rescue mission. The previous crew had poured five hundred pounds of self-leveling underlayment (SLU) and within a week, the homeowner could hear it crunching under her feet. When I got there, I could slide a putty knife under the edge and peel up a three-foot section like it was a piece of stale pita bread. It is a sickening feeling to see a thousand dollars of material and labor turn into rubble. This happens because of a total disregard for the microscopic reality of concrete. Concrete is not just a hard gray slab. It is a breathing, porous, chemically active substrate that will reject anything you put on top of it if you do not respect the physics of the bond.
The failure of chemical adhesion
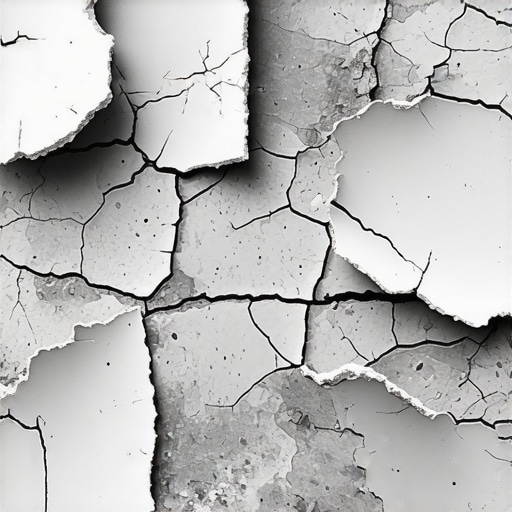
Floor leveler peels in sheets because the bond between the cementitious underlayment and the concrete substrate failed due to improper surface preparation, laitance, or moisture vapor pressure. This physical separation occurs when the leveler cannot grab onto a porous, clean surface, leading to a total delamination of the material. You cannot simply pour a liquid over a dusty floor and expect it to stay. It will fail every single time. It will buckle. It will crack. It will cost you. The chemistry of the bond requires the leveler to penetrate the pores of the concrete. If those pores are clogged with sealers, paint, or construction dust, the leveler just sits on top like water on a waxed car. Eventually, the internal stresses of the drying leveler pull it away from the floor. Since the leveler has high cohesive strength but zero adhesive grip on the slab, it comes up in those giant, heartbreaking sheets.
What you didn’t see on the surface
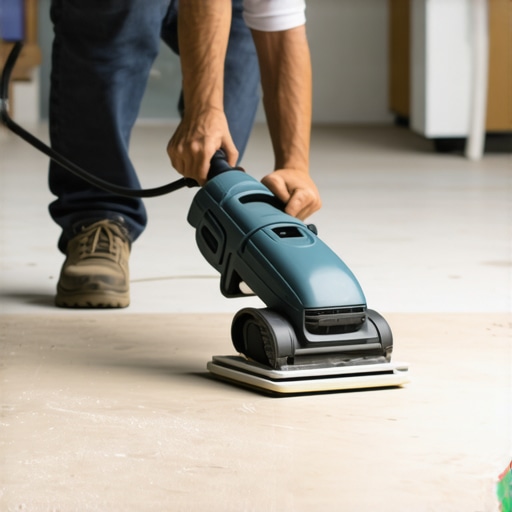
Laitance is a weak, milky layer of cement and fine aggregates that rises to the surface of concrete during the pouring process. This layer is structurally unsound and provides a false surface for the leveler to bond with. If you do not remove it, you are bonding your expensive leveler to a layer of dust that is barely holding onto the slab. To the untrained eye, the floor looks fine. To a pro, it looks like a disaster waiting to happen. You have to perform a scratch test. Take a nail and drag it across the surface. If it leaves a deep white mark or crumbles the top layer, you have laitance. You need to get a diamond grinder. There is no shortcut. I have seen guys try to use a pressure washer in a basement to clean it. That just adds more moisture to the problem. You need mechanical abrasion to get down to the aggregate. This is what we call the Concrete Surface Profile or CSP. For most self-leveling applications, you need a CSP of 3, which feels roughly like 60-grit sandpaper.
“A floor is only as good as the subfloor beneath it; deflection is the enemy of every joint.” – Master Flooring Axiom
The invisible force pushing back
Moisture vapor emission rate or MVER measures the amount of water vapor escaping from a concrete slab over time. High MVER levels create hydrostatic pressure that pushes against the bottom of the leveler, eventually snapping the bond and causing the sheets to lift. This is common in slabs on grade where a vapor barrier was never installed. You might think the concrete is dry because it is twenty years old. You are wrong. Concrete is a sponge. It pulls moisture from the earth. If you seal the top of that sponge with a leveler and then a non-porous floor like laminate or LVP, the moisture has nowhere to go. It pools at the interface. It softens the leveler. It destroys the primer. Before you pour a single bag, you need to run a calcium chloride test or use an in-situ probe to check the relative humidity inside the slab. If your RH is over eighty-five percent, you need a moisture mitigation system, not just a bucket of primer.
Why your primer was a suggestion not a solution
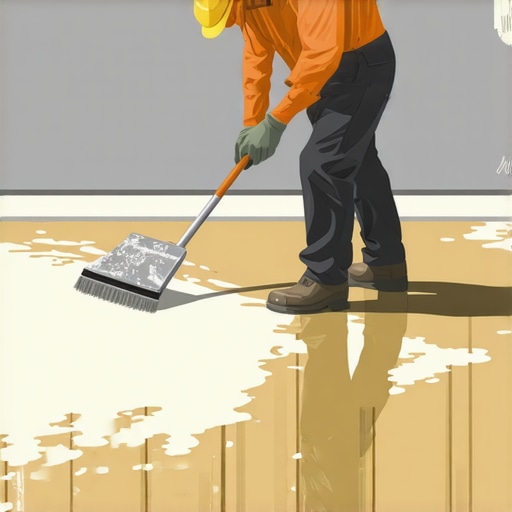
Primer acts as the bridge between the thirsty concrete and the wet leveler, preventing the concrete from sucking the water out of the mix too fast. If the concrete steals the water from the leveler, the leveler will not hydrate properly and will turn into a brittle shell that peels away. Many installers treat primer like an afterthought. They dilute it too much or they don’t scrub it into the pores. I use a stiff-bristled broom. I want to see bubbles. I want to know that primer is getting deep into the capillaries of the concrete. You also have to watch the clock. If you wait twenty-four hours after priming, the primer has likely picked up enough jobsite dust to act as a bond-breaker. You have a window. Usually it is between one and four hours depending on the humidity. If you miss that window, you are just pouring money down the drain. The leveler will lose its struggle for moisture and it will shrink at a different rate than the slab, causing it to curl at the edges and pop off.
Technical Specifications for Subfloor Preparation
| Substrate Condition | Required Action | Target CSP Rating |
|---|---|---|
| New Concrete (Smooth) | Mechanical Grinding | CSP 2 to 3 |
| Old Concrete (Painted) | Shot Blasting | CSP 3 to 4 |
| Porous Concrete | Double Priming | CSP 1 to 2 |
| Laitance Present | Diamond Grinding | CSP 3 |
The 1/8 inch that ruins everything
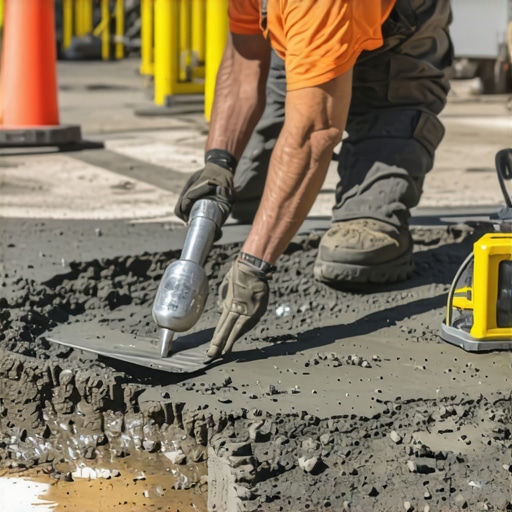
The thickness of your pour dictates the amount of tension the leveler will exert on the bond as it undergoes the curing process. A thin skim coat of leveler is actually more likely to peel than a thick pour because it lacks the mass to resist the curling forces of the polymers. When we talk about showers or laminate installs, the tolerance is tight. Most manufacturers want the floor flat to within one-eighth of an inch over a ten-foot radius. To get there, people try to feather the leveler out to nothing at the edges. Those thin edges are the first place the peeling starts. Once a small corner lifts, the rest follows like a zipper. This is why I always over-prep the edges. I want the leveler to have a clean, deep channel to bite into. If I am going over a joint, I make sure that joint is treated with a mesh tape or a flexible filler. If the slab moves and your leveler is bonded across a crack, the leveler is going to lose that fight. It will crack and then it will peel.
Atmospheric interference in your living room
Temperature and humidity at the time of the pour can radically alter the chemical cross-linking of the self-leveling underlayment. If the room is too hot, the water evaporates before the chemical bond can form, leading to a chalky underside that cannot hold onto the primer. I have worked in houses where the HVAC was turned off in the middle of a Georgia summer. The floor was ninety degrees. The leveler flash-dried in ten minutes. It looked okay on top, but a week later when we started the carpet install, the tack strips just pulled the leveler right off the floor. You need a controlled environment. Keep the house between sixty-five and seventy-five degrees. Turn off the floor heaters. Cover the windows so the sun doesn’t bake specific spots of the wet pour. These small details are the difference between a floor that lasts fifty years and a floor that fails in fifty days.
“Ensure the substrate is free of all contaminants including oil, grease, wax, and old adhesive residues which act as bond breakers.” – TCNA Handbook Standards
- Sweep and vacuum the floor twice to remove all micro-dust.
- Perform a water drop test to check for sealers or wax.
- Grind the surface to a CSP 3 profile using a diamond blade.
- Apply the manufacturer-specific primer using a soft-bristle broom.
- Allow the primer to become tacky but not dry to the touch.
- Mix the leveler with the exact amount of water specified by the bag.
- Protect the pour from drafts and direct sunlight for twenty-four hours.
Grinding your way to success
Restoring a failed floor requires the total mechanical removal of the old leveler and the surface layer of the concrete to reach a clean substrate. There is no chemical that will fix a bad bond. You have to get the big grinders out. This is a dusty, miserable job, but it is the only way to ensure the next pour stays down. When I see a floor peeling in sheets, I don’t try to patch it. I rip it all up. I want to see the original concrete. I want to see that the pores are open. If you are doing a carpet install or putting down laminate, you might be tempted to just fill the holes where the leveler popped out. Don’t do it. The rest of that leveler is just waiting for the weight of your furniture to snap it loose. Do it right or don’t do it at all. Leveling is a structural engineering task disguised as a flooring prep job. If you treat it with the respect it deserves, your floor will be as solid as a rock. If you take shortcuts, you will be peeling up your investment in sheets before the month is out. It is that simple. There are no shortcuts in subfloor prep. Physics always wins.