How to Level a Concrete Floor for Large Format Tile Installation
The subfloor secret that prevents tile failure
Most guys skip the leveling compound. They think the underlayment will hide the dip. It won’t. I spent three days grinding concrete on a job last month just so the floor wouldn’t click like a castanet. I walked into a luxury bathroom remodel where the previous crew had tried to set thirty-six inch porcelain planks over a slab that looked like the rolling hills of Kentucky. The lippage was so severe you could trip over the tile edges in the dark. Large format tile is unforgiving. It has zero flex. If your concrete substrate has a hump or a valley, the tile will either bridge the gap and eventually crack under point loads or it will sit at an angle that creates a sharp edge at every joint. This is not about aesthetics. This is about structural integrity and the physics of weight distribution across a rigid surface. I had to rip out four hundred square feet of expensive Italian porcelain because the installer thought a bit of extra thin-set would fix a half-inch dip. It never does. We spent a week remediating that slab with diamond grinders and high-flow self-leveling underlayment. That is the price of trying to cheat the subfloor.
The one eighth inch that ruins everything
Large format tile requires a subfloor flatness of 1/8 inch in 10 feet to meet ANSI A108.02 standards and prevent lippage. This measurement is non-negotiable for any tile where at least one edge is fifteen inches or longer. When you work with smaller tiles, the frequent grout lines allow for slight adjustments to the plane. With large slabs, those adjustments are impossible. You are essentially trying to place a perfectly flat piece of glass onto a curved surface. If the substrate deviates more than the allowed tolerance, the corners of the tile will not align. This creates a trip hazard and an eyesore. It also stresses the bond between the mortar and the tile.
“A floor is only as good as the subfloor beneath it; deflection is the enemy of every joint.” – Master Flooring Axiom
Physics of the concrete slab and moisture vapor
Concrete slabs act like sponges that breathe moisture vapor through capillary action which can destabilize thin-set mortar and self-leveling compounds. You cannot just pour leveler onto old concrete and expect it to stay. You must understand the chemistry of the bond. Concrete is a porous material. If you do not seal those pores with a high-quality primer before leveling, the dry concrete will suck the water out of your leveling compound too fast. This ruins the hydration process. The leveler will become brittle and dusty. It will eventually delaminate from the slab. I always use a moisture meter to check the calcium chloride levels or the relative humidity inside the slab before I even open a bag of leveler. If the moisture emission is too high, you need a vapor barrier. Without it, the hydrostatic pressure will push the floor right off the ground. This is especially vital in basements or slabs on grade where ground water is a constant threat.
Tools of the trade for precision grinding
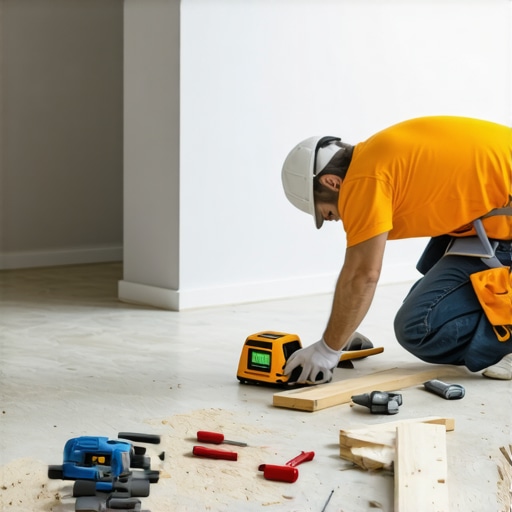
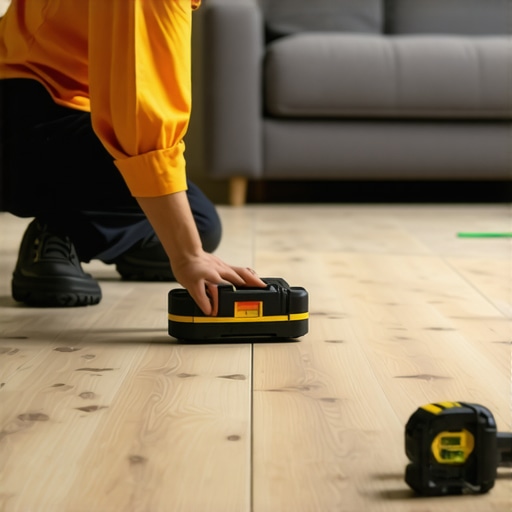
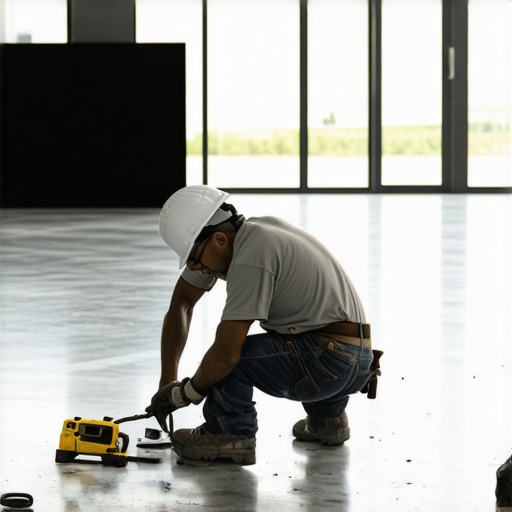
Diamond cup wheels and HEPA-filtered dust extractors are the primary tools for mechanical profiling of a concrete substrate to ensure adhesion. You cannot level a floor until you have addressed the high spots. I start every job with a ten-foot magnesium straightedge. I slide it across the floor to find the peaks. These peaks must be ground down. I use a seven-inch angle grinder equipped with a turbo row diamond cup wheel. The goal is to reach a concrete surface profile of two or three. This feels like medium-grit sandpaper. It gives the primer and the leveler something to bite into. If the concrete is power-troweled and smooth as glass, nothing will stick to it. You are wasting your time and your client’s money.
Self leveling underlayment chemistry and flow rates
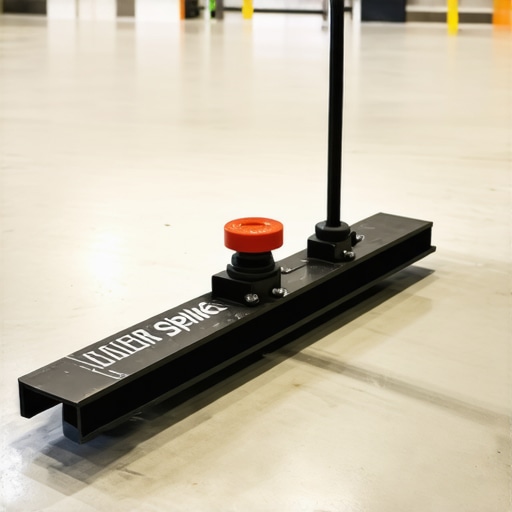
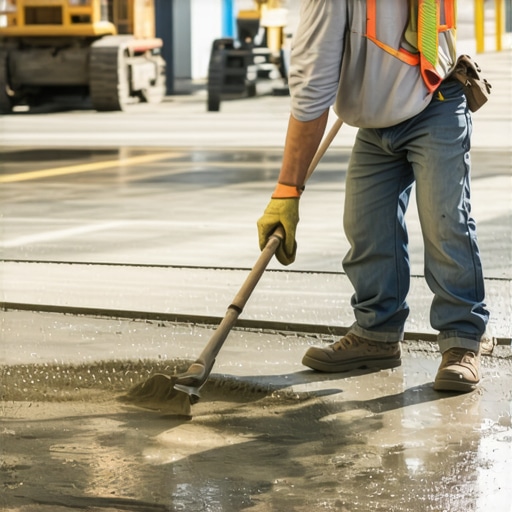
Self-leveling underlayment is a polymer-modified cement designed to achieve compressive strength of over 4,000 PSI while maintaining a liquid viscosity for a flat finish. People think it levels itself. It does not. It is a managed pour. You need a spiked roller to release entrapped air. You need a gauge rake to set the depth. The chemistry of these products is fascinating. They contain super-plasticizers that keep the mix fluid with minimal water. If you add too much water, you ruin the cross-linking of the polymers. The floor will look flat but it will have the structural strength of a saltine cracker. I mix two bags at a time in a specialized barrel to ensure a continuous wet edge. If you stop for five minutes, the first pour starts to set and you get a cold joint. That joint will show up in your tile work.
The moisture barrier requirement for showers
Waterproof membranes and moisture barriers must be integrated into the floor leveling process when preparing walk-in showers for large format tile. While the main floor needs to be flat, a shower floor needs a precise slope. This is where the skill really shows. You are transitioning from a dead-level room to a sloped drainage area. Many installers try to use leveler in the shower. This is a mistake. You need a dry-pack mortar bed for the slope, but the perimeter where it meets the level floor must be perfectly flush. I use a liquid-applied membrane over the entire leveled surface once it is dry. This prevents any moisture from the shower from wicking into the leveling compound under the main floor.
Comparison of subfloor leveling materials
| Material Type | Max Thickness | Drying Time | Compressive Strength |
|---|---|---|---|
| Self-Leveling Underlayment | 5 inches | 4-24 hours | 5000 PSI |
| Patching Compound | 1/2 inch | 90 minutes | 3500 PSI |
| Dry-Pack Mortar | Any | 24-72 hours | 2500 PSI |
| Thin-set Mortar | 3/16 inch | 24 hours | 2000 PSI |
Checklist for successful concrete preparation
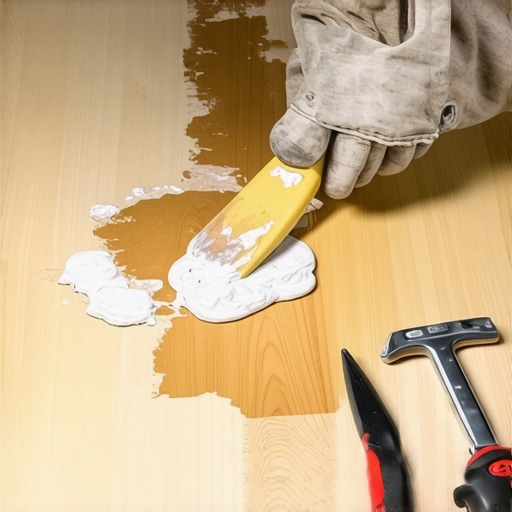
- Clear the room and scrape off all drywall mud or paint overspray.
- Perform a water bead test to check for existing sealers or waxes.
- Grind down all high spots using a diamond cup wheel.
- Vacuum the entire surface with a HEPA vacuum to remove all micro-dust.
- Apply the manufacturer-recommended primer with a soft-bristle brush.
- Plug all floor vents and seal the perimeter with foam weatherstripping.
- Mix the leveling compound with a high-torque drill to avoid air bubbles.
- Use a spiked roller immediately after pouring to eliminate pinholes.
Large format tile versus the humped slab
Large format porcelain has a modulus of rupture that cannot withstand the tensile stress caused by a humped concrete slab. When a heavy person walks over a tile that is bridging a dip, the tile flexes. Porcelain does not like to flex. It cracks. Usually, the crack starts at the grout line and telegraphs through the center of the tile. This is why I refuse to install over a subfloor I haven’t leveled myself. People want the look of a seamless floor without the cost of the prep. It is impossible. I have seen laminate floors bounce and carpet installs feel like walking on a sponge because the concrete underneath was a mess. But with tile, the failure is permanent and expensive.
“Lippage is not a cosmetic flaw; it is a failure of the installer to respect the geometry of the material.” – TCNA Handbook Commentary
The ghost in the expansion gap
Perimeter expansion gaps are essential for large format tile because concrete slabs and tile bodies expand and contract at different thermal rates. If you run your leveler and your tile tight against the wall, the floor will eventually tent. It will lift off the ground in the center of the room. I leave a quarter-inch gap at every vertical obstruction. I fill that gap with a 100 percent silicone sealant, never grout. Grout is rigid. Silicone is flexible. This allows the entire floor assembly to move as one unit. This is especially true if you have radiant heat. The heat will expand the slab and the tile. If there is no place for that energy to go, the floor will destroy itself.
The reality of thin-set coverage
Large format tile mortar must be applied with a half-inch square-notch trowel to ensure 95 percent coverage and eliminate hollow spots. Even with a level floor, your technique matters. You must back-butter every single tile. This means applying a thin layer of mortar to the back of the tile before setting it into the combed bed on the floor. This ensures a mechanical bond. If you just drop a large tile onto the ridges, you will only get fifty percent coverage. That tile will eventually come loose. It will sound hollow when you walk on it. Eventually, it will crack. I use a vibration tool on larger slabs to help settle the tile into the mortar. It is the only way to be sure there are no air pockets left underneath.
Final verification of the surface
Straightedge verification and feeler gauges are the final steps to confirm the floor leveling meets the 1/8 inch tolerance. Before the first tile goes down, I walk the floor with my straightedge one last time. I look for any light passing under the bar. If I see a gap, I mark it. I might need a feather finish patch to smooth out a minor transition. It is about precision. It is about pride in the work. A perfectly leveled floor makes the tile installation go twice as fast. The tiles just fall into place. The grout lines stay straight. The client gets a floor that lasts fifty years instead of five. Skip the prep and you are just planning for a failure. Take the time to grind, prime, and level. Your knees and your reputation will thank you.