The primer you must use before leveling concrete floors
The hidden failure at the slab surface
The primer you must use before leveling concrete floors is a high-performance acrylic polymer bonding agent or a two-component epoxy primer designed specifically for floor leveling. This liquid layer serves as a molecular bridge between the porous concrete and the self-leveling underlayment to prevent delamination and cracking during your carpet install or laminate project.
Most guys skip the leveling compound. They think the underlayment will hide the dip. It won’t. I spent three days grinding concrete on a job last month just so the floor wouldn’t click like a castanet. The client had a beautiful new slab, or so they thought, but the previous crew had finished it with a steel trowel until it was as smooth as a skating rink. I knew the second I walked in that no leveler would stick to that without a fight. If you do not prep the surface and apply the right primer, you are essentially pouring money into a hole that will eventually pop up and ruin your entire showers renovation or living room floor. Concrete looks solid, but under a microscope, it is a forest of peaks and valleys. If you do not treat those valleys, they trap air. That air wants to get out. When you pour your leveler, that air travels up, creating thousands of tiny pinholes. These pinholes weaken the entire structure of the floor, leading to a brittle surface that will crumble under the weight of your furniture.
Why your subfloor is lying to you
Subfloor preparation requires more than a quick sweep because concrete porosity varies wildly across a single room. You must identify if your slab is absorbent or non-absorbent to choose the correct floor leveling primer that will ensure a permanent bond and prevent moisture vapor issues. I have seen slabs that look bone dry on top but are holding a 95 percent relative humidity level just two inches down. If you do not use a primer that acts as a moisture mitigate, that water will eventually push the leveler right off the floor. I once saw a 15000 dollar wide plank walnut floor look like a potato chip because the installer ignored the slab chemistry. It is not just about levelness, it is about the physics of adhesion. You are fighting against the natural tendency of cementitious products to shrink as they cure. Without a primer to hold the leveler in place, that shrinkage will pull the leveler away from the concrete, creating a hollow sound that will haunt you every time you walk across the room.
“A floor is only as good as the subfloor beneath it, deflection is the enemy of every joint.” – Master Flooring Axiom
The molecular bridge between concrete and compound
Acrylic primers function by using suspended polymer particles that penetrate the interstitial spaces of the concrete matrix to create a mechanical and chemical bond. This process requires a clean substrate free of curing compounds, oils, and dust to ensure the surface profile is ready for the leveler application. When the water in the primer evaporates, these polymer chains link together, forming a film that is both flexible and incredibly strong. This film seals the pores of the concrete. Think of it like a primer on a car or a piece of wood. If the paint does not bite into the surface, it just sits on top. In flooring, we need that bite to be deep. If the concrete is too dense, the primer will just sit on the surface like a puddle. That is why we use different dilution ratios. For a very porous slab, you might go 1 to 1 with water. For a dense slab, you use it straight up. You are looking for that perfect balance where the primer is absorbed but still leaves a tacky film on top.
[image placeholder]
The physics of pinholes and air bubbles
Pinholing in self-leveling underlayment occurs when air escapes the concrete slab and moves through the wet compound, which can be prevented by a double coat of primer. These tiny craters are not just cosmetic, they are structural weaknesses that can cause the locking mechanisms of laminate to fail over time due to subfloor deflection. Every one of those bubbles is a void. A void is a place where there is no support. If you have a heavy kitchen island sitting over a cluster of pinholes, the leveler will eventually crush under the weight. This is especially dangerous with modern thin-profile floors. You might think you can just skim over them, but the damage is done. The primer prevents this by sealing those micro-passages. It is like putting a lid on a jar. The air stays put, and the leveler can flow smoothly over the top, resulting in a glass-like finish that is ready for any floor covering.
Acrylic vs Epoxy the battle for your slab
Epoxy primers with sand broadcast are the gold standard for non-porous surfaces or slabs with high moisture vapor emission rates. While acrylic primers are easier to apply for standard carpet install prep, epoxy provides a chemically resistant barrier that is necessary for industrial-grade flooring or 0.125 inch tolerances. Most homeowners and DIYers reach for the cheap acrylic jug at the big box store. That is a mistake if you are dealing with an old slab that has oil stains or adhesive residue. Acrylic primer will not bond to that. You need the brute force of an epoxy. The epoxy sticks to almost anything, and the sand you throw into the wet epoxy provides the mechanical tooth for the leveler to grab onto. It is a more expensive process, but it is the only way to guarantee a bond on a difficult substrate.
Comparison of Primer Performance Standards
| Primer Type | Drying Time | Best Use Case | Bond Strength |
|---|---|---|---|
| Acrylic Latex | 1-3 Hours | Porous Concrete | Moderate |
| High-Solids Acrylic | 2-4 Hours | Wood or Plywood | High |
| Two-Part Epoxy | 12-24 Hours | Non-Porous Slab | Extreme |
| Polyurethane | 4-6 Hours | Radiant Heat Slabs | High |
Why the shop vacuum is your best friend
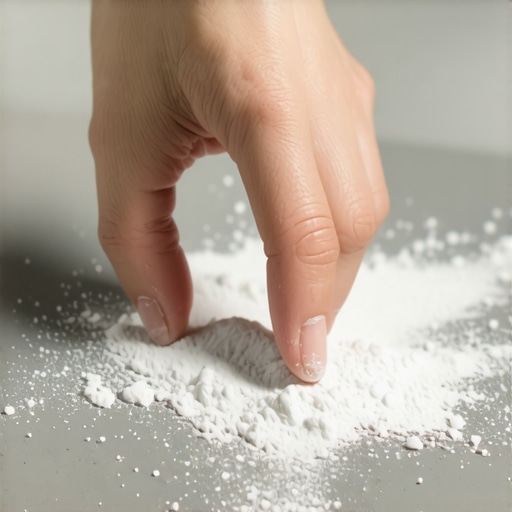
Dust is the ultimate bond breaker in any floor leveling scenario, making a HEPA-filtered shop vacuum the most important tool in your arsenal. Even a microscopic layer of concrete dust will prevent the primer from reaching the slab, leading to a bond failure that will ruin your laminate or showers tile installation. You cannot just sweep. Sweeping just moves the dust around and pushes it deeper into the pores. You need suction. I have seen guys spend hours grinding a floor only to ruin it by not vacuuming properly. They pour the primer, it looks good, but it is actually just floating on a layer of fine white powder. When the leveler dries and starts to pull, it just lifts that dust right off the floor. I always vacuum twice. Once before I start my layout, and once more right before the primer hits the floor. It is the only way to be sure.
The ghost in the expansion gap
Expansion joints and perimeters must be treated with foam weatherstripping before priming to ensure the self-leveling underlayment does not flow into areas where the building needs to move. Failure to maintain these structural gaps will cause the floor to heave and buckle as temperatures change, regardless of how well you primed the concrete. The floor needs to breathe. Concrete and wood and vinyl all expand and contract at different rates. If you pour your leveler right up against the drywall and into the expansion cracks, you have effectively turned your floor into a giant, rigid plate. When the house settles or the humidity changes, that plate has nowhere to go but up. I have seen laminate floors tent three inches off the ground because some installer forgot to use a foam dam. The primer should stop at the dam, and the leveler should follow suit.
Porosity tests that save your reputation
The water droplet test is a simple way to determine if your concrete is porous enough for a standard acrylic primer or if it requires diamond grinding. If the water beads up and does not soak in within 60 seconds, your slab is sealed or contaminated, and your floor leveling project will fail without mechanical intervention. This is the first thing I do on every job. I take a bottle of water and flick a few drops around the room. If it stays as a bead, I know I am in for a long day of grinding. If it soaks in and turns the concrete dark, I know the primer will do its job. It is a simple test that takes ten seconds but can save you ten thousand dollars in replacement costs. Do not trust your eyes. A slab can look porous but be covered in a clear curing agent that is invisible to the naked eye.
“Concrete shall be dry, clean and structurally sound before any primer application to prevent bond failure.” – TCNA Handbook
The Professional Priming Checklist
- Test the slab for moisture using a calcium chloride kit or RH probe.
- Perform the water droplet test in multiple areas of the room.
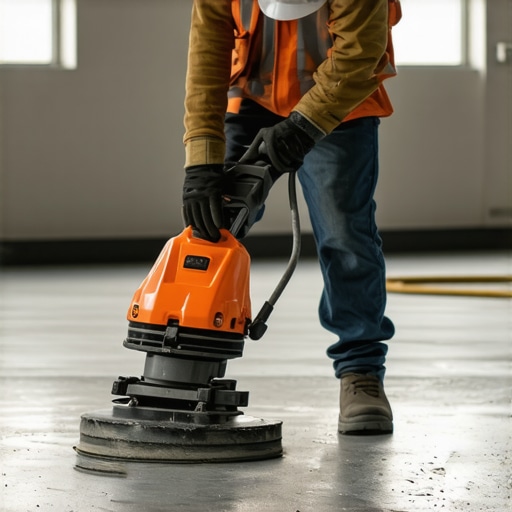
- Grind the surface to a CSP 2 or 3 profile if the slab is non-absorbent.
- Vacuum the entire area with a HEPA-filtered vacuum twice.
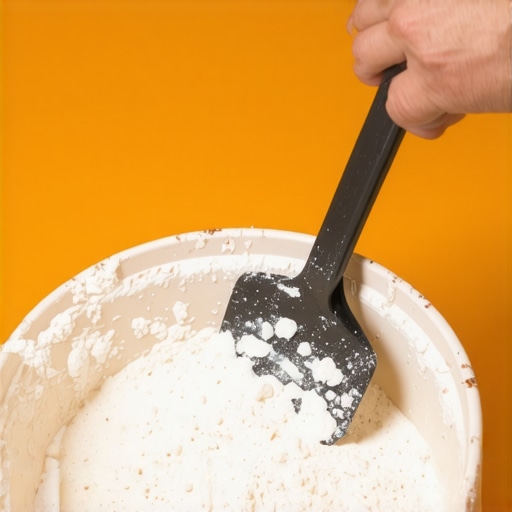
- Dilute the acrylic primer according to the manufacturer specifications for your slab type.
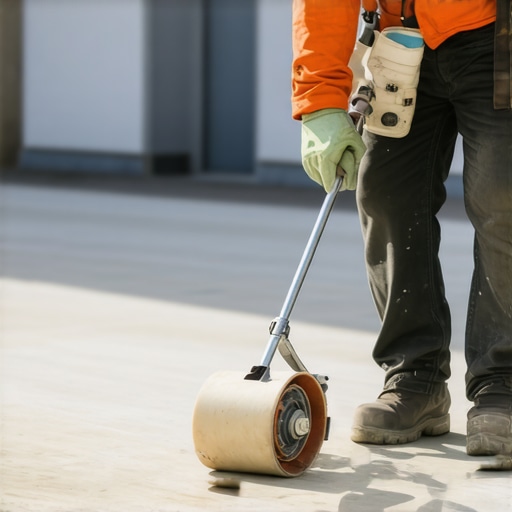
- Apply the primer using a soft bristle broom or a 3/8 inch nap roller.
- Avoid leaving puddles or dry spots on the surface.
- Allow the primer to dry to a tacky, translucent film before pouring leveler.
The moisture barrier myth
Standard primers are not moisture barriers and will not protect your carpet install or laminate from hydrostatic pressure unless they are specifically rated as Vapor Emission Control Systems. While most people want the thickest underlayment, too much cushion actually causes the locking mechanisms on LVP to snap under pressure, and similarly, thinking a thin coat of primer stops water is a dangerous assumption. If you have a moisture problem, you need a dedicated moisture mitigation system. A standard acrylic primer is breathable. It allows vapor to pass through. This is good for the leveler, but bad for a moisture sensitive floor. If your slab is pushing more than 3 pounds of moisture per 1000 square feet, you need an epoxy moisture barrier. Anything less is just a prayer that will not be answered when the rainy season hits and your floors start to smell like a swamp.
Professional steps for a perfect bond
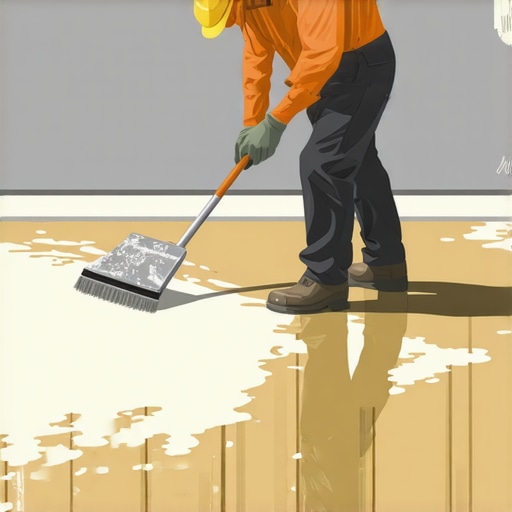
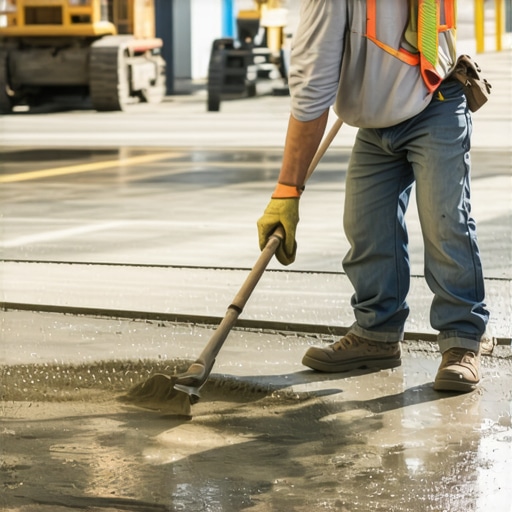
Applying primer for floor leveling should always be done with a soft-bristle push broom to work the liquid into the concrete pores rather than just letting it sit on the surface. This mechanical action ensures the polymer chains are deeply embedded, providing the tensile strength needed to hold the self-leveling compound in place during the high-stress curing phase. I always start in the far corner and work my way toward the exit. I scrub the primer into the floor. I do not just roll it on like paint. I want to see it foaming slightly as it hits the concrete. That tells me it is getting into those nooks and crannies. If you see it puddling, move it around. You want a uniform, thin coat. If it dries too fast, the concrete was too thirsty, and you might need a second coat. The goal is a surface that looks like it has been licked by a giant tongue, slightly glossy and very tacky. Once you have that, you are ready to pour the best floor of your life. “