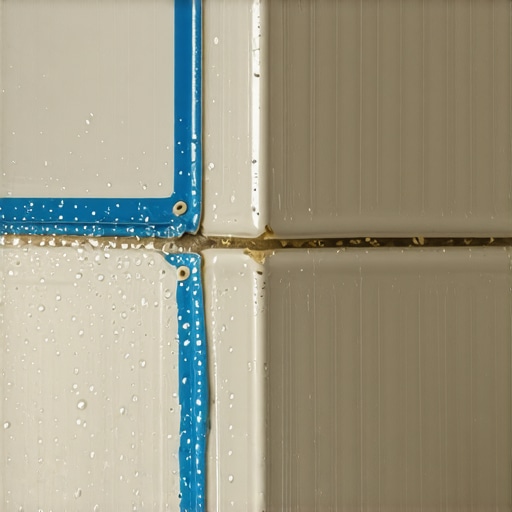
The ‘Mist Test’ for Verifying Your Shower’s Waterproof Membrane
The ghost in the shower pan
The Mist Test is a diagnostic method used to verify the surface hydrophobicity of a shower’s waterproof membrane before the tile installation begins. This test ensures the liquid-applied membrane or sheet membrane has achieved a continuous, non-porous barrier that resists capillary water migration into the subfloor or wall studs.
Most guys skip the leveling compound. They think the underlayment will hide the dip. It won’t. I spent three days grinding concrete on a job last month just so the floor wouldn’t click like a castanet. That job wasn’t even a shower. It was a simple living room. But when we talk about showers, the stakes are a hundred times higher. I once walked into a luxury master bath where the homeowner had spent six figures on marble. Three months in, the baseboards in the hallway were fuzzy with mold. Why. Because the installer trusted a liquid membrane that he rolled on like thin house paint. He didn’t check for pinholes. He didn’t perform a flood test. And he certainly didn’t do a mist test. He treated the most volatile environment in the house like it was a dry bedroom floor. You cannot treat a shower like a carpet install. Carpet hides sins. Tile reveals them. Waterproofing failures bury them until they rot your house from the inside out.
The physics of surface tension in waterproofing
Surface tension and beading behavior are the primary indicators of a successful waterproof membrane application in showers. When water hits a properly cured ANSI A118.10 membrane, it must exhibit high contact angles, meaning the water stays in tight droplets rather than spreading or soaking into the substrate material.
When you look at a membrane under a microscope, you are looking at a polymer forest. In liquid-applied products, these polymers must cross-link during the drying phase to create a monolithic shield. If the humidity in the room is too high, or if the installer thinned the product to make it easier to roll, those links don’t form correctly. You end up with a microscopic sponge. The mist test identifies these failures before you thin-set your tile and lock the problem away forever. I have seen membranes that looked perfect to the naked eye. They were a beautiful, uniform blue or green. But the second you hit them with a fine mist of water, you see dark spots. Those dark spots are the membrane sucking in moisture. That is a failure. That is a future leak. That is a call-back that will cost you ten times the original profit of the job.
“A floor is only as good as the subfloor beneath it; deflection is the enemy of every joint.” – Master Flooring Axiom
The mist test protocol for reliable waterproofing
Performing a Mist Test requires a fine atomizing sprayer to distribute distilled water across the entire surface of the shower pan and walls. This method highlights pinholes and thin spots in the waterproofing layer that are often invisible to the naked eye during a standard visual inspection.
Start by cleaning the cured membrane. Any dust from floor leveling or drywall sanding will absorb the water and give you a false positive. Use a microfiber cloth. Once clean, fill a pump sprayer. Set the nozzle to the finest mist possible. You aren’t looking to soak the floor. You are looking to create a fog. Spray a three foot section. Watch the droplets. Do they sit on top like beads of mercury. Or do they flatten out and disappear. If they flatten, the membrane is porous. If the color of the membrane darkens, it is absorbing water. This happens most often at the change of plane, where the floor meets the wall. Installers get lazy in the corners. They don’t build up the mil thickness because they are afraid of the tile not sitting flat. But a thin corner is a dead corner.
| Membrane Type | Required Mil Thickness (Wet) | Drying Time (70F/50% RH) | Mist Test Result (Pass) |
|---|---|---|---|
| Liquid Applied | 30 to 50 Mils | 12 to 24 Hours | Immediate Beading |
| Sheet Membrane | N/A (Fixed) | Immediate | Zero Color Change |
| Cementitious | 40 to 60 Mils | 4 to 8 Hours | Surface Saturation Only |
Why floor leveling determines your shower success
Proper floor leveling is the structural foundation of any shower installation because it ensures that the pre-slope or structural subfloor directs water toward the drain assembly. Without a flat substrate, the waterproof membrane will have low spots where water can pool and stagnate under the tile.
I have seen guys try to fix a bad subfloor with thin-set. It is a recipe for disaster. Thin-set is an adhesive, not a structural filler. It shrinks as it cures. If you have a dip in the floor, and you fill it with two inches of thin-set, that material will pull at the membrane as it dries. It can actually tear a liquid membrane right off the wall. You need a dedicated self-leveling underlayment or a high-compression mud bed. If your floor isn’t flat to within 1/8 inch over 10 feet, your tile will lippage. In a shower, lippage isn’t just ugly. It stops water flow. It creates mini-dams that hold soap scum and bacteria. It makes the showers feel slimy. If you don’t level the floor, you are building a swamp, not a bathroom.
The 1/8 inch that ruins everything
In the world of high-end tile, a deviation of just 1/8 inch in the subfloor can lead to hydrostatic pressure issues under the waterproof membrane. This irregularity causes the thin-set mortar to be applied at uneven thicknesses, which leads to differential curing and potential bond failure over time.
It will buckle. Not the tile, but the system. When you have a thick pocket of mortar next to a thin one, they dry at different rates. They expand and contract at different rates. This stress is transferred directly to the membrane. If you used a cheap,