The Sponge Test for Shower Waterproofing Integrity
I spent three days grinding concrete on a job last month just so the floor wouldn’t click like a castanet. Most guys skip the leveling compound. They think the underlayment will hide the dip. It won’t. I was standing in a master bathroom where the previous installer had ignored a half inch deflection in the subfloor. When I pulled the old tile, the mortar was literally powder. It had no bond because the subfloor was bouncing like a trampoline. That is the reality of this trade. If you do not respect the physics of the substrate, the finish floor will punish you. I smell like WD-40 and oak dust most days, and I have seen every shortcut in the book. This article is not about making things look pretty. It is about making things stay where you put them.
The silent failure of invisible moisture paths
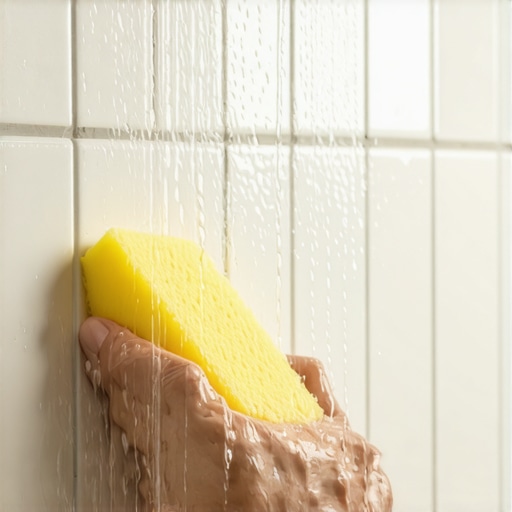
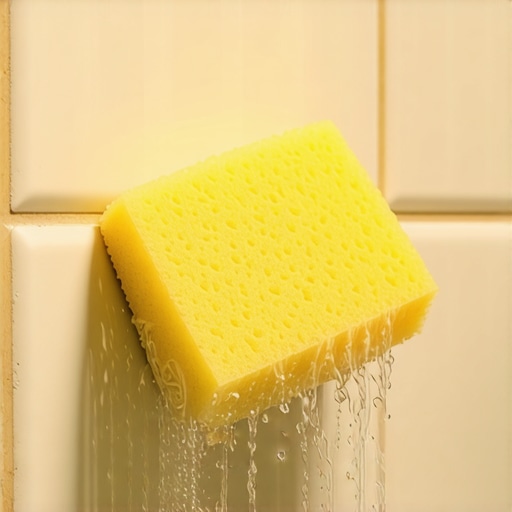
The sponge test for shower waterproofing integrity involves applying a saturated sponge to specific points of a dried waterproofing membrane to check for surface absorption or darkening. This test identifies micro-fissures or thin spots in the liquid-applied membrane that would otherwise lead to catastrophic structural rot and mold growth behind the tile.
When we talk about showers, we are talking about hydrostatic pressure and capillary action. People think tile is waterproof. It is not. Tile is the cosmetic skin. The real work happens at the membrane level. If you are using a liquid-applied system, you are essentially painting a rubber gasket onto your backer board. The sponge test is the only way to know if that gasket is actually a solid barrier. You take a sponge soaked in clean water and press it firmly against the cured membrane for sixty seconds. If the area darkens, the membrane is porous. It means the polymer chains did not link up tightly enough to create a hydrophobic shield. You need another coat. If you skip this, the water will find the path of least resistance through the grout, into the thin set, and eventually into the wall studs. By the time you see the damage, the repair bill starts at five thousand dollars.
Why your subfloor is lying to you
Floor leveling is the process of correcting a substrate to a tolerance of one eighth of an inch over ten feet to ensure long term structural stability. A subfloor that appears flat to the naked eye often contains undulations that create air pockets under large format tiles, leading to cracked joints.
Subfloors are deceptive. A plywood sheet or a concrete slab might look straight, but as soon as you put a six foot level on it, the gaps appear. I have walked into jobs where the installer thought they could fix a dip with more thin set. That is a rookie mistake. Thin set is an adhesive, not a filler. It has a high water content and as it cures, it shrinks. If the bed is too thick, the tile will lip. You end up with sharp edges that catch your socks and look terrible under LED lighting. The chemistry of self-leveling underlayment is fascinating. It uses calcium aluminate cement to achieve a rapid set and high compressive strength. It flows like water to find the lowest point in the room, creating a perfectly horizontal plane. Without this step, every other part of the install is a gamble. I have seen laminate floors pull apart at the click-lock joints simply because the subfloor had a three sixteenths of an inch valley that caused the boards to flex every time someone walked over them.
“A floor is only as good as the subfloor beneath it; deflection is the enemy of every joint.” – Master Flooring Axiom
The chemistry of modified thin set bonds
Modified thin set uses liquid latex or powdered polymers to increase the shear strength and flexibility of the bond between the tile and the substrate. These additives allow the mortar to absorb the microscopic movements of a building without fracturing the rigid tile or the grout lines above.
When you are working in a wet environment like a shower, the chemistry of your mortar is everything. Unmodified thin set is basically just portland cement and sand. It is brittle. If the house shifts or the wood expands due to humidity, the bond breaks. Modified mortars include polymers that act like tiny rubber bands within the cement matrix. This is vital when you are installing heavy porcelain or natural stone. The water in the mix hydrates the cement, but the polymers create a secondary mesh that clings to the microscopic pores of the tile. This is why I tell people to stop buying the cheap bags at the big box stores. You are paying for the chemical engineering that keeps your floor from popping up in three years. If you are installing laminate in a nearby room, you need to be aware of the transition. Laminate is essentially compressed sawdust and glue. If your shower leak reaches that laminate because of a failed sponge test, the floor will swell and peak like a mountain range in hours.
| Material Type | Janka Hardness | Acclimation Time | Moisture Tolerance |
|---|---|---|---|
| Solid White Oak | 1360 lbf | 10 to 14 Days | Low |
| Engineered Maple | 1450 lbf | 3 to 5 Days | Medium |
| Waterproof LVP | N/A | 24 to 48 Hours | High |
| Porcelain Tile | N/A | None | Extreme |
The 1/8 inch that ruins everything
Expansion gaps are the intentional spaces left at the perimeter of a flooring installation to allow for the natural expansion and contraction of materials due to seasonal humidity changes. Without these gaps, the floor will bind against the walls and buckle, causing permanent damage to the locking mechanisms.
I have seen more carpet install jobs botched in the bathroom than I care to count. Carpet does not belong in a bathroom, period. It holds moisture and breeds bacteria. But even with hard surfaces, the expansion gap is where most guys fail. They push the tile or the laminate right up against the baseboard. Wood and even some stone products move. They breathe. In a humid summer, a hundred square foot floor can grow by an eighth of an inch. If there is no gap at the wall, that energy has nowhere to go but up. You get a bubble in the middle of the room. It is a simple rule, but it is violated constantly. I always use spacers. I never trust my eyes. The gap is the insurance policy for the floor. If you are doing a shower, that gap is filled with 100 percent silicone sealant, never grout. Grout is rigid and will crack at the change of plane. Silicone is the only thing that can handle the movement of the walls versus the movement of the floor pan.
“Deflection is not just a suggestion; it is a physical law that dictates the lifespan of every ceramic installation.” – TCNA Handbook Principle
The checklist for a waterproof shower floor
- Check the subfloor for deflection and ensure it meets L/360 standards for ceramic tile.
- Apply a high quality liquid membrane in two coats at the manufacturer’s specified mil thickness.
- Perform the sponge test after the second coat has fully cured to verify total surface density.
- Use a flood test for twenty four hours to ensure the drain assembly and curb are perfectly sealed.
- Ensure the thin set is appropriate for the tile size, using large format mortar for anything over fifteen inches.
- Maintain a consistent perimeter gap for expansion and fill all transitions with flexible sealant.
Precision is not an option in this trade. It is the job. If you are not measuring your moisture levels in the slab before you start, you are just guessing. I have seen guys lose twenty thousand dollars on a single job because they didn’t want to wait for the concrete to dry. The sponge test is just one tool in a kit that should include moisture meters, laser levels, and a deep understanding of ASTM standards. Flooring is a structural engineering challenge that people treat like a weekend hobby. Do not be that person. Respect the chemistry, respect the physics, and the floor will last a lifetime. If you cut corners, the house will always find out. I have the knees and the scars to prove it.