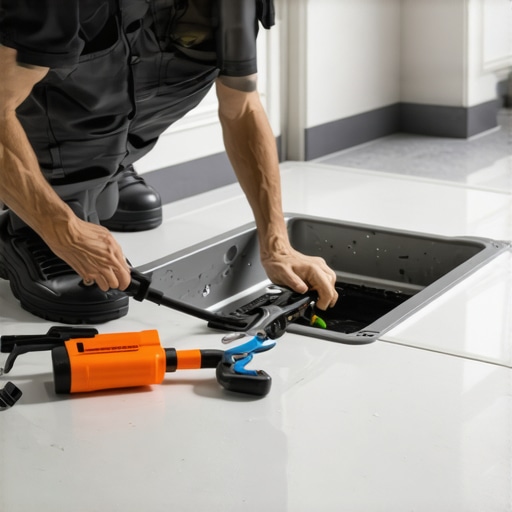
How to Find the Source of a Leak Under Your Shower Pan
How to Find the Source of a Leak Under Your Shower Pan
The smell of damp concrete and rotting plywood is unmistakable. It is a heavy, metallic scent that hits you the moment you pull back the baseboards. I spent three days grinding concrete on a job last month just so the floor wouldn’t click like a castanet, and that is where I found it. A dark, blooming stain creeping out from under the master shower. Most guys skip the leveling compound and they think the underlayment will hide the dip, but water finds every imperfection. It follows the low spots. It sits there. It rots. When you are dealing with a shower pan leak, you aren’t just looking for a hole; you are looking for a failure in structural engineering. Most homeowners see a puddle and think of a plumber. I see a puddle and I think of a subfloor that was never leveled and a waterproofing membrane that was stretched too thin over a sharp corner. A floor is a system, and when the shower pan fails, the entire system collapses. You have to be a detective. You have to understand the physics of water and the chemistry of the adhesives holding your tile in place.
The phantom moisture beneath your feet
Finding a leak under a shower pan requires a systematic isolation of the drain, the curb, and the wall to floor transitions. Most leaks result from poor waterproofing at the pan to drain interface or a failure in the pre slope. Identifying the source prevents catastrophic subfloor rot and structural compromise. Water is a patient enemy. It moves through the smallest fissures in your grout and finds the path of least resistance. In many cases, the leak you see on your bathroom floor is not where the water started. It might have traveled six feet along a joist before showing up. This is why you must understand capillary action. Water can actually move upward against gravity through porous materials like thin set and unsealed grout. If your installer used a standard builder grade mortar without latex additives, that mortar is essentially a hard sponge. It drinks water. Once the subfloor under the pan becomes saturated, it expands. This expansion puts pressure on the pan, often cracking the very seal that was supposed to keep things dry. You are not just looking for a drip. You are looking for a structural breakdown.
“A floor is only as good as the subfloor beneath it; deflection is the enemy of every joint.” – Master Flooring Axiom
The 1/8 inch that ruins everything
A shower pan must have a consistent slope toward the drain of at least one quarter inch per foot to ensure proper drainage and prevent standing water. When the subfloor is not level or the pre slope is incorrectly calculated, water pools in the corners and eventually breaches the liner. I have seen it a thousand times. The framers leave a subfloor with a slight dip. The tile guy comes in and tries to make up for it with extra thin set. That is a recipe for disaster. Thin set is not a leveling agent. It is an adhesive. When it is applied too thick, it shrinks as it cures. This shrinkage creates microscopic voids. Over time, the weight of a person standing in the shower causes the pan to flex. That flex is what snaps the bond between the drain flange and the waterproofing membrane. If your floor leveling was ignored during the initial carpet install or laminate placement in the bedroom next door, that moisture will eventually find its way into those materials, causing them to swell and buckle. A flat floor is the only way to ensure a leak free shower.
| Leak Source | Visual Symptom | Technical Root Cause |
|---|---|---|
| Drain Flange | Dampness directly below drain | Improper clamping ring tension |
| Shower Curb | Wet carpet in adjacent room | Punctured liner at the corner fold |
| Wall Transition | Cracked grout at the floor line | Lack of movement joint at change of plane |
| Weep Holes | Persistent damp grout odors | Mortar blocking the drain weep holes |
Why your subfloor is lying to you
Subfloors often hide moisture damage until the structural integrity of the wood or concrete is already compromised. Checking for a leak requires looking beyond the surface and testing the moisture content of the surrounding flooring materials using professional grade sensors. When I am on a job, I don’t trust my eyes. I trust my moisture meter. Wood subfloors should generally be between 6 and 10 percent moisture. Anything over 12 percent is a red flag. If you have a concrete slab, the moisture vapor emission rate should not exceed 3 pounds per 1,000 square feet. If the shower pan is leaking, those numbers will skyrocket. The water seeps into the edges of your laminate or the padding of your carpet install. It sits there like a reservoir. You might think your shower is fine because the tile looks dry, but the wood underneath is turning into compost. This is especially true with older rubberized liners. They get brittle. They crack at the folds. If the installer didn’t use preformed corners, you are almost guaranteed to have a leak within ten years. It is not a matter of if, but when.
The physics of the capillary crawl
Capillary action allows water to move through microscopic pores in construction materials even when there is no direct pressure. This means a leak in the shower wall can manifest as a puddle under the pan as the water travels down the studs. Think about a sugar cube touching a drop of coffee. The coffee climbs up. Your shower walls do the same thing. If the waterproofing was not taken at least six inches up the wall, or if the vapor barrier was installed behind the cement board instead of on the surface, moisture can collect on the studs. It then drips down to the subfloor. This is why many people misdiagnose a pan leak when the problem is actually a failure in the wall waterproofing. You have to look at the chemistry of the bond. Modified thin set contains polymers that resist water penetration, but even they have limits. If the water stays in contact with the adhesive for too long, the polymers begin to emulsify. The bond softens. The tile starts to move. Once the tile moves, the grout cracks. Once the grout cracks, the floodgates are open.
“Standard installation requires that the waterproofing membrane be continuous and integrated with the drain assembly to prevent moisture migration.” – TCNA Handbook Section B415
Identifying the culprit in the drain assembly
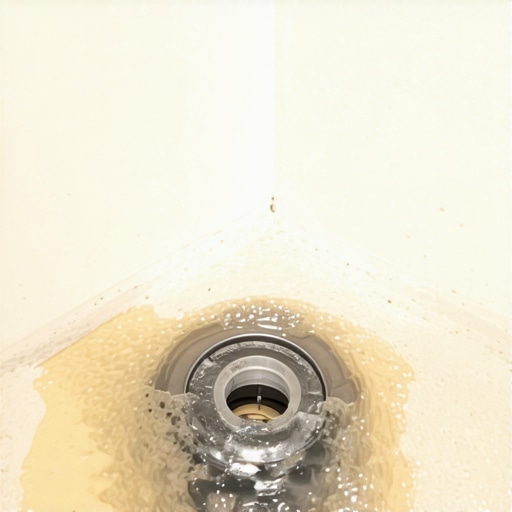
The most common point of failure in a shower system is the mechanical connection at the drain flange where the membrane is clamped down. If the bolts are not tightened evenly or if the sealant has degraded, water will bypass the pan and hit the subfloor. To test this, you need to perform a flood test. Plug the drain completely. Fill the shower pan with water to just below the curb. Mark the water level with a piece of tape. Wait twenty four hours. If the water level drops, you have a leak. If the water level stays but you see moisture in the basement or on the subfloor below, the leak is likely in the drain pipe itself. However, if the water stays and there is no visible moisture, your pan is likely intact, and the leak is occurring only when the shower is running. This points to a problem with the shower head, the mixing valve, or the wall tiles. It is a process of elimination. You cannot rush it. I have seen guys spend thousands of dollars replacing a pan when the leak was just a loose nut on the shower arm inside the wall.
The failure of the builder grade liner
Low quality PVC liners are prone to failure due to chemical degradation and improper installation techniques such as nailing through the liner below the water line. Professional standards require liquid applied or bonded sheet membranes for long term durability. In the world of high end flooring, we call those old PVC liners bathtub liners for a reason. They are cheap. They are thick. They are hard to work with. Installers often fold them in the corners, creating a thick mass of material that makes it impossible for the tile to sit flat. To compensate, they add more mortar. This creates a pocket where water collects and stagnates. If you are doing a floor leveling job nearby and notice that the transition to the shower feels spongy, that liner has likely failed. Modern systems like those from Schluter or Laticrete use bonded membranes. These are applied directly to the surface of the mortar bed or cement board. There is no place for water to hide. It is either in the drain or it is on the tile. That is the only way a shower should work.
When shower leaks meet adjacent flooring
Moisture from a leaking shower pan will rapidly destroy adjacent laminate flooring and cause mold growth in carpet padding. Addressing the leak is the first step in a larger remediation process that involves checking the subfloor for rot. If you have laminate, look for peaking or cupping. Peaking is when the edges of the planks push against each other and rise up. This is caused by the core of the plank absorbing water and expanding. In a carpet install, look for dark spots or a musty odor that doesn’t go away after cleaning. The pad acts like a giant wick. It pulls moisture from under the wall plate and holds it against the subfloor. I have had to rip out entire rooms of carpet because of a pinhole leak in a shower curb. People think waterproof vinyl is the answer, but even then, the water just sits under the vinyl and rots the wood. You have to fix the source. You have to ensure the floor leveling is correct so that any future moisture has a chance to drain away rather than pooling under your finished floor.
- Dry the entire shower area and surrounding floor for 48 hours before testing.
- Plug the drain and perform a 24 hour flood test to isolate the pan.
- Use a non-invasive moisture meter to track the spread of water behind the tile.
- Inspect the grout lines for hairline cracks or pinholes.
- Check the silicone caulk at the change of plane for gaps or peeling.
- Examine the subfloor from below if a crawlspace or basement is accessible.
- Verify that the shower door or curtain is not allowing splash over.
Precision tools for the moisture detective
Modern diagnostic tools like thermal imaging cameras and acoustic leak detectors allow for non destructive testing of shower systems. These tools can pinpoint the exact location of a leak behind the wall or under the pan without removing tile. I use a FLIR camera on almost every moisture call. It doesn’t see water, but it sees temperature differences. Evaporating water is colder than the surrounding dry material. If I see a blue bloom on the wall or floor, I know exactly where the moisture is concentrated. Then I go in with the moisture meter to confirm. This saves the homeowner from having to tear out a beautiful tile job just to find a minor leak. However, if the camera shows a massive cold spot under the entire pan, the news is bad. That means the subfloor is saturated. At that point, the only solution is a full tear out. You cannot dry out a saturated mortar bed. It will never be the same. The structural integrity is gone. The chemistry of the thin set has been compromised by the constant presence of water.
Rectifying the structural deficiency
Once the leak source is found, the repair must include a complete assessment of the subfloor and the implementation of proper floor leveling techniques before any new material is installed. Skipping these steps will lead to a repeat failure. If I am the one fixing it, I am going down to the joists if I have to. I want to see what is going on underneath. If the wood is soft, it gets replaced. If the concrete is pitted, it gets ground down and leveled. I use a high quality self leveling underlayment that can handle the moisture requirements of a wet area. Then I apply a premium waterproofing system. No more PVC liners. No more folding corners. I want a monolithic, waterproof shell that could hold water for a hundred years if it had to. Flooring is about performance. It is about building something that lasts. When you find a leak under a shower pan, you have been given a chance to fix the mistakes of the past. Don’t waste it by doing a builder grade repair. Build it like an architect. Build it to stay dry.