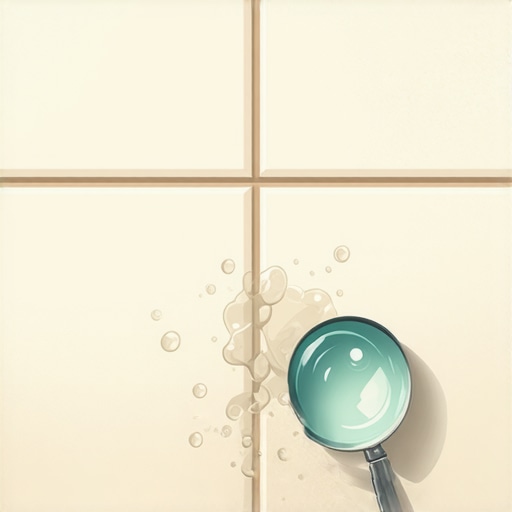
The ‘Towel Test’ for Detecting Slow Leaks Under Your Bathroom Tile
Most guys skip the leveling compound. They think the underlayment will hide the dip. It won’t. I spent three days grinding concrete on a job last month just so the floor wouldn’t click like a castanet. That job taught me that what you cannot see matters more than the finish you spent five dollars a square foot on. A bathroom floor is a structural assembly, not a rug. When a client calls me about a loose tile or a funny smell, I do not look at the ceramic. I look at the substrate. The physics of water travel mean that a leak in the shower pan might not show up for three feet. It creeps through the thin-set. It saturates the plywood. It sits there like a cancer until the joists start to soften. If you suspect your bathroom is holding a secret, you need a diagnostic approach that bypasses the visual lies of a clean grout line.
The ghost in the expansion gap
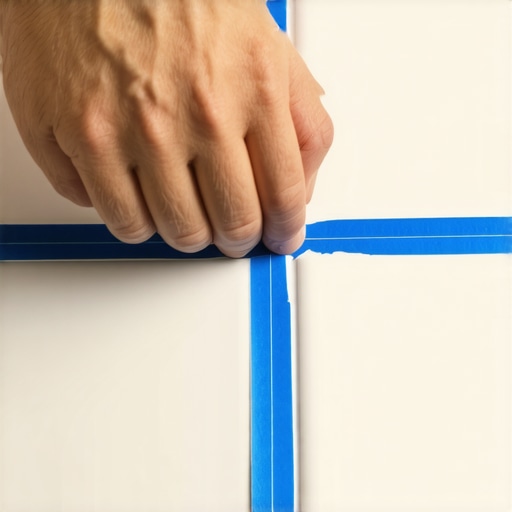
A **slow leak under bathroom tile** manifest as **efflorescence in grout joints** or **persistent dampness** that the towel test identifies by trapping **subfloor moisture vapor**. This diagnostic involves placing a dry, weighted towel over a suspected leak point for twelve hours to see if the **capillary action** of the **thin-set mortar** pulls water to the surface. It is a primitive but effective way to prove the substrate is saturated before you start tearing out the plumbing. If that towel comes up damp, you are not looking at a surface splash. You are looking at a failure of the waterproofing membrane or a pinhole leak in the supply lines hidden behind the wall.
“A floor is only as good as the subfloor beneath it; deflection is the enemy of every joint.” – Master Flooring Axiom
When we talk about showers and the surrounding floor, we are talking about hydrostatic pressure. Water is lazy. It follows the path of least resistance. In a poorly planned bathroom, that path leads straight into the subfloor. If your floor leveling was done with cheap, gypsum-based products instead of high-quality Portland cement-based self-levelers, that water will turn your foundation into mush. I have seen laminate floors in adjacent hallways buckle because the bathroom leak traveled through the subfloor and hit the HDF core of the laminate. Laminate is essentially compressed sawdust and glue. Once it drinks, it stays drunk. It swells. It peaks at the seams. It ruins the transition. This is why a carpet install in a master bedroom that touches a leaking bathroom is a recipe for black mold. The carpet pad acts like a sponge, holding that moisture against the wood for months without drying.
Why your subfloor is lying to you
Subfloor moisture levels must remain below twelve percent for wood and even lower for some tile applications to prevent adhesive failure and structural rot. When you perform the towel test, you are measuring the vapor emission rate of the slab or wooden deck. If the moisture is coming from below, no amount of topical sealer will fix the problem. You have to find the source. This is where the chemistry of your installation matters. Standard modified thin-set contains polymers that help it flex, but those polymers can re-emulsify if they stay submerged. Once that happens, the bond breaks. Your tile is no longer attached to the house. It is just floating on a layer of gray mud. This is why you hear that hollow sound when you walk across the room. The bond is dead.
| Material Type | Janka Hardness / Mil Wear | Moisture Tolerance | Acclimation Time |
|---|---|---|---|
| Solid White Oak | 1360 Janka | Very Low | 10 to 14 Days |
| Engineered Maple | 1450 Janka | Moderate | 3 to 5 Days |
| Stone Plastic Core (SPC) | 20 mil wear layer | High | 0 to 24 Hours |
| Porcelain Tile | Class 5 PEI | Excellent | None |
The 1/8 inch that ruins everything
Flatness is not the same as level. I can have a floor that is perfectly flat but sloped toward the door. That is a drainage nightmare. But if the floor is not flat within 1/8 inch over a ten-foot span, your tile is going to crack. Period. Many installers think they can use extra thin-set to bridge the dips. This is a lie. Thin-set is an adhesive, not a filler. As it cures, it shrinks. If the bed is too thick in one spot and thin in another, the shrinking happens at different rates. This creates internal tension. Eventually, the tile snaps. Or the grout pops out. People blame the grout. They say it was a bad batch. It wasn’t a bad batch. It was a bad floor leveling job. If you are preparing for a new install, you must be surgical. Use a straight edge. Mark the low spots. Fill them with a high-compressive strength leveler that can handle the weight of the stone. If you skip this, you are just building a house on sand.
- Check the moisture content of the subfloor with a pin-type meter before starting.
- Ensure the shower curb is pitched 1/8 inch back toward the drain.
- Apply a liquid-applied waterproofing membrane over the entire bathroom floor, not just the shower.
- Leave a 1/4 inch expansion gap at the perimeter for all hard surfaces.
- Never install carpet or laminate in a room with a floor drain or high moisture risk.
The chemical betrayal of modified thin-set
The industry keeps pushing for faster installs. They want you to use