The Five-Gallon Bucket Test for Shower Waterproofing
The bucket test that saves your subfloor
A flood test or bucket test involves plugging the shower drain and filling the pan with water to verify that the waterproofing membrane and flashing are liquid-tight. This 24-hour procedure prevents structural rot, mold growth, and subfloor failure by identifying leaks before the tile installation begins. Most guys skip the leveling compound. They think the underlayment will hide the dip. It won’t. I spent three days grinding concrete on a job last month just so the floor wouldn’t click like a castanet. I have seen guys throw down a shower pan and walk away. That is how you end up with a saturated crawlspace. Experience teaches you that gravity and water molecules are a persistent team. They find the microscopic pinhole in your corner fold. They find the spot where you didn’t quite get enough coverage with your liquid membrane. If you are not testing, you are just guessing. And guessing is expensive when you have to rip out three grand in custom marble because the curb leaked.
“A floor is only as good as the subfloor beneath it; deflection is the enemy of every joint.” – Master Flooring Axiom
The physics of hydrostatic pressure in wet zones
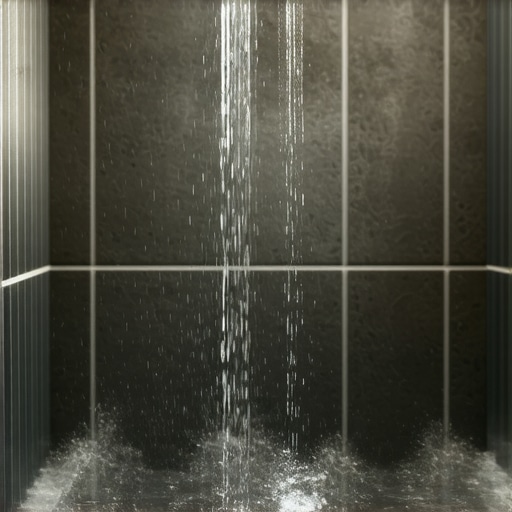
Hydrostatic pressure is the force exerted by a stationary liquid against the walls and floor of the shower assembly. In a shower pan, the weight of the water pushes against the waterproofing layer, testing the tensile strength and bond integrity of the membrane. Understanding this pressure is vital for long-term moisture management. Water is heavy. When you fill a pan for a test, you are putting real weight on those joists. You are testing the deflection of the wood. If your subfloor moves under that weight, your waterproofing might snap. This is why I talk about structural engineering. A floor is a machine. It moves. It breathes. It reacts to the weight of the water. If you do not account for that movement, your rigid tile will crack. The bond between the thin-set and the membrane must be perfect. The chemistry of polymer-modified mortar is what allows for the slight shifts in a house without breaking the seal. Most people want the thickest underlayment, but too much cushion actually causes the locking mechanisms on LVP to snap under pressure. The same logic applies to showers. You want stability, not bounce.
| Method | Drying Time | Vapor Permeability | Best Use Case |
|---|---|---|---|
| Liquid Membrane | 24 Hours | Low | Complex geometries |
| Sheet Membrane | Immediate | Near Zero | Standard pans |
| Traditional Mud Bed | 72 Hours | Moderate | Custom slopes |
Why your leveling compound is the silent hero
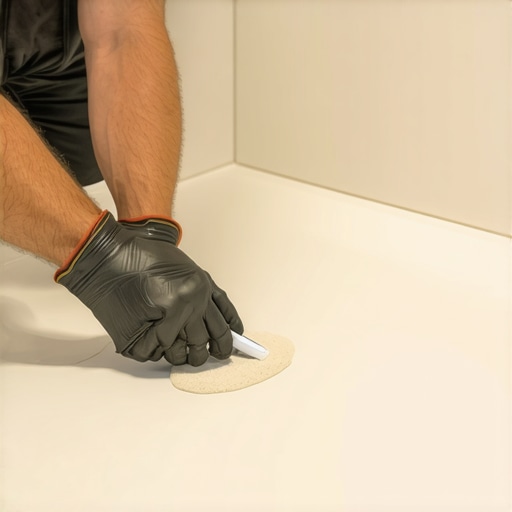
Floor leveling using self-leveling underlayment or SLU is the process of creating a perfectly flat substrate for tile or laminate. This step eliminates low spots and voids that cause hollow sounds and structural failure in the finished floor. I have seen people try to level a floor with extra thin-set. That is a crime. Thin-set is an adhesive, not a filler. It shrinks when it cures. If you use it to fill a half-inch dip, it will pull on the tile and create stress. I use a primer that smells like sour milk and a high-flow compound that seeks the lowest point. It is science. You need the surface to be flat within an eighth of an inch over ten feet. If you miss that mark, your tiles will lippage. You will be stubbing your toe on every joint. [image_placeholder_1] The preparation is ninety percent of the work. The actual tile setting is just the victory lap. I spend my time with a straightedge and a grinder. I look for the humps and the valleys that the architect missed. I make the concrete smooth as glass before I ever open a bag of mortar.
The fatal flaw of laminate in damp environments
Laminate flooring consists of a fiberboard core that is highly hydroscopic, meaning it absorbs moisture from the air or subfloor. When exposed to humidity or spills, the edges swell and the wear layer delaminates, leading to permanent damage and peaking. People see the word waterproof on a box of laminate and they lose their minds. They think they can put it in a bathroom. They are wrong. Laminate is essentially compressed sawdust and glue. Even the good stuff has a limit. When you have a shower nearby, the steam gets into the expansion gaps. It gets under the baseboards. Once that core sucks up water, it is over. It swells. It stays swelled. It looks like a mountain range in your hallway. If you want that look in a bathroom, you use luxury vinyl plank or tile. But even then, you need a flat floor. If the LVP bounces, the joints will separate. Then the water goes straight to the subfloor. It is a chain reaction of failure.
- Check the subfloor for moisture content using a pin-type meter.
- Clean all debris and dust to ensure a proper chemical bond.
- Apply the primer and let it become tacky before pouring compound.
- Plug the drain with a mechanical test plug.
- Fill the pan to the top of the curb.
- Mark the water level with a pencil or tape.
- Wait 24 hours and inspect the ceiling below.
Carpet install failures in peripheral zones
A carpet install near wet areas like showers requires a tackless strip placement that avoids piercing the waterproofing membrane. Improper transitioning between soft and hard surfaces often leads to wicking, where moisture travels from the tile into the carpet pad. I hate seeing carpet right up against a shower curb. It is a sponge. It sits there and collects every drop of water that falls when you step out. Then it traps that water against the wood. You get mold. You get that musty smell that never goes away. If you have to do it, you need a transition strip that actually seals. You need to make sure the carpet guys didn’t nail their strips through your liner. I have seen that more than once. A guy spends all week waterproofing a pan, then the carpet crew comes in and drives twenty nails through the flashing. The first time the bucket test happens, it fails. Everyone points fingers. But the nails don’t lie. You have to protect the integrity of the envelope.
“Standard practice dictates that a flood test should reach at least two inches above the highest point of the finished floor to ensure vertical coverage.” – TCNA Handbook Summary
The chemistry of the bond
The bond strength of thin-set mortar is determined by polymer additives that enhance adhesion to non-porous membranes. These polymers create a flexible bridge between the substrate and the tile, allowing for vibration resistance and thermal expansion. This is where the molecular zooming matters. You have two types of thin-set. Modified and unmodified. If you are using a sheet membrane, the manufacturer usually wants you to use unmodified between the membrane and the tile. This is because the water in the mortar needs to evaporate to cure. A membrane is a vapor barrier. It blocks the air. If you use a modified mortar that needs air to dry, it will stay wet for weeks. It will be like jelly. Your tile will slide right off the wall. You have to read the bags. You have to know the chemistry. If you don’t, you are building a house of cards. I always check the batch dates. Old mortar loses its strength. It becomes brittle. It becomes a liability. I only use the fresh stuff. I mix it with a slow drill to avoid whipping air into the mix. Air bubbles are weak spots. We don’t do weak spots here.