How to Level a Sloping Floor Without Removing the Old Wood
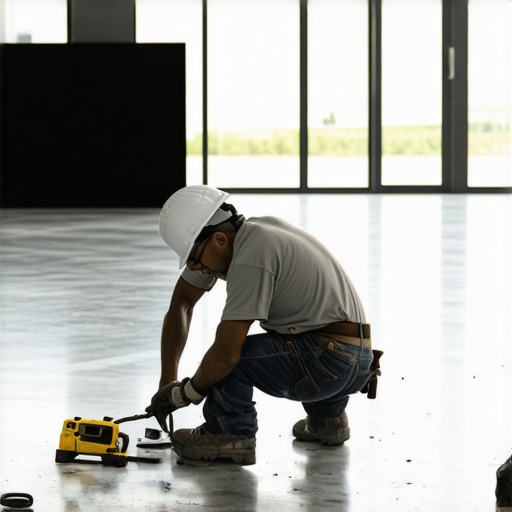
Most guys skip the leveling compound. They think the underlayment will hide the dip. It won’t. I spent three days grinding concrete on a job last month just so the floor wouldn’t click like a castanet because the previous installer thought a thick pad was a substitute for a flat surface. My hands still vibrate from the grinder. I smell like oak dust and the sharp chemical scent of floor wax. After twenty five years of fixing floors in houses that are older than my grandfather, I have learned one thing. A floor is a performance surface. It is a piece of structural engineering. If your subfloor is out of level by more than one eighth of an inch over a ten foot radius, your new laminate or hardwood will fail. It is not a matter of if, but when. The locking mechanisms will snap. The planks will separate. You will be left with a squeaky, bouncy mess that makes you regret ever starting the project. But you do not always have to rip the old wood out. If the existing floor is structurally sound and not rotting from the inside out, you can build a new foundation right on top of it. You just have to know the physics of the pour and the chemistry of the bond.
The myth of the magic underlayment
Underlayment and foam pads cannot fix a sloping floor or a subfloor dip because they lack structural compressive strength. These materials are designed for sound dampening and moisture protection, not for structural leveling or correcting architectural deviations in the foundation or joist system of a home.
You see it in every big box store. They sell these thick, gold-colored rolls of foam and tell you it will smooth out imperfections. That is a lie. If there is a valley in your floor, that foam will just follow the valley. When you step on a plank that spans that valley, the plank will flex. Every time you walk across the room, you are stressing the tongue and groove. Eventually, that stress turns into a fracture. You need mass. You need something that does not compress. We are talking about cementitious compounds or secondary layers of high density plywood. We are talking about creating a new, flat plane that exists independently of the original slope. This is where the mechanical reality of the job takes over from the aesthetic wishful thinking of a showroom floor.
The physics of the deflection measurement
Measuring floor deflection requires a ten foot straightedge and a laser level to identify high spots and low spots across the subfloor surface. Accurate leveling depends on the L/360 standard, which dictates the allowable vertical movement of the joists under a live load.
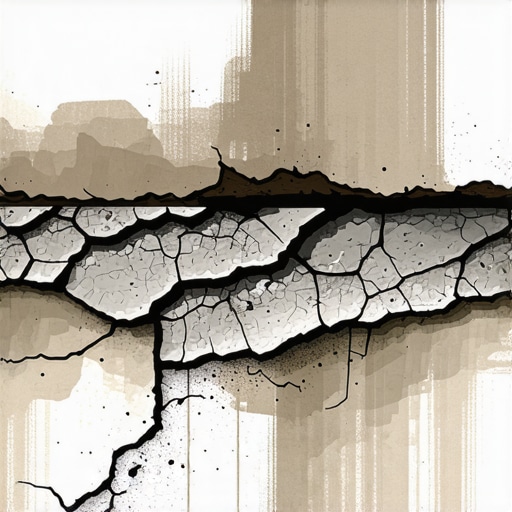
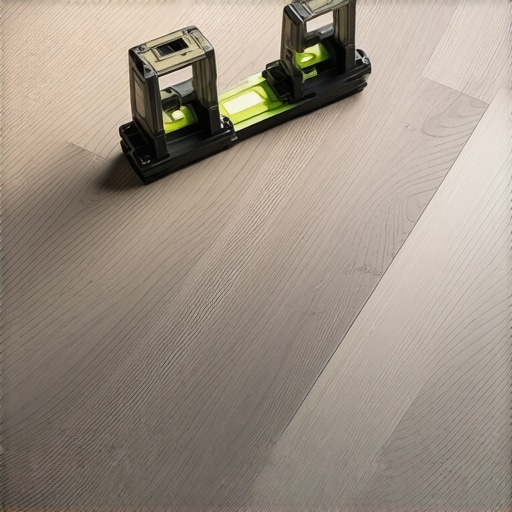
Before you pour a single bag of leveler, you have to find the ghost. The ghost is the invisible curve of the house settling. I take a long straightedge, usually a professional grade aluminum bar, and I sweep it across the room. When I find a gap, I mark the depth with a digital caliper. If the dip is deeper than half an inch, we are not just talking about leveling. We are talking about a structural issue. You need to check the joists in the basement or crawlspace. Are they notched? Are they sagging because someone ran a four inch sewer pipe through the middle of a load bearing member? If the wood underneath is healthy but just old and tired, we can proceed. But if those joists are bouncing like a diving board, no amount of leveling compound will save you. The compound will just crack as the house moves. You must stabilize the skeleton before you skin the body.
“A floor is only as good as the subfloor beneath it; deflection is the enemy of every joint.” – Master Flooring Axiom
Self leveling compounds and the chemistry of adhesion
Self leveling underlayment uses portland cement or calcium aluminate to create a hydraulic bond with the old wood floor. Using a high solids primer is mandatory to prevent moisture migration from the wet compound into the organic wood fibers, which would cause warping or cupping.
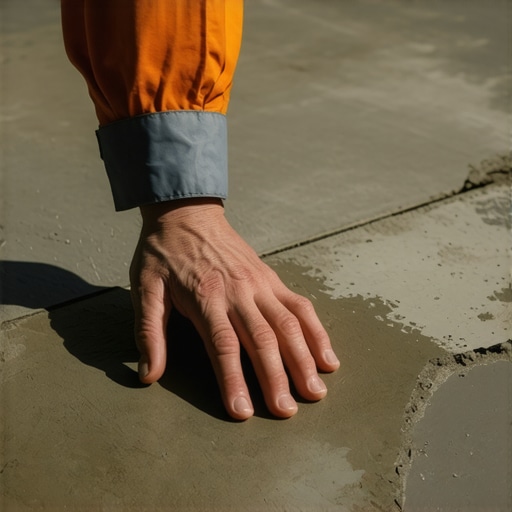
This is where most people fail. They pour wet cement onto old wood and wonder why the wood curls up like a burnt piece of bacon. Wood is hygroscopic. It drinks water. When you pour a wet leveling compound, the wood sucks the moisture out of the mix before the cement can hydrate properly. This ruins the bond and ruins the wood. You must seal that wood first. I use a specialized primer that creates a grit-like surface. It looks like liquid sandpaper once it dries. This primer acts as a vapor barrier and a mechanical key. It keeps the water in the cement and the wood dry. Then, you mix the compound. You want the consistency of a heavy milkshake. Too thin and it loses its strength. Too thick and it won’t flow into the low spots. You pour it in ribbons, starting at the lowest point, and you watch the physics of gravity do the work you are too tired to do yourself.
The shim and sleeper method for aggressive slopes
Sleeper systems involve installing tapered wood strips or shims directly over the existing floor to create a perfectly level grid for the new subfloor. This method is ideal for historic homes where the foundation has settled significantly, creating slopes greater than two inches.
Sometimes a pour is not enough. If the floor is dropping three inches from one side of the room to the other, you cannot just dump twenty bags of leveler. The weight alone would be dangerous for the structure. Instead, we use sleepers. We rip down pieces of kiln-dried pine on a table saw, creating long wedges that mirror the slope of the floor. We screw these sleepers through the old floor and into the joists below. It is tedious work. It requires a lot of patience and a very accurate laser level. You are essentially building a new deck inside your room. Once the sleepers are set, you overlay them with 3/4 inch tongue and groove plywood. You glue and screw every six inches. This creates a rock solid, level platform that can handle anything from heavy stone tile to a grand piano. It also gives you a chance to run new electrical or plumbing through the gaps if you need to.
| Method | Max Thickness | Drying Time | Best Application |
|---|---|---|---|
| Self-Leveling Compound | 1.5 Inches | 24 Hours | Minor dips and wavy boards |
| Plywood Overlay | 0.75 Inches | Immediate | Adding rigidity to soft spots |
| Sleeper System | 6.0 Inches | Immediate | Correcting major foundation settling |
| Patching Compound | 0.5 Inches | 4 Hours | Small localized depressions |
Why your existing wood is a liability
Existing hardwood floors act as an unstable substrate if they are not mechanically fastened to the joists. Moisture content in the old wood must be within 2 percent of the new flooring material to prevent expansion gaps or buckling after the installation is complete.
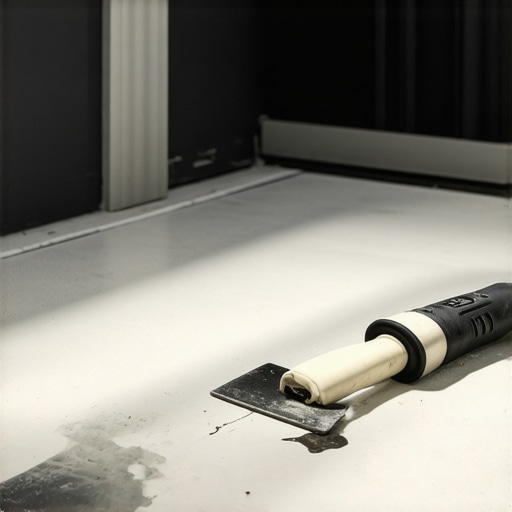
You have to be a detective. I look for signs of old water damage or pet stains. If that old wood has been wet, the cellular structure is compromised. It won’t hold a fastener. If the old floor is finished with wax, nothing will stick to it. You have to sand that wax off. I have seen guys try to level over old linoleum that was glued to wood. The leveler just popped off in big sheets because the linoleum was not bonded well. You are only as strong as the weakest layer in your floor sandwich. If the old wood is squeaking, that is the floor telling you it is loose. You need to drive three inch deck screws through those boards and into the joists before you even think about leveling. If the base moves, the top moves. It is a simple law of motion that many installers choose to ignore because they are in a hurry.
The ghost in the expansion gap
Expansion gaps are the perimeter spaces left around the edge of a room to allow for thermal expansion and contraction of the flooring system. Failure to maintain these gaps during the leveling process will result in floor heaving or locking mechanism failure.
People think the leveling compound should go wall to wall. It shouldn’t. You need to leave a gap. If you pour your leveler right up against the drywall, you are creating a rigid bridge. When the house shifts in the winter or swells in the summer humidity, that bridge has nowhere to go. It will crack. I use foam expansion strips around the perimeter. They look like thin weatherstripping. You stick them to the base of the wall before you pour. They compress when the floor expands. It is a small detail that saves you from a massive headache two years down the line. I also see people cover up their vents. Never cover your airflow. A floor needs to breathe. If you trap moisture under a new layer of leveler and laminate, you are essentially creating a petri dish for mold. The smell will eventually give you away.
“Wood flooring will perform best when the environment is controlled. Neglecting the subfloor is an invitation for structural noise.” – NWFA Technical Manual
The floor leveling checklist for professional results
- Check moisture levels in the existing wood using a pin-style meter to ensure it is below 12 percent.
- Identify every joist location and mark them with a chalk line for mechanical fastening.
- Screw down every loose board using countersunk wood screws to eliminate all vertical movement.
- Sand the existing finish to remove wax, oil, or polyurethane that might inhibit the chemical bond.
- Apply a high-solids acrylic primer and allow it to become tacky before pouring any compound.
- Use a spiked roller during the pour to release trapped air bubbles and ensure a smooth surface.
- Verify the final levelness with a ten foot straightedge to ensure the 1/8 inch tolerance is met.
Thermal mass and the radiant heat factor
Radiant floor heating systems can be integrated into the leveling layer to provide efficient thermal mass. Using gypsum-based levelers or portland-based compounds over old wood requires careful temperature calibration to avoid thermal shock to the adhesive bonds.
If you are already leveling the floor, it is the perfect time to think about heat. In cold climates, a thin electric heating mat can be embedded right in the leveling compound. But you have to be careful. Wood does not like heat. It dries out and shrinks. If you put a heating element directly on old wood, you are going to see gaps wider than a pencil in your finish floor. You need a thermal break. This is why the thickness of your pour matters. You want enough mass to hold the heat but not so much that you are taxing the floor joists with thousands of pounds of extra weight. It is a delicate balance between comfort and structural integrity. I always tell my clients that if they want the heat, they need to invest in the prep. There are no shortcuts when you are playing with thermodynamics and hundred year old timber.
{ “@context”: “https://schema.org”, “@type”: “HowTo”, “name”: “How to Level a Sloping Floor Without Removing the Old Wood”, “description”: “A professional guide to leveling an existing wood subfloor using self-leveling compounds and sleeper systems.”, “step”: [ { “@type”: “HowToStep”, “name”: “Structural Assessment”, “text”: “Inspect floor joists for damage and measure the slope using a laser level and straightedge.” }, { “@type”: “HowToStep”, “name”: “Subfloor Stabilization”, “text”: “Screw the existing wood boards into the joists to eliminate squeaks and movement.” }, { “@type”: “HowToStep”, “name”: “Surface Preparation”, “text”: “Sand off old wax and apply a professional grade primer to the wood surface.” }, { “@type”: “HowToStep”, “name”: “Levelling Application”, “text”: “Mix and pour cementitious self-leveling compound or install a tapered sleeper system for major slopes.” } ] }