Why your floor leveler is full of small craters
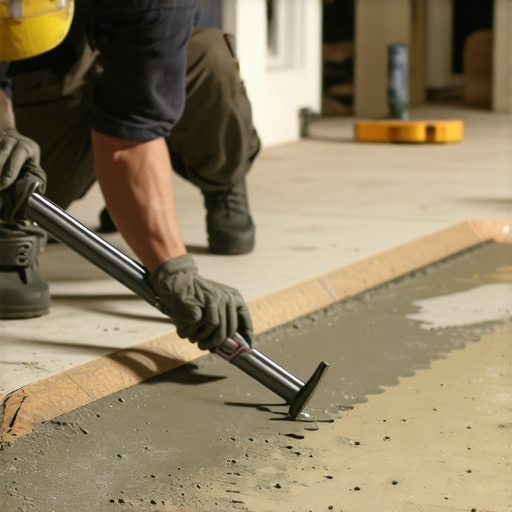
I spent three days grinding concrete on a job last month just so the floor would not click like a castanet. The homeowner had tried to save money by pouring the self leveling underlayment themselves. When I walked in, the entire living room looked like the surface of the moon. It was covered in thousands of tiny pinholes and craters. Most guys skip the leveling compound or they rush the prep. They think the underlayment will hide the dip. It will not. A floor is only as good as the subfloor beneath it. If you have craters in your leveler, your laminate joints will eventually snap and your carpet install will feel like you are walking on gravel. My hands still smell like WD-40 and oak dust from cleaning the grinder, but that is the price of doing it right. I have seen fifteen thousand dollar wide plank walnut floors ruined because someone ignored a simple moisture test. This is not about aesthetics. This is about structural engineering.
The physics of the pinhole phenomenon
Pinhole craters in floor leveler are caused by outgassing from a porous concrete subfloor that was not properly primed or sealed before the pour. When the wet leveling compound hits a dry, thirsty slab, the air trapped in the concrete pores is displaced by moisture and rises to the surface. This creates tiny bubbles that pop and leave behind permanent craters as the material sets. This process is driven by the surface tension of the slurry and the rate of hydration in the cementitious mix. If the slab is not effectively choked off with a high quality primer, the air has nowhere to go but up through your expensive leveler.
“A floor is only as good as the subfloor beneath it; deflection is the enemy of every joint.” – Master Flooring Axiom
Why a thirsty slab ruins your mix
Concrete porosity and absorption rates determine how a self leveling underlayment will react during the critical hydration phase. If the concrete is old and dry, it acts like a giant sponge. It sucks the water out of the leveler too quickly. This does not just cause craters. It weakens the chemical bond of the material. When the water is pulled out prematurely, the leveler cannot reach its rated compressive strength. You end up with a brittle surface that will crack under the weight of furniture or the foot traffic of a busy kitchen. I have seen laminate floors fail within six months because the leveler underneath turned to dust. You must check the Concrete Moisture Equivalent before you even think about opening a bag of leveler.
The priming ritual most installers skip
Subfloor primers are bonding agents that create a non-porous barrier and improve the mechanical grip of the leveling compound. You cannot just splash some water on the floor and call it a day. You need a dedicated acrylic or epoxy primer designed for the specific substrate. On a job last year, the contractor used a cheap big box store primer and the leveler peeled up in sheets like a bad sunburn. I use a soft bristle broom to work the primer into the pores. It should look like a thin film of milk. If it disappears immediately, the slab is too thirsty. You need a second coat. This is the difference between a floor that lasts fifty years and one that fails during the first winter.
Mixing speed and the introduction of unwanted air
High shear mixing at excessive RPMs will whip air into the leveling slurry and create micro bubbles that manifest as surface defects. You are not making whipped cream. You are mixing a structural cementitious product. If you use a standard high speed drill, you are going to have a bad time. I use a specialized low speed, high torque mixer. You want a vortex that is steady but not violent. If you see foam on top of your bucket, you have already lost the battle. That air will stay in the mix and rise to the top once you pour it on the floor. It is about the chemistry of the calcium aluminate. You have a very narrow window of time before the cross linking begins. If you have air in the mix when it starts to set, those bubbles are locked in forever.
The 1/8 inch that ruins everything
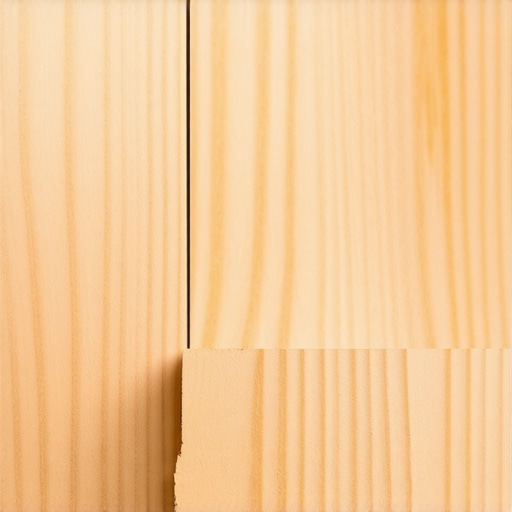
Floor flatness tolerances for laminate and engineered hardwood typically require no more than a 1/8 inch deviation over a 10 foot radius. Most people think they can just pour the leveler and it will find its own level. It does not work like that. Gravity helps, but you have to assist it with a spiked roller or a gauge rake. A spiked roller is the secret weapon for removing the tiny bubbles we have been talking about. It breaks the surface tension and allows the air to escape before the material skins over. If you skip this, you will have high spots and low spots. When you install your laminate over those craters, the tongue and groove joints will flex every time someone walks over them. Eventually, they will snap. Then you are looking at a full rip out.
Leveler Performance and Selection Table
| Leveler Category | Compressive Strength | Typical Drying Time | Pinhole Risk |
|---|---|---|---|
| Gypsum Based | 2,500 PSI | 24 Hours | High |
| Cement Based | 4,500 PSI | 4-6 Hours | Medium |
| Fiber Reinforced | 5,500 PSI | 12 Hours | Low |
The checklist for a mirror finish
- Perform a water bead test to check for sealers or contaminants on the concrete.
- Mechanical grinding is required if the slab is power troweled to a high sheen.
- Use a low speed mixer at approximately 650 RPM to avoid air entrainment.
- Apply primer in two coats if the first coat is absorbed within ten minutes.
- Maintain a wet edge during the pour to ensure the sections melt together.
- Run a spiked roller over the wet surface to release trapped gasses.
- Verify the ambient humidity is between 40 and 60 percent for optimal curing.
Avoiding the shower drain disaster
Shower subfloors and wet area leveling require waterproof membranes and specialized sloping techniques that differ from standard room leveling. If you are leveling a bathroom floor for a walk in shower, you cannot just make it flat. You have to account for the drain elevation. Craters in a bathroom leveler are even more dangerous because they can trap moisture under the tile. This leads to mold and the eventual failure of the thin set bond. The TCNA has very specific rules about this. I always use a modified thin set with high polymer content in these areas. You want a bond that can handle the expansion and contraction of the house without shearing.
“Substrate preparation is the most critical part of the installation; if the base fails, the finish fails.” – TCNA Handbook Summary
The ghost in the expansion gap
Perimeter expansion gaps are structural requirements that allow the floor to move as temperature and humidity fluctuate throughout the seasons. If you pour your leveler right up against the drywall without a foam spacer, you are creating a rigid bridge. When the house shifts or the humidity hits 80 percent in July, that floor has nowhere to go. It will heave. It will buckle. It will ruin your day. I have seen entire floors lift off the ground like a tent because someone forgot a simple half inch gap. Use foam weatherstripping around the perimeter before you pour. It keeps the leveler where it belongs and protects the integrity of your walls. It is a small step that separates the pros from the hackers. If you see an installer skipping the foam, fire them on the spot.