The ‘Feather Finish’ Secret for Smooth Room-to-Room Transitions
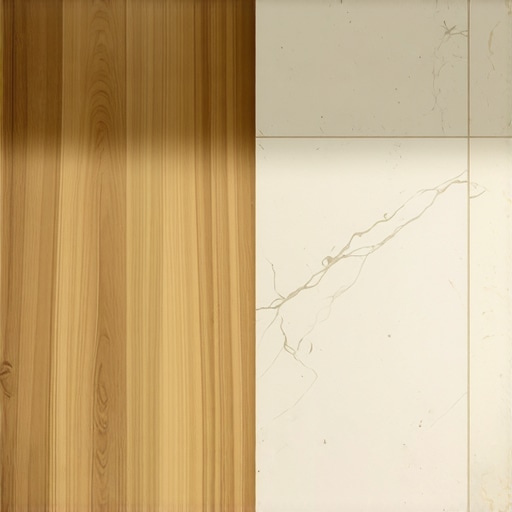
The transition between two different flooring surfaces is the precise point where a professional installation either earns its reputation or reveals a hack. When you walk through a doorway and feel a slight trip hazard or hear the hollow click of a laminate plank hitting a concrete high spot, you are experiencing a failure of subfloor preparation. A floor is not a decorative rug. It is a structural engineering assembly that relies on the physics of a flat substrate. Most installers think a T-molding is a universal fix for poor planning, but the true secret to a high-end, zero-threshold feel lies in the mastery of feather finish compounds and the science of the ramp.
Why your subfloor is lying to you
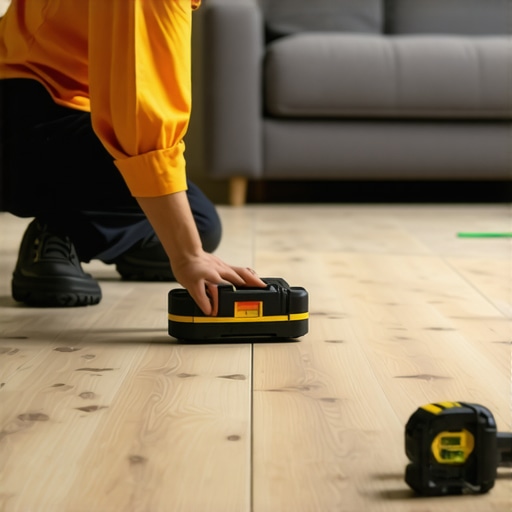
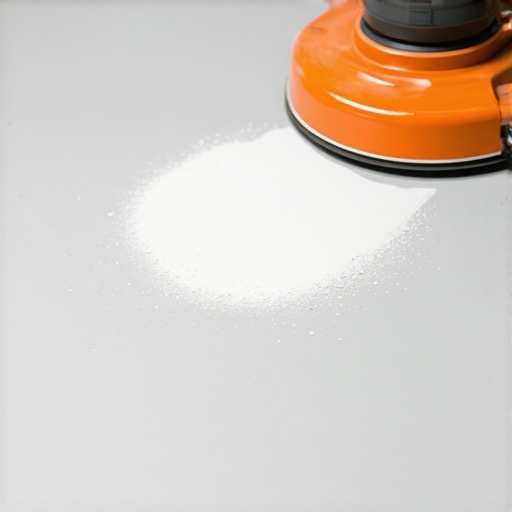
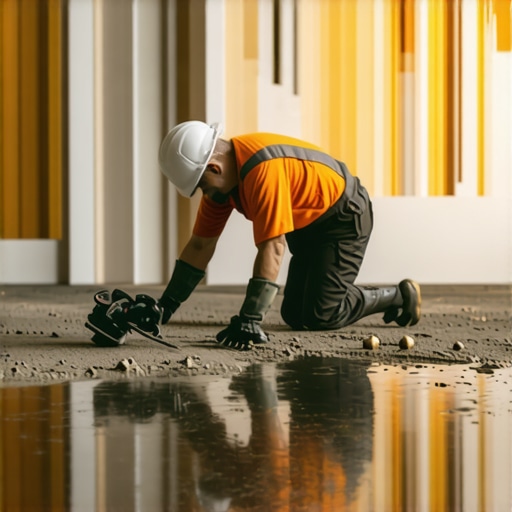
Floor leveling and subfloor preparation are the most critical components of any flooring project because they determine the structural integrity of the locking mechanisms and the long-term wear of the material. If a slab has a dip greater than 1/8 inch over a 6-foot radius, the floor will flex, the joints will fatigue, and the warranty will be voided before the first furniture is moved in. Most guys skip the leveling compound. They think the underlayment will hide the dip. It won’t. I spent three days grinding concrete on a job last month just so the floor wouldn’t click like a castanet. The owner had bought this high-end German laminate, five-layer construction with a 22-mil wear layer. But the slab? It looked like the surface of the moon. If I had just laid it down, every joint would have snapped within six months. I had to use a diamond cup wheel to take down the high spots, smelling the metallic tang of ground silica and the heat of the grinder, before I could even think about a bag of patch. You cannot trust a visual check. You need a 10-foot straightedge and a set of feeler gauges to find the lies hidden in the concrete.
“A floor is only as good as the subfloor beneath it; deflection is the enemy of every joint.” – Master Flooring Axiom
The chemistry of a perfect feather edge
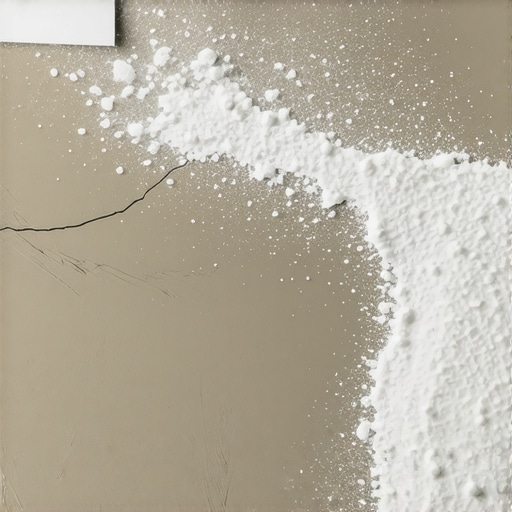
A feather finish compound is not just mud. It is a polymer-modified, Portland cement-based material designed to bond to almost any surface and be troweled down to a true feather edge. The chemistry involves high-flow polymers that allow the material to retain its strength even when it is applied at a thickness of less than 1/32 of an inch. When you are transitioning from a 3/4 inch solid oak floor to a 5mm laminate, you are dealing with a significant height delta. You cannot just slope the floor over two inches. You need to calculate a transition ramp that extends at least 12 to 18 inches for every 1/4 inch of height difference. This creates a slope that the human foot cannot detect and that the new flooring can follow without putting stress on the click-lock system. The mixing ratio is vital. If you add too much water, you dilute the polymers and the patch will crumble under the weight of a rolling chair. If you mix it too thick, you lose the ability to create that razor-thin edge that makes the transition invisible under the carpet install or the hard surface.
The 1/8 inch that ruins everything
In the world of professional flooring, 1/8 inch is a mile. If your subfloor prep is off by this much, your laminate planks will bounce. This vertical movement, known as deflection, acts like a hydraulic pump every time someone walks across the floor. It forces air and microscopic dust through the joints, leading to the dreaded squeak. When transitioning between a carpet install in a bedroom and a laminate hallway, the subfloor must be perfectly flush at the junction. I use a specific technique where I feather the compound back two feet from the door header. This creates a gentle plane. If you are working with showers and tile, the TCNA standards are even more rigid. You are dealing with moisture barriers and the movement of the house itself. You need a substrate that is not only flat but also rigid enough to prevent the grout from cracking.
“Subfloors shall be flat to within 3/16 inch in 10 feet or 1/8 inch in 6 feet.” – NWFA Technical Standards
Managing height differences between laminate and carpet
When you handle a carpet install next to a hard surface, the goal is often to have the carpet sit slightly higher than the hard surface to create a plush, luxury feel. However, the subfloor underneath must be level. If the carpet padding is sitting on a dip, the tack strip will eventually pull loose. I always apply a skim coat of feather finish over the seam where the two subfloors meet, especially if one is plywood and the other is concrete. The different expansion rates of these materials can cause a ridge to form over time. By using a polymer-modified patch, you create a bridge that can handle the micro-movements of the house. You have to wait for the hydration process to complete. You cannot rush the dry time. I have seen guys throw laminate over wet patch, and the moisture gets trapped under the vapor barrier, turning the patch into mush and molding the underside of the floor.
| Substrate Type | Required Prep | Maximum Variance |
|---|---|---|
| Concrete Slab | Grinding and Feather Finish | 1/8 inch in 6 feet |
| Plywood Subfloor | Sanding joints and Skim Coat | 3/16 inch in 10 feet |
| Existing Tile | Primer and Embossing Leveler | 1/8 inch in 8 feet |
| Radiant Heat Slab | Self-Leveling Underlayment | No variance allowed |
The shower threshold and the TCNA mandate
Transitions into showers are where most moisture failures occur. The Tile Council of North America is very clear about the use of waterproof membranes and the pitch of the floor. When you are bringing a laminate or hardwood floor up to a bathroom tile transition, you must account for the wet environment. The feather finish used here should be moisture-resistant. I never use gypsum-based products in a bathroom. They are like sponges. If a pipe leaks, the gypsum dissolves and your whole transition collapses. I stick to cement-based products that can withstand the high humidity levels. The transition strip should be set in a bead of high-quality silicone to prevent water from migrating under the laminate, which will swell like a sponge if the edges are not sealed. This is the structural reality that people ignore when they focus only on the color of the tile.
Tools that separate professionals from amateurs
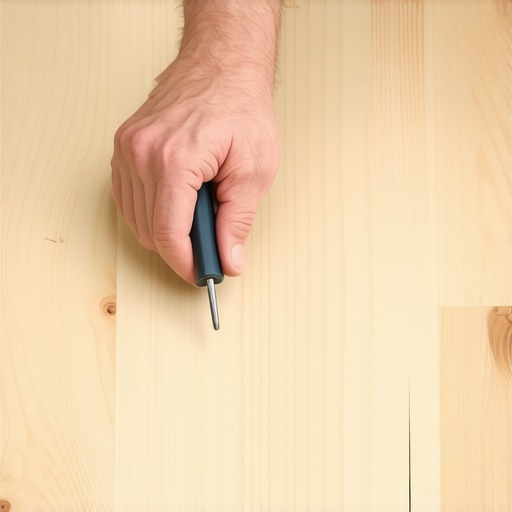
You cannot achieve a professional feather finish with a plastic putty knife. You need the right steel. The feel of a 12-inch stainless steel trowel in your hand, the way it rings against the concrete, that is how you know you are getting it flat. The grit of the sandpaper used for the final sand also matters. I usually go with a 60-grit to scuff the concrete for a mechanical bond and then a 100-grit to smooth the patch after it dries. If you leave ridges in the patch, they will telegraph through the laminate or the vinyl plank over time. It is a slow, methodical process that requires patience and a good light source held at a low angle to the floor to see the shadows of the high spots.
- Check subfloor moisture with a pinless meter before applying any compound.
- Vacuum the substrate twice to ensure no dust interferes with the chemical bond.
- Use a liquid latex primer on porous concrete to prevent the patch from drying too fast.
- Mix only what you can apply in fifteen minutes before the pot life expires.
- Sand the edges of the feather finish until they are translucent and disappear into the slab.
The ghost in the expansion gap
Every floating floor, whether it is laminate or engineered wood, needs to breathe. It expands and contracts with the seasons. If you lock a transition too tight by nailing a transition strip through the flooring into the subfloor, you are creating a ticking time bomb. The floor will eventually buckle or the joints will pull apart. The secret is to ensure the feather finish provides a flat enough surface that the transition strip can sit perfectly level without being forced down. I have seen beautiful floors ruined because the installer didn’t leave a 1/4 inch gap at the transition. They thought they could hide the gap with a bead of caulk. It doesn’t work that way. The floor needs to move as a single unit. If the subfloor is level, the floor moves easily. If there are humps and dips, the floor gets hung up, and that is when you get gaps. It is all about the physics of friction and movement.
Moisture meters and the science of the slab
Before I ever mix a bag of feather finish, I check the calcium chloride levels or the relative humidity of the slab. Concrete is a giant hard sponge. It is constantly breathing moisture vapor. If the moisture vapor emission rate is too high, it will blow the patch right off the floor. You will get delamination. I look for less than 3 pounds per 1,000 square feet over 24 hours. If it is higher than that, you need a moisture vapor barrier coating before you do your leveling. This is the technical side that homeowners never see, but it is the difference between a floor that lasts thirty years and one that fails in three. You have to respect the science of the materials. My knees might ache from years of crawling on these slabs, and my lungs might be full of oak dust, but I know that when I finish a transition, it is as solid as the foundation of the house itself. There are no shortcuts in subfloor prep. There is only the right way and the way that fails.