How to Install Carpet on Stairs Without Visible Staples
Most guys skip the leveling compound. They think the underlayment will hide the dip. It won’t. I spent three days grinding concrete on a job last month just so the floor wouldn’t click like a castanet. Stairs are even worse. If the tread isn’t level or the riser is bowed, your carpet will shift until the staples pop like champagne corks. I have seen fifteen thousand dollar renovations ruined because an installer thought they could hide a lack of skill with more fasteners. You cannot. To install carpet on stairs without visible staples, you must master the physics of tension and the surgical placement of the electric tacker. It is about burying the fastener into the foundation, not just pinning the fabric to the wood. My hands are stained with the oil from a thousand stair tools, and my knees know the hardness of every subfloor in the tri-state area. We are not decorating. We are engineering a high-traffic surface that must withstand thousands of pounds of lateral force every single day.
The invisible tension of a perfect stair
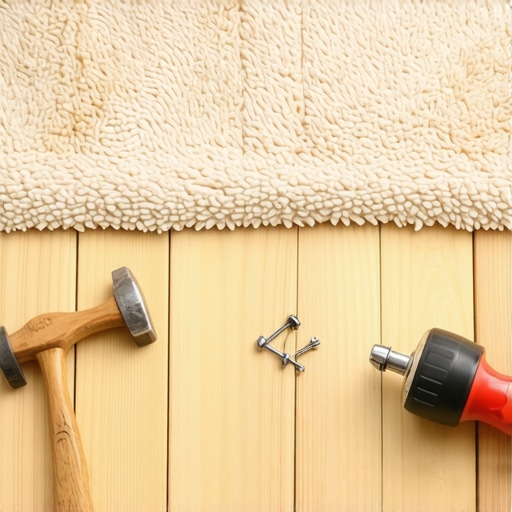
To install carpet on stairs without visible staples, you must utilize the Hollywood method where the carpet is tightly wrapped around the nosing and stapled into the junction of the riser and the tread. By using an electric tacker with 9/16 inch narrow crown staples and a carpet tucker, you can bury the fasteners deep into the pile or the crevice. This technique relies on the mechanical grip of the tack strip and the tension provided by a knee kicker to ensure the carpet remains stationary without the need for surface-level pinning. If you see a staple, you have failed the installation. The goal is to make the carpet look like it is growing out of the wood itself.
“A floor is only as good as the subfloor beneath it; deflection is the enemy of every joint.” – Master Flooring Axiom
The mechanics of the carpet tucker
The stair tool, often called a tucker, is the most essential piece of equipment in your kit. This is not just a piece of dull metal. It is the lever that defines the shape of the carpet. When you are working the crotch of the stair, which is the 90 degree angle where the tread meets the riser, the tucker forces the backing of the carpet into the tack strip teeth. You are looking for a specific sound. It is a crisp, biting click that tells you the polypropylene primary backing has been impaled by the carbon steel pins of the strip. I have seen hacks use a screwdriver for this. That is a crime. A screwdriver will tear the secondary backing and ruin the integrity of the stretch. You need the wide, flat blade of a professional tucker to distribute the pressure evenly across the width of the stair. This prevents the carpet from bowing in the center, which is the primary cause of premature wear on the nosing.
Why your subfloor is lying to you
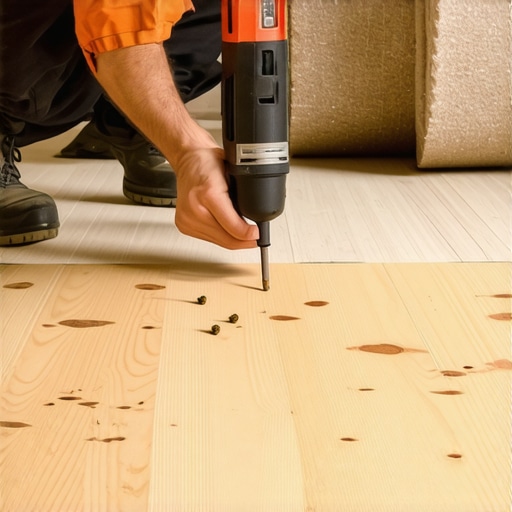
Before the first piece of padding touches the wood, you have to interrogate the subfloor. Most residential stairs are built with 3/4 inch plywood or, heaven forbid, particle board. Particle board is the enemy of the installer. It has no nail-holding strength. If you find particle board, you need to reinforce it or use a specific construction adhesive to supplement your staples. I once worked on a job where the builder used OSB that had been rained on during construction. The edges were swollen by an eighth of an inch. If I had just slapped carpet over that, every single step would have squeaked like a trapped mouse. I spent five hours with a belt sander and a box of three inch deck screws to suck those treads down to the stringers. The subfloor is a liar. It pretends to be flat, but the moment you apply the tension of a power stretcher or a knee kicker, it reveals every gap and every loose nail. You must secure the tread to the stringer until there is zero vertical movement. Any deflection will eventually cause the carpet to rub against the staple, cutting the fibers from the inside out.
The chemistry of the tack strip
We need to talk about the tack strip. It is not just a piece of wood with nails. It is a calculated anchoring system. For stairs, you must use architectural strips with three rows of pins. The common two-row strips used in bedrooms are not sufficient for the shear forces generated when a 200 pound human descends a staircase. The placement of the strip is a matter of millimeters. You want the strip about 1/2 inch away from the riser. This gap, known as the gully, is where the carpet will be tucked. If the gap is too wide, the carpet will look baggy. If it is too narrow, you will never get the pile to seat properly, and you will be forced to use staples on the face of the riser. The pins must be angled toward the riser to create a self-locking mechanism. When you pull the carpet over the tread and into the crotch, the pins bite harder as the tension increases. It is a beautiful piece of engineering that most people never see.
| Installation Method | Staple Visibility | Durability Rating | Required Skill Level |
|---|---|---|---|
| Waterfall Method | Low | Medium | Intermediate |
| Hollywood Method | Zero | High | Advanced |
| Bullnose Wrap | Zero | Maximum | Expert |
| Cap and Band | Zero | High | Professional |
The 1/8 inch that ruins everything
In the world of flooring, an eighth of an inch is a mile. When you are wrapping the nosing, which is the front edge of the stair, the carpet must be under extreme tension. If there is even a tiny bit of slack, the carpet will slide back and forth over the edge. This friction creates heat and mechanical wear that will bald the carpet in six months. This is why we use the Hollywood method. By stapling the carpet directly under the nosing, you create a secondary anchor point. The trick to keeping these staples invisible is to use an electric tacker with a thin nose. You must part the pile of the carpet with your fingers, find the backing, and fire the staple directly into the wood. Then, you brush the pile back over the staple. If you do it right, the staple is buried under the density of the yarn. I prefer a 20 gauge staple for this. It is thick enough to hold but thin enough to disappear. If you use a heavy-duty wide crown staple, you might as well be using a hammer and a common nail. It will look like a mess.
The physics of the electric tacker
A manual stapler has no place on a staircase. You cannot get the necessary force while maintaining the precision required to hide the fastener. An electric or pneumatic tacker allows you to use one hand to tension the carpet and the other to place the staple. The velocity of the staple is vital. It needs to penetrate the carpet backing and the hardwood tread instantly. If the staple doesn’t go all the way in, the head will sit proud of the backing and eventually wear a hole through the carpet. I always tell my apprentices to check the depth of the drive. You want the crown of the staple to be flush with the backing. Not deeper, not shallower. If it is too deep, it can cut the primary backing. This is a delicate balance of air pressure or voltage. On a cold morning in a house without heat, the wood is denser and you need to crank up the power. On a humid summer day, the wood fibers are softer and you need to back it off. You have to feel the wood through the tool.
The invisible staple protocol
- Always use an electric tacker with a narrow nose to reach between carpet fibers.
- Part the nap of the carpet manually before firing the fastener into the backing.
- Place staples in the crotch of the stair where the riser meets the tread for maximum concealment.
- Utilize a carpet tucker to drive the fabric deep into the gully of the tack strip.
- Never staple the top of the tread where foot traffic will expose the metal.
- Secure the padding 1 inch back from the tack strips to avoid bulkiness at the seams.
- Maintain high tension with a knee kicker to minimize the number of staples needed.
Regional humidity and the stretch factor
I have worked in the dry heat of Arizona and the swampy humidity of the coast. Each environment requires a different approach to tension. In a high-humidity environment, synthetic carpet fibers like nylon will actually expand. If you install them tight on a humid day, they will become loose when the air conditioner kicks in and dries the air. This causes ripples. On stairs, a ripple is a trip hazard. You have to over-stretch the carpet in humid conditions. Conversely, in a dry environment, the carpet is at its most stable. If you are working in a region with high seasonal swings, you must ensure the house has been acclimated for at least 72 hours. I have seen guys rush a job in a new build without the HVAC running. They come back a month later to a staircase that looks like a crumpled rug because the carpet expanded and the staples held, but the fabric between them had nowhere to go. We are dealing with polymers and natural fibers that breathe. If you don’t respect the atmosphere, the floor will punish you.
The density of the padding matters
You might think the thickest padding is the best. You are wrong. For stairs, you want a high-density, low-profile pad. An 8-pound density rebond pad that is no thicker than 7/16 of an inch is the industry standard for a reason. If the pad is too thick, it creates a spongy surface that makes the carpet harder to stretch. It also makes the nosing feel round and unstable. More importantly, a thick pad makes it impossible to hide your staples. You end up with a huge gap between the carpet and the wood, and the staple has to travel through too much air before it hits the tread. This allows the staple to bend or vibrate loose. I use a dense rubber pad on high-end jobs. It doesn’t compress as much as foam, which means the carpet stays tight against the wood. This stability is what allows us to hide the fasteners so effectively. You want the carpet to feel like a solid part of the structure, not a pillow strapped to a board.
Maintaining the invisible aesthetic
Once the carpet is in, the job isn’t over. You have to groom the pile. I use a stiff brush to lift the fibers where I have stapled. This hides the entry points of the fasteners. If you see a dimple in the carpet, it means the staple is catching some of the yarn. You take a small awl or a needle and pull those fibers out from under the staple crown. This is the level of detail that separates a master from a handyman. A floor should be a silent, beautiful foundation. It should not scream for attention with shiny silver staples reflecting the hallway lights. If you follow the physics of the stretch and the chemistry of the bond, that carpet will stay put for twenty years. It is about respect for the craft and the materials. Don’t be the guy who thinks a staple gun can fix a bad stretch. Do the work, check your levels, and keep your fasteners out of sight.