The ‘Hand Test’ for Checking Subfloor Smoothness Before Glue-Down
I spent three days grinding concrete on a job last month just so the floor wouldn’t click like a castanet. Most guys skip the leveling compound because they think the underlayment or the glue will hide the dip. It won’t. I once walked into a luxury condo where a wide-plank walnut floor was popping every time someone took a step. The installer had relied on a laser level but ignored the localized humps. My hands were covered in dust and my back was screaming, but that grinding made the difference between a floor that lasts fifty years and one that fails in five. When you are on your knees feeling the grit of the slab, you understand that flooring is an engineering feat, not a decorating project. If you ignore the substrate, you are building a house on sand. I have seen fifteen thousand dollar installs ruined because someone was too lazy to use a five-dollar bag of patch.
The ghost in the expansion gap
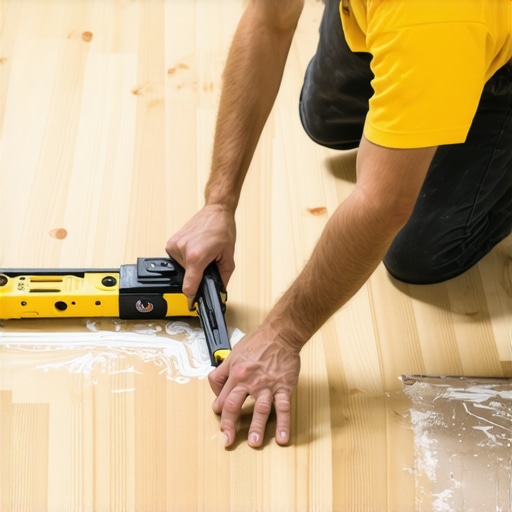
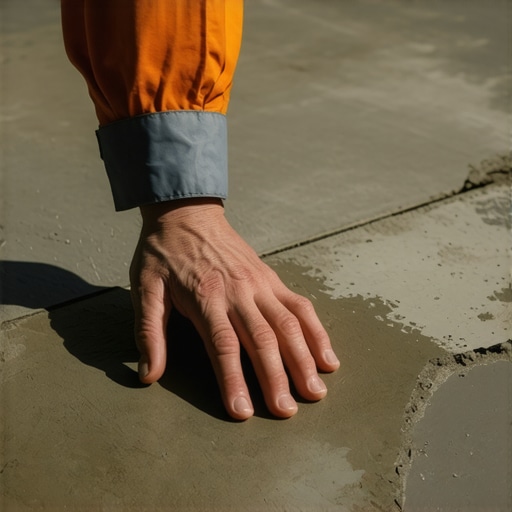
The hand test is a manual inspection technique where an installer slides their palm across the subfloor to detect minor imperfections, ridges, or debris. This process identifies telegraphing risks that can ruin glue-down installations. By feeling the surface, you find the exact spots where the adhesive bond might fail or where the floor might click. You are looking for a surface that feels like a smooth sidewalk, not a gravel road. A level tells you if the floor is flat, but your hand tells you if the floor is smooth. These are two different metrics. A floor can be perfectly level but have a texture like a topographical map of the Ozarks. That texture will translate through your vinyl or thin hardwood, creating a visible shadow or a physical bump that you will feel every time you walk barefoot in the morning. I smell like sawdust and floor wax because I take this seriously. Every ridge is a potential point of failure for the adhesive’s chemical bond.
Why your subfloor is lying to you
Subfloor flatness is measured by the change in elevation over a specific span, usually one-eighth of an inch over ten feet. However, a subfloor can meet this requirement while still possessing sharp ridges or small craters that compromise the glue-down process. These micro-deviations are the primary cause of hollow spots in engineered wood or LVP. When you apply pressure to a plank over a small dip, the locking mechanism undergoes vertical stress. It is a game of physics. If the plank flexes more than the manufacturer allows, the tongue and groove will eventually snap. I have seen it happen in a dozen homes where the owner chose the cheapest bidder. The ‘hand test’ acts as a secondary verification of the straightedge. You are searching for the 1/32nd of an inch that a metal rule might bridge. You are looking for high spots caused by drywall mud, old adhesive residue, or concrete splatter from the original build. These contaminants act as a wedge, forcing the new floor away from its intended plane.
“A floor is only as good as the subfloor beneath it; deflection is the enemy of every joint.” – Master Flooring Axiom
The 1/8 inch that ruins everything
Glue-down installations require a higher degree of smoothness than floating floors because the adhesive creates a rigid or semi-rigid connection to the substrate. Any irregularity in the subfloor causes the glue to pool in low spots or thin out over high spots. This leads to uneven curing and potential debonding. In the world of high-end flooring, we talk about the mil-thickness of the wear layer, but the real story is in the mil-thickness of the glue bed. If you have a hump, the notched trowel will scrape the concrete bare, leaving no adhesive to hold the plank. If you have a dip, the glue will be too thick to dry properly, leading to a squishy sensation underfoot. This is why floor leveling is not optional. It is a structural requirement. When I am prepping a room for a glue-down, I am looking for a surface that feels like a sheet of glass. If I feel a pebble, I scrape it. If I feel a dip, I fill it. There is no middle ground when the integrity of the home is on the line.
Subfloor specifications across various materials
Different flooring materials have unique tolerances for subfloor smoothness and moisture content to ensure long-term performance. Solid hardwood requires a dry, stable base, while laminate is more forgiving of minor texture but hates moisture. Tile demands extreme rigidity to prevent grout cracking. The following table outlines the technical requirements for common materials used in professional installations. These numbers are the difference between a warranty and a lawsuit.
| Flooring Type | Max Deviation (per 10ft) | Moisture Limit (MC%) | Recommended Prep |
|---|---|---|---|
| Solid Hardwood | 1/8 inch | 6-9% | Sanding and Cleat Fastening |
| Engineered Wood | 3/16 inch | 4-12% | Moisture Barrier Glue |
| Luxury Vinyl Plank | 3/16 inch | 8% Max | Self-Leveling Compound |
| Ceramic Tile | 1/4 inch | N/A | Cement Backer Board |
| Laminate | 1/4 inch | 12% Max | High-Density Underlayment |
Concrete slabs and the molecular moisture trap
Concrete slabs act as a sponge that can hold gallons of water, which eventually evaporates and attacks the adhesive bond from below. This is the hidden killer of glue-down floors. Even if the surface feels dry to the hand, the internal moisture can be at ninety percent relative humidity. We use calcium chloride tests or in-situ probes to get the real numbers. The chemistry of the adhesive is designed to bond with the concrete, not with a layer of water vapor. When moisture rises, it creates hydrostatic pressure. This pressure pushes the glue off the slab, leading to bubbles and buckling. I have walked into jobs where the laminate was literally floating on a layer of moisture. It smelled like a swamp. To prevent this, you must use a high-quality moisture vapor barrier. This is a chemical coating that seals the pores of the concrete. It is an expensive step, but it is cheaper than ripping out a whole floor because the glue turned back into liquid.
Tools for a perfect substrate
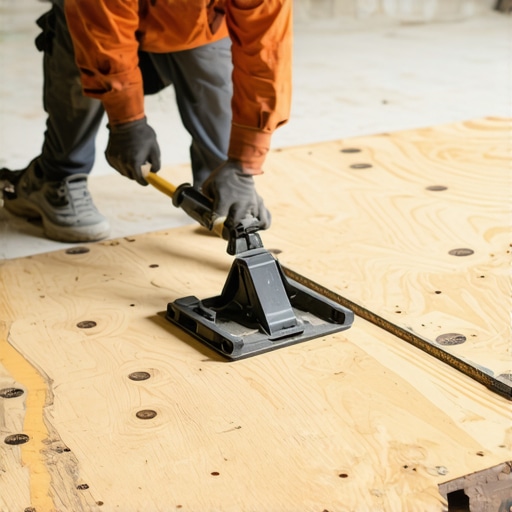
Professional subfloor preparation requires a specific set of tools designed to measure, flatten, and clean the surface before any material is laid. You cannot do this with a broom and a prayer. You need the right gear to ensure the surface is ready for a permanent bond. A dirty floor is a failed floor. Dust is the enemy of adhesion. If there is a layer of fine dust on the concrete, the glue will stick to the dust, not the slab. This is why I use a vacuum with a HEPA filter, not just a shop-vac. The following list represents the minimum kit for a Master Floor Architect.
- Six-foot and ten-foot aluminum straightedges for finding humps.
- A specialized moisture meter with pin and pinless modes.
- Angle grinder with a turbo diamond cup wheel for concrete high spots.
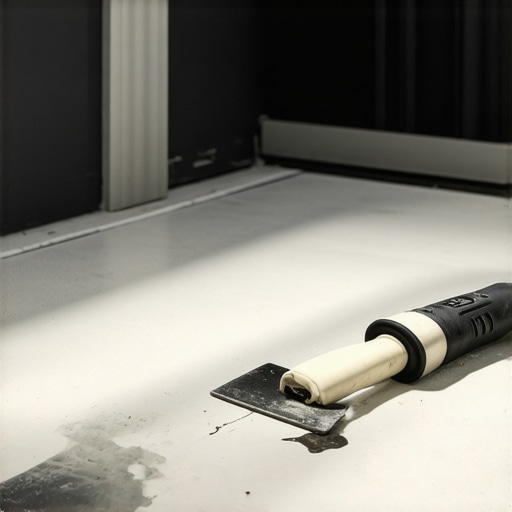
- Floor scraper with a replaceable carbon steel blade.
- Portland cement-based feather finish patch for minor dips.
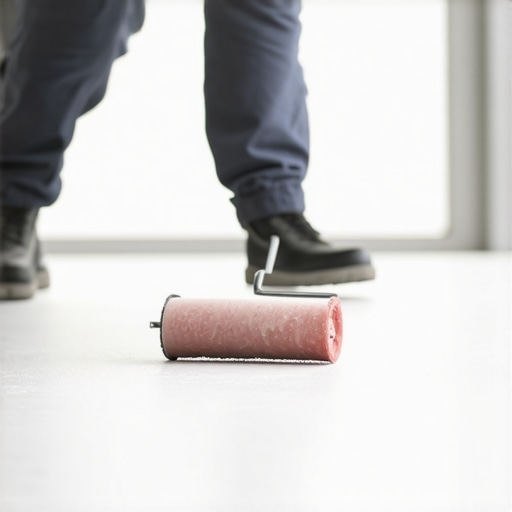
- Long-handle floor roller to ensure 100% adhesive transfer.
The chemical reality of adhesive bonding
Adhesives for flooring are complex polymers that rely on a clean, smooth surface to create a mechanical and chemical lock. When you use the hand test, you are ensuring there are no oils, waxes, or sealers that will interfere with this reaction. Most modern glues are silane-modified polymers. These are incredible because they remain slightly flexible, allowing the wood to expand and contract without breaking the bond. However, they are sensitive to surface contamination. If you have old carpet install glue left on the floor, the new adhesive might react with it, creating a gummy mess that never hardens. This is why I spend so much time on my knees with a scraper. It is not about being a perfectionist. It is about the science of the bond. If the chemistry fails, the floor fails. There are no shortcuts in the world of molecular adhesion. You either do the work to clean the substrate, or you watch the floor fail within the first season of humidity changes.
“Proper substrate preparation is the single most important factor in the success of a flooring installation.” – Master Flooring Axiom
Shower pans and the physics of drainage
Shower floor installations require even higher precision than dry areas because the substrate must manage the flow of water toward the drain. In these environments, the hand test is used to check the slope of the mud bed or the waterproofing membrane. If there is a slight ridge in the shower pan, water will pool there. This leads to mold, mildew, and the eventual failure of the grout. I have seen showers where the tile looked beautiful, but the subfloor was flat instead of sloped. Within six months, the bathroom smelled like a basement because the water had nowhere to go. We use a pre-pitch and a final pitch to ensure every drop of water moves toward the drain. This is the difference between a shower that lasts and one that rots your floor joists. You cannot hide a bad slope with extra thin-set. The tile will just follow the line of the floor, and the physics of gravity will do the rest.
Carpet and laminate installation errors
Homeowners often assume that carpet or laminate will hide a bad subfloor, but these materials eventually telegraph the underlying problems. Carpet padding will compress over a hump, leading to a permanent wear mark in the fibers. Laminate will bounce over a dip, eventually causing the click-lock joints to separate. I call this the ghost in the floor. You might not see it the day the floor is installed, but six months later, it is all you will see. Even for a carpet install, the floor needs to be clean and free of large debris. I have found old nails, chunks of drywall, and even coins under old carpet. Those items eventually work their way up through the padding and ruin the look of the room. Every floor, regardless of the price point, is a performance surface. It must be treated with the same respect as a high-end hardwood job. Prep is king, and the hand test is the final gatekeeper.