How to Seal the Gap Between Your Floor Leveler and the Drywall
The physics of the perimeter gap
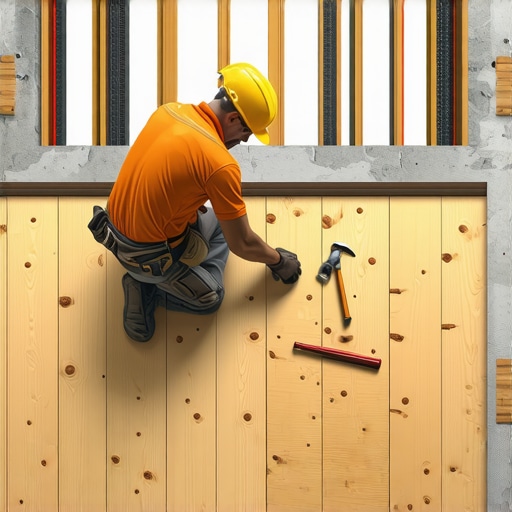
Sealing the gap between floor leveler and drywall requires a perimeter isolation strip or polyethylene foam seal to prevent the liquid underlayment from escaping into wall cavities. This expansion joint allows for structural movement and ensures the self-leveling compound maintains its integrity without cracking at the edge or leaking into the subfloor below. Most guys skip the leveling compound. They think the underlayment will hide the dip. It won’t. I spent three days grinding concrete on a job last month just so the floor wouldn’t click like a castanet. The previous installer thought he could just pour five bags of leveler without sealing the perimeter. He ended up filling the homeowner’s HVAC vents in the basement with twenty gallons of wet cement. It was a $4,000 mistake that could have been fixed with a five dollar roll of foam tape. If you don’t respect the liquid nature of these products, they will find every crack and crevice in your structure. Gravity is a relentless boss and liquid cement is its best employee. When you pour a self-leveling underlayment, you are essentially creating a temporary indoor lake. Without a proper dike at the perimeter, that lake becomes a flood. This isn’t about making things look pretty. This is about structural containment and the management of hydrostatic pressure against the bottom plate of your wall framing. If you let that leveler touch the gypsum board directly without a break, you are inviting moisture to wicking into your drywall through capillary action. This leads to mold, crumbling rock, and a failure of the paint bond. It’s a mess that nobody wants to clean up, especially not when you have a timeline to hit for your laminate or carpet install.
Why foam sill seal is your best friend
Foam sill seal and polyethylene backer rods provide the mechanical separation needed to isolate the self-leveling underlayment from the vertical wall surfaces. These materials act as a compressible buffer that absorbs the expansion and contraction of the subfloor while preventing the leveler from bonding to the drywall or studs. Using a sill seal is a practical move that every pro understands. It is usually about a quarter inch thick and comes in rolls that you can easily staple or spray-glue to the base of the wall. When the leveler hits that foam, it stops cold. It creates a clean edge that is easy to trim once the product has cured. If you try to use duct tape or just hope the drywall is tight to the floor, you are going to lose. Drywall is rarely perfectly level. There are always gaps. Even a 1/32 inch gap is enough for a high-flow leveler to disappear. I’ve seen guys lose half a pallet of leveler into a crawlspace because they didn’t take twenty minutes to run a bead of foam around the room. You have to think like a plumber when you’re working with these modern compounds. They have the viscosity of heavy cream and the weight of lead. Any hole is an exit. Using a high-quality foam strip ensures that your leveler stays where you put it, maintaining the exact thickness required for your flooring manufacturer’s warranty. This is especially true for showers or wet areas where the containment is even more imperative to prevent water migration later on.
“A floor is only as good as the subfloor beneath it; deflection is the enemy of every joint.” – Master Flooring Axiom
The chemical bond between cement and gypsum
Chemical compatibility between Portland cement-based levelers and gypsum-based drywall is a major concern because the ettringite formation can cause delamination and structural cracking at the interface. To prevent this, a high-solids acrylic primer or a physical barrier must be used to keep the two materials from reacting poorly to one another. You can’t just slap wet cement against paper-faced drywall and expect it to behave. The paper will suck the moisture out of the leveler too fast, leading to a weak bond and a crumbly edge. This is why we use isolation strips. It keeps the chemistry of the floor separate from the chemistry of the wall. We are talking about the molecular level here. When the cement hydrates, it needs a specific amount of water to form its crystalline structure. If the drywall steals that water, the crystals don’t grow right. You end up with a perimeter that is soft and prone to breaking. I always tell my guys that the floor and the wall are like a divorced couple. They can live in the same house, but they shouldn’t be touching. If they touch, there is going to be friction. In flooring, friction means cracks. Cracks mean call-backs. Call-backs mean I’m working for free, and I don’t work for free. You need to understand the pH levels involved too. Cement is highly alkaline. Drywall is relatively neutral. Putting them together without a barrier is asking for a chemical reaction that can degrade the integrity of both. Use a barrier, every single time.
| Material Type | Expansion Capacity | Moisture Barrier Rating | Installation Speed |
|---|---|---|---|
| Polyethylene Foam | High | Excellent | Fast |
| Silicone Sealant | Medium | High | Slow |
| Spray Polyurethane | Low | Moderate | Medium |
| Backer Rod | High | Good | Fast |
How much gap is too much
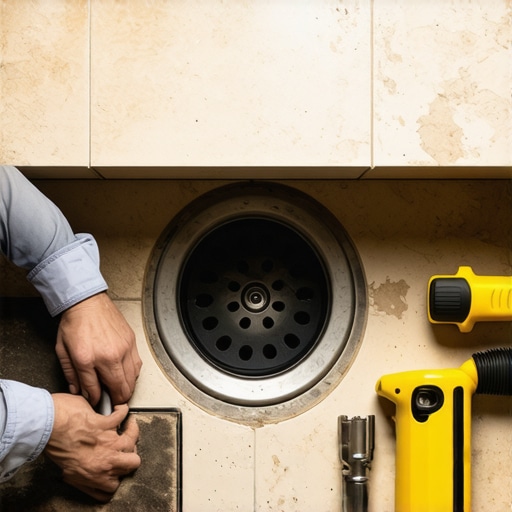
The maximum allowable gap between the drywall and subfloor before pouring leveler should not exceed one eighth of an inch without a dedicated perimeter dam or caulking reinforcement. If the gap is larger, the hydrostatic head pressure of the wet leveler will force the material through the opening and behind the wall. I’ve walked onto jobs where the drywall was hung an inch off the floor to prevent moisture wicking, which is smart, but the flooring guy didn’t know how to handle it. He just poured. He ended up with leveler flowing out the exterior weep holes of the brickwork. If you have a large gap, you need to use a spray foam or a backer rod to plug it. You can’t rely on the surface tension of the leveler to hold it back. It won’t. It’s like trying to hold back the tide with a screen door. You need a solid, non-porous dam. I prefer using a combination of foam strips and a bead of low-expansion spray foam for the big voids. Once it’s cured, you just trim it flush with a utility knife. It gives the leveler a firm wall to push against. If you are doing a carpet install later, this firm edge is essential for the tack strips to bite into something solid. If you have a hollow space under your drywall, your tack strip will just crumble the edge of the leveler when you try to nail it in. Think about the next guy on the job. Usually, that next guy is you. Do the work now so you don’t hate yourself next week.
- Inspect the entire perimeter for any holes or gaps larger than a pencil lead.
- Apply a high-solids primer to the subfloor to ensure a mechanical bond.
- Install a 1/4 inch polyethylene foam strip along all vertical surfaces.
- Seal the bottom of the foam strip with a thin bead of silicone if the floor is very uneven.
- Double check the doorway transitions to ensure the leveler doesn’t escape into the next room.
Preventing the lake effect in your living room
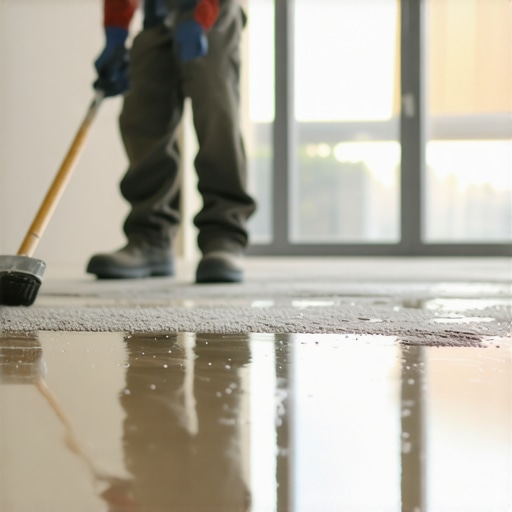
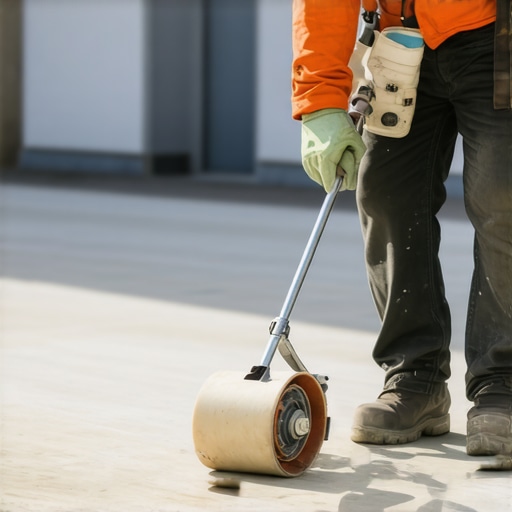
Controlling the flow of self-leveling underlayment involves creating watertight boundaries and understanding the specific gravity of the mix to prevent the liquid underlayment from migrating to unwanted areas. You have to treat the room like a swimming pool. If you wouldn’t trust it to hold water, don’t trust it to hold leveler. This is where the real skill comes in. You aren’t just dumping buckets. You are managing a fluid dynamic. If you have a floor that is wildly out of level, say more than two inches over ten feet, the pressure at the low point is going to be significant. That foam strip needs to be secured tightly. I use a staple gun every six inches if I’m going into wood studs, or a high-tack spray adhesive if I’m hitting metal or concrete. Don’t be stingy with the adhesive. If the foam floats to the top of the leveler, you’ve lost your seal and you’ve got a mess. While most people want the thickest underlayment, too much cushion actually causes the locking mechanisms on LVP to snap under pressure, so keep your perimeter seals tight and your leveler thick enough to be structural but not so thick it creates height problems for your trim. A level floor is the foundation of everything. If the floor is flat, the baseboards sit tight, the furniture doesn’t wobble, and the laminate doesn’t bounce. It all starts with that gap at the drywall. Seal it right, or don’t bother pouring. You are just wasting money and time if you ignore the perimeter. Get on your knees, check the gaps, and seal them like your paycheck depends on it, because it usually does.
“Deflection in the subfloor is the primary cause of grout failure and tile delamination; a rigid perimeter is the first line of defense.” – TCNA Technical Bulletin