How to Fix a Burn Mark in Your New Carpet
I have got sawdust under my nails and the smell of WD-40 on my work shirt from a long day of ripping out rotted subfloors. I am not here to talk about the latest color trends or the softest textures for your toes. I am here because I have seen too many homeowners stare in horror at a black, crusty crater in their brand-new nylon carpet caused by a dropped cigarette or a forgotten hair straightener. Most people think a burn mark means the entire room needs a new carpet install, but that is a wasteful mindset. I spent three days grinding concrete on a job last month just so the floor would not click like a castanet under a laminate installation, and that same level of precision is exactly what you need for a carpet patch. If you skip the technical steps, your patch will look like a bad toupee. We are going to treat this like a surgical procedure.
I once walked into a house where a homeowner tried to hide a cigarette burn with a black Sharpie and a prayer. It looked like a bruised eye in the middle of a beige sea. They thought the ink would blend the charred plastic fibers. It did not. The charred fibers are literally melted polymers that have undergone a permanent chemical change. You cannot wash away a burn because the fiber has reached its glass transition temperature and fused into a hard, non-absorbent mass. My job was to cut out that failure and graft in a piece of donor carpet so perfectly that even the property appraiser could not find the seam. This requires understanding the molecular reality of what happens when heat meets synthetic yarn.
The thermodynamics of carpet fiber destruction
Carpet burn marks occur when the thermal energy of an object exceeds the melting point of nylon or polyester fibers. Most modern carpets are made of synthetic polymers that liquefy and then solidify into a crusty residue. Identifying the fiber type is the first step in determining the repair method and the adhesive chemistry required for a permanent fix.
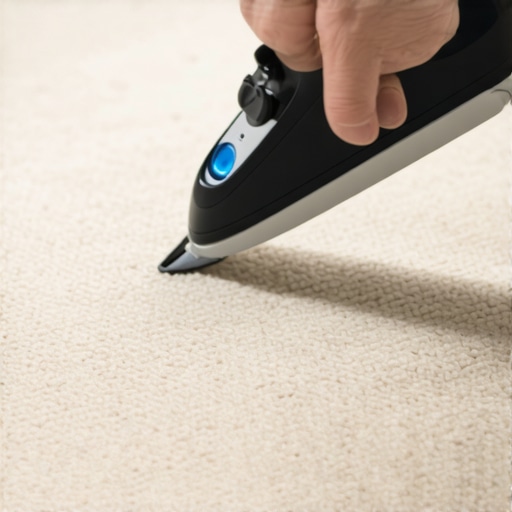
When we talk about carpet, we are usually talking about Nylon 6 or Nylon 6,6. Nylon 6 has a lower melting point, around 430 degrees Fahrenheit, while Nylon 6,6 is more resilient and melts closer to 500 degrees. Polyester is a different beast entirely. It is a thermoplastic that melts at roughly 480 degrees but tends to char and blacken more aggressively than nylon. When that curling iron hits the floor, the heat transfers instantly into the pile. The individual filaments, which are often thinner than a human hair, lose their structural integrity. They collapse and fuse. This is why you cannot just brush out a burn. The fibers are no longer separate entities. They are a single, hardened lump of plastic. This lump is often bonded to the primary backing, which is usually a woven polypropylene. If the heat was intense enough, it might have even scorched the secondary backing or the latex adhesive that holds the whole sandwich together. If you are dealing with a burn near moisture sources like bathrooms or showers, you also have to worry about the integrity of the moisture barrier beneath the surface.
Preparation of the surgical site and fiber extraction
Preparing the repair area involves the mechanical removal of damaged tufts using precision shears or a surgical blade. It is essential to clear the perimeter of the charred material without damaging the structural integrity of the primary backing. A vacuum with a HEPA filter should be used to remove microscopic debris before applying any bonding agents.
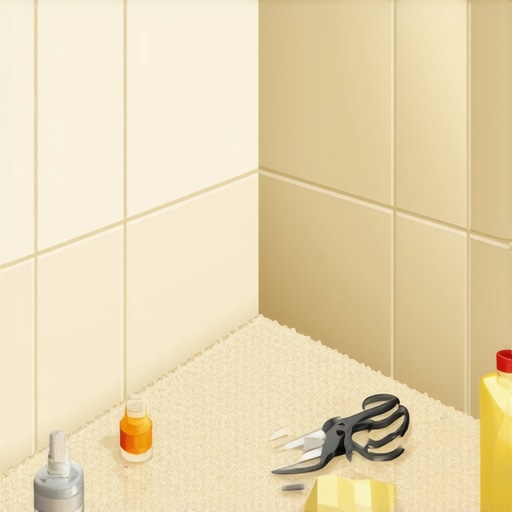
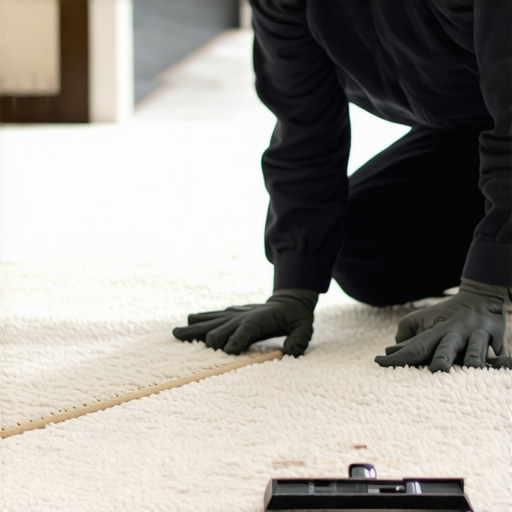
You need to start by taking a pair of fine-tipped duckbill shears and snipping away the blackened tips if the burn is shallow. If it is just a surface singe, you might get lucky. You can gently scrape the charred bits away with a dull knife. It is like sanding down a high spot during floor leveling. You take a little at a time. However, if the burn has reached the backing, you are looking at a full-depth replacement. This is where most people fail. They cut a random square out of the carpet. You should never cut a square if you can avoid it. Circles or triangles are much harder for the human eye to track. I use a professional carpet cookie cutter, which is a circular tool designed to cut a perfect three inch diameter plug. This tool allows me to bypass the jagged edges of a hand-cut hole and ensures that the donor piece fits with zero tolerance gaps.
Selecting the donor material from hidden reserves
Donor carpet material must be sourced from an unobtrusive location such as the back of a closet or under a fixed radiator. The yarn twist, pile direction, and dye lot must match the repair site perfectly to ensure visual continuity. Using scrap material from the original carpet install is the gold standard for seamless integration.
Every carpet has a nap. If you run your hand across it, the fibers will lean one way. This is the pile direction. If you glue in a donor piece backwards, it will look like a different color even if it came from the exact same roll. It is an optical illusion caused by the way light reflects off the side of the fiber versus the end of the fiber. I always mark the nap direction with a piece of painter tape before I cut anything. I go into the deepest corner of the master closet, past the old boots and the boxes of holiday decorations, to find my donor. I cut a plug that is slightly larger than the hole I need to fill. If the carpet was installed over a high-quality pad, I make sure not to disturb the pad. If the subfloor has any dips, I might even use a tiny bit of leveling compound to ensure the backing of the carpet sits perfectly flush with the surrounding area. This is the same logic we use when preparing a floor for laminate. Any deviation in height will cause the edges of the patch to wear faster and eventually fail.
| Fiber Type | Melting Point (F) | Repair Difficulty | Chemical Resistance |
|---|---|---|---|
| Nylon 6 | 430 | Moderate | High |
| Nylon 6,6 | 500 | Low | Very High |
| Polyester | 480 | High | Moderate |
| Polypropylene | 320 | Extreme | Low |
| Wool | 600 (Singe only) | Low | High |
The chemical bond and adhesive selection
Adhesive selection for carpet repair requires a thermoplastic resin or a high-solids contact cement that can withstand mechanical stress. The bonding agent must penetrate the secondary backing without wicking into the face fibers. A low-moisture adhesive prevents fiber swelling and ensures a flush finish with the existing floor.
In my kit, I keep a professional-grade hot melt glue gun that uses high-temperature sticks. This is not the stuff you find in a craft store. This adhesive is designed to mimic the latex used in the factory. When I place the donor plug into the hole, I apply the glue to the backing of the plug, not the subfloor. If you glue the carpet to the subfloor, you create a hard spot that will eventually click or crunch when someone walks on it. You want the patch to float just like the rest of the carpet. I apply a bead of seam sealer to the edges of the cut. This is vital. Seam sealer acts like a chemical weld for the polypropylene backing. It prevents the edges from fraying. If those edges fray, the tufts will start to fall out one by one, and in six months, you will have a bald ring around your patch. This is why I stress the chemistry. You are not just sticking things together. You are rebuilding the structural matrix of the floor surface.
The mechanical integration of the patch
Mechanical integration is the process of blending tufts using a carpet awl or a row separator to hide the seam line. This step requires precision manipulation of the individual yarns to ensure they interlock with the surrounding pile. Proper grooming eliminates the visual shadow created by the cut line.
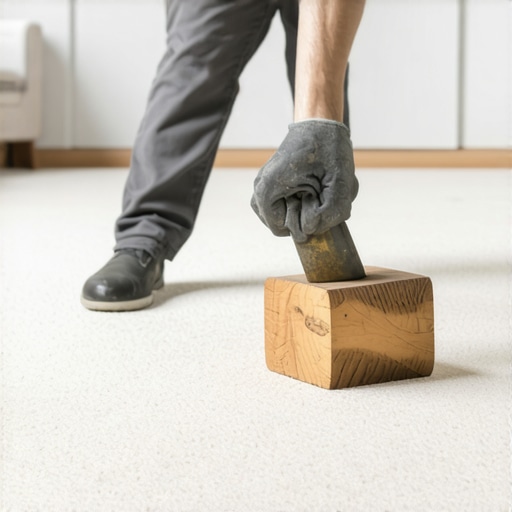
Once the glue has set, which usually takes about fifteen minutes with a high-heat catalyst, I take a star roller or a carpet awl. I gently pick at the fibers along the circular seam. I am literally pulling the individual loops and cut ends across the gap. It is like weaving a tiny bridge. If you do this right, the fibers from the patch and the fibers from the original carpet will tangle together. This tangling hides the physical cut in the backing. I then take a heavy weight, like a tool box or a specialized carpet seam weight, and leave it on the patch for an hour. This ensures the adhesive sets flat. If the patch is even a millimeter higher than the rest of the floor, the vacuum cleaner will catch the edge and rip it out. In the world of flooring, a millimeter is a mile. Whether you are installing luxury vinyl or patching a burn, height transition is the enemy of longevity.
- Identify the fiber type by performing a small snip and burn test in a closet.
- Locate a donor piece from an inconspicuous area like a closet or under a baseboard.
- Use a circular cutting tool to remove the damaged area and the donor piece.
- Verify pile direction on both the patch and the recipient hole.
- Apply seam sealer to the edges of the backing to prevent fraying.
- Use a high-temperature carpet glue to secure the patch without bonding to the subfloor.
- Blend the fibers using an awl or star roller to hide the seam.
- Weight the repair for sixty minutes to ensure a flat and permanent bond.
The ghost in the expansion gap
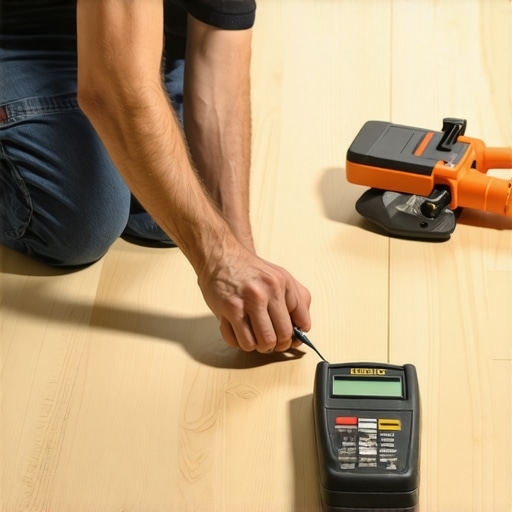
When you are working on any floor repair, you have to think about the expansion and contraction of the building. Carpet is less affected by humidity than solid oak, but the backing can still move. If you have a house with high humidity near showers, the moisture can migrate through the carpet and affect the subfloor. I have seen subfloors expand and push the carpet into a ripple. If that happens near your patch, the patch will pop out like a cork. This is why I always check the moisture levels with a Protimeter before I start. If the subfloor is wet, you are wasting your time. You have to fix the source of the moisture first. Sometimes that means checking the caulk in the bathroom or ensuring the floor leveling compound used in the past was not a cheap, gypsum-based product that is now crumbling under the weight of foot traffic. Every element of the floor is connected. You cannot isolate a repair from the environment it lives in.
Why your subfloor is lying to you
Sometimes the burn is not the only problem. When I pull back the carpet to look at the padding, I often find a subfloor that is a mess of staples, old adhesive, and uneven seams. People think carpet hides everything. It does not. It is just a flexible skin over a skeleton. If the skeleton is crooked, the skin will eventually tear or wear unevenly. If I find a dip in the plywood or concrete, I take the time to fill it. I use a high-quality polymer-modified leveling compound. This ensures that when I put the carpet back down and finish the patch, the surface is perfectly planar. This is the same attention to detail required for a professional laminate job. If the floor is not flat, the locking mechanisms on laminate will snap, and the seams on a carpet patch will show. Accuracy is not optional. It is the difference between a repair that lasts twenty years and one that lasts twenty days.
Environmental factors in the regional climate
In regions with extreme humidity shifts, the behavior of carpet adhesives changes. In a place like the swampy South, the dry time for seam sealers can double. The moisture in the air keeps the solvents from evaporating. Conversely, in a dry desert climate, the glue can skin over too fast, leading to a weak bond. You have to adjust your working speed to the environment. I have worked in houses where the air conditioning was off during a summer renovation, and the carpet was so limber it felt like a wet noodle. You cannot get a good cut on a limp carpet. I always insist that the HVAC system is running for at least forty-eight hours before I do any precision repair work. This stabilizes the fibers and the backing, ensuring that the size of the hole I cut today is the same size it will be tomorrow.
The invisible 1/8 inch that ruins everything
The most common mistake I see is people being too aggressive with the glue. They think more glue means a stronger bond. In reality, too much glue creates a hard lump that is about 1/8 inch thick. When you walk over that spot, it feels like there is a pebble in your shoe. Over time, that hard lump acts as an abrasive against the underside of the carpet fibers. Every time someone steps on it, the fibers are ground against the hardened glue. Eventually, the patch will go bald. The goal is to use the absolute minimum amount of adhesive required to achieve a structural bond. You want the patch to have the same deflection and give as the rest of the floor. Flooring is about physics. It is about how the material handles the energy of a footfall. If you create a point of zero deflection in a flexible surface, you have created a failure point. Keep your glue layers thin and your precision high, and you will have a repair that is truly invisible.