The Hairbrush Hack for Blending Visible Carpet Seams
The hidden mechanics of fiber memory
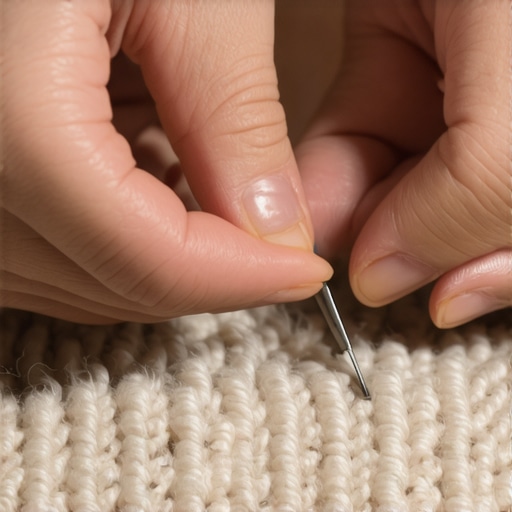
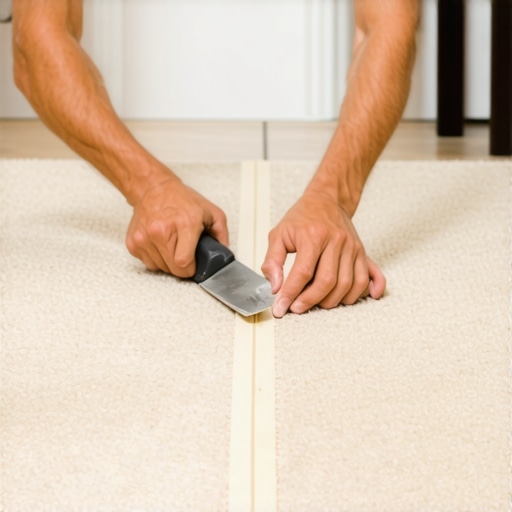
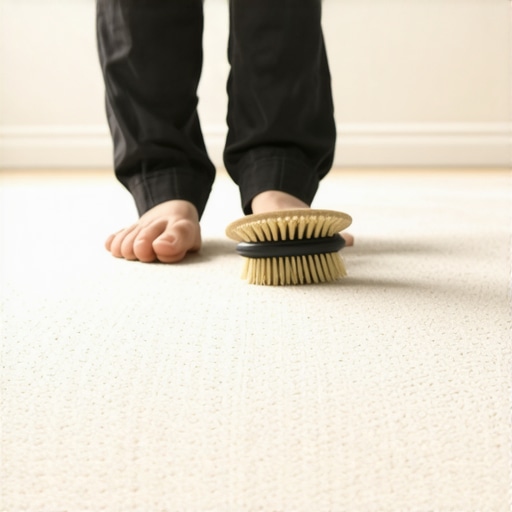
The hairbrush hack for blending visible carpet seams involves using a stiff-bristle nylon brush or a dedicated carpet groomer to agitate the synthetic fibers along the join line. By mechanically lifting the yarn that has been flattened by the heat of a seam iron, the installer eliminates the artificial shine and indentation that often characterizes a fresh installation. Most guys skip the leveling compound. They think the underlayment will hide the dip. It won’t. I spent three days grinding concrete on a job last month just so the floor wouldn’t click like a castanet. That same level of obsession applies to your seams. When you run a 350-degree iron over a thermoplastic tape, you are not just melting glue. You are changing the physical properties of the surrounding nylon or polyester fibers. These fibers have a thermal memory. If they stay pressed down while the adhesive cools, they stay down forever. You get a visible trench that screams amateur hour. My secret is a common hairbrush with firm bristles. As soon as that seam is weighted and the glue is setting, you go in and gently tease those fibers back to life. You are essentially performing a surgical intervention on the carpet pile to ensure the light hits it at the same angle across the entire room. If the light reflects differently at the join, the seam is visible, regardless of how tight the actual physical bond is. This is the difference between a floor that looks like a single piece of fabric and one that looks like a series of connected strips. You need to understand the molecular reality of what is happening under that iron. The heat transfers through the primary and secondary backings, temporarily softening the polymer chains in the yarn. If you don’t agitate them back into their vertical orientation before the temperature drops below the glass transition point, you’ve locked in the defect. No amount of vacuuming later will fix it.
Why your subfloor is lying to you
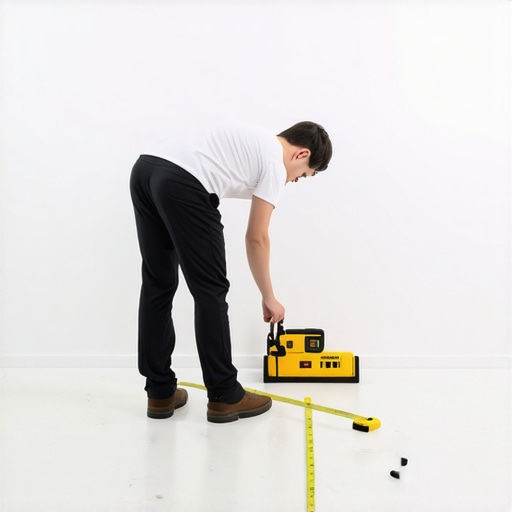
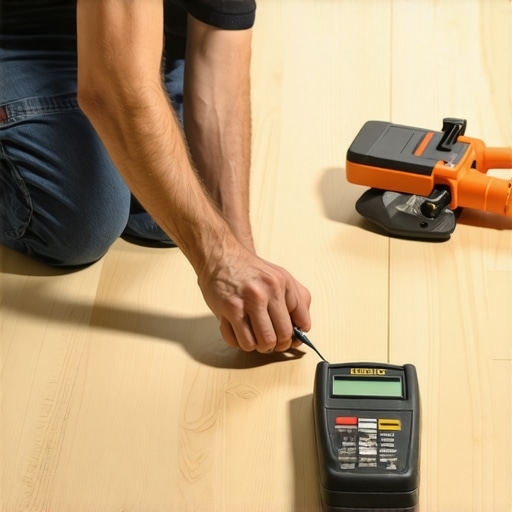
Floor leveling and subfloor preparation are the most important steps in any carpet install or laminate project because any deviation in the substrate will manifest as a visual defect or a structural failure in the surface material. A flat floor is defined as having no more than one-eighth of an inch of variation over a ten-foot radius. I have seen people try to install expensive laminate over a slab that looked like the rolling hills of Kentucky. They think the foam underlayment acts like a pillow. It doesn’t. Underlayment is designed for compression resistance and sound dampening, not for structural gap-filling. When that laminate planks spans a dip, it creates a void. Every time you walk over it, the tongue and groove joint flexes. Eventually, the locking mechanism snaps. It sounds like a gunshot, and the floor is ruined. The same applies to carpet. If there is a hump in the subfloor right where your seam is, the seam will peak. It will catch the light and wear out prematurely because the foot traffic is hitting that high point more aggressively. You have to get the grinder out. You have to mix the self-leveling compound to a pancake-batter consistency and pour it into the low spots. Do not trust your eyes. Use a magnesium straight edge. This is why I smell like concrete dust half the time. It is about the physics of the base. If the base is a lie, the finish is a failure.
“A floor is only as good as the subfloor beneath it; deflection is the enemy of every joint.” – Master Flooring Axiom
The chemistry of the heat bond melt
Heat bond tape relies on a thermoplastic adhesive that must reach a specific melting point to penetrate the carpet backing while the installer maintains a consistent speed to avoid scorching the yarn. The chemical bond is formed as the molten glue encapsulates the grid of the secondary backing and fuses it to the tape substrate. If you move too fast, the glue is too thick and won’t bite. If you move too slow, you smoke the latex and the fibers. You need to find that sweet spot. Most modern irons have a setting between three and four that hits the required temperature. But here is the trick. As you pull the iron, you must follow immediately with a seam roller, but only with light pressure. If you crush it, you force the glue up into the pile. That is a nightmare. The hairbrush comes in right after the roller. You are looking to restore the nap. Think about the carpet install as a chemical reaction. You are using heat to trigger a phase change in the adhesive. Once that glue cools, it becomes a rigid bridge. If the fibers are caught in that bridge, you will see the seam until the day the carpet is ripped out. This is especially true with low-profile commercial carpets or tight loops like Berbers. There is nowhere for a bad seam to hide. You have to be perfect with the row cutter, and you have to be even better with the brush. If you are transitioning near showers, you also have to worry about moisture. I always use a latex seam sealer on the edges before I even bring the iron to the party. It prevents fraying and adds a layer of protection against the high humidity found in bathrooms.
| Material Type | Acclimation Period | Moisture Tolerance | Janka Rating |
|---|---|---|---|
| Solid White Oak | 7 to 14 Days | 6 to 9 Percent | 1360 |
| Engineered Maple | 3 to 5 Days | 8 to 12 Percent | 1450 |
| Laminate Flooring | 48 Hours | Low | N/A |
| Luxury Vinyl Plank | 24 Hours | High | N/A |
The myth of the thick underlayment
While many homeowners believe that a thicker underlayment provides more comfort, excessive cushion actually destabilizes the locking systems of laminate and LVP floors by allowing too much vertical movement. A high-quality underlayment should prioritize density and vapor protection over sheer thickness to ensure the longevity of the floor. I see it all the time. Someone buys the thickest, squishiest foam they can find for their laminate install. They think it will feel like walking on a cloud. Instead, it feels like walking on a trampoline. That vertical deflection is the silent killer of floors. Every time the joint bends, the thin layer of HDF or PVC in the locking track is stressed. Eventually, it shears off. Now you have planks separating and gaps opening up. For a proper install, you want a high-density underlayment, usually no more than three millimeters thick. It needs to have a high compression strength. This provides a solid base for the floor while still offering the acoustic benefits people want. If you are installing over concrete, the vapor barrier is the real hero. Concrete is a sponge. It breathes moisture. If you don’t block that moisture, it will swell the underside of your laminate until the edges peak and the floor looks like a washboard. It is about the science of the stack. You want a flat substrate, a dense moisture barrier, and a stable surface. Don’t fall for the marketing hype of the extra-thick foam. It is a trap that leads to expensive repairs. Any installer who tells you otherwise is probably trying to hide a bad leveling job.
“Proper seam sealing is not an option; it is a structural requirement for the longevity of any textile installation.” – Flooring Industry Standard
Transitions from showers to textiles
Connecting a tiled shower area to a carpeted bedroom requires a secure transition strip or a Z-bar tuck to prevent the carpet from pulling away while protecting the tile edge from chipping. The transition must account for the height difference between the thick mortar bed of the shower and the relatively thin profile of the carpet and pad. This is where a lot of guys get lazy. They just slap a cheap metal strip down and call it a day. That is how you get a toe-stubber. I prefer a hidden transition. I use a commercial-grade architectural strip or a custom-scribed wood threshold that handles the elevation change gracefully. In the wet environment of a bathroom, the subfloor near the shower is a danger zone. If you are installing carpet right up to the tile, you need to make sure your tack strip is set exactly one quarter-inch away from the tile. This allows you to tuck the carpet into the gap, creating a clean, professional edge. I always use a bit of extra adhesive in that tuck. It keeps the carpet from popping out when the vacuum hits it. It also creates a seal that prevents moisture from the shower from migrating under the carpet pad. Water is the enemy. It will rot the wood subfloor and turn the carpet pad into a petri dish. You have to think like an engineer. How does the water move? How does the foot traffic hit the transition? If you solve those problems, the floor lasts forever.
- Verify subfloor levelness with a 10-foot straight edge
- Acclimate all materials to the room temperature for 48 hours
- Use a power stretcher for all carpet installs to prevent ripples
- Apply seam sealer to all cut edges of the carpet
- Perform the hairbrush agitating hack while the seam is still warm
- Install a moisture barrier over all concrete slabs
The ghost in the expansion gap
The expansion gap is a mandatory space left around the perimeter of a laminate or hardwood floor to allow the material to expand and contract with changes in humidity and temperature. Failure to provide this gap will result in the floor buckling or crowning as it has no room to move within the fixed walls of the structure. Wood is a living material. Even after it is cut and finished, it reacts to the air. In the summer, when the humidity hits 80 percent, those planks are going to grow. If you pushed them tight against the drywall, they have nowhere to go but up. I have seen floors lift six inches off the subfloor because some DIYer thought the gap was ugly. That is what baseboards and shoe molding are for. They hide the gap. You need at least a quarter-inch, sometimes a half-inch for larger rooms. And don’t think you can skip it just because you are using LVP. Even vinyl expands. It is the physics of thermal expansion. Heat the room up, and the plastic grows. If it hits the wall, the joints will peak. This is why you never install heavy kitchen islands on top of a floating floor. You are effectively pinning the floor to the subfloor. When the rest of the floor tries to move, it can’t. It will tear itself apart at the seams. You have to install the floor around the island or use a specialized transition. It is all about the freedom of movement. If the floor can’t breathe, it will die. I spend a lot of my time fixing these mistakes. It is much easier to do it right the first time. Keep your gaps clear and your transitions floating. Your floor will thank you for it in ten years.