Why Your Shower Niche Is The Reason Your Living Room Wall Is Damp
I spent three days grinding concrete on a job last month just so the floor wouldn’t click like a castanet. Most guys skip the leveling compound. They think the underlayment will hide the dip. It won’t. I view flooring as a structural engineering challenge, and that includes the wet areas that touch it. When you have sawdust under your nails and the smell of WD-40 in your lungs, you learn that water is a patient predator. I once saw a homeowner who spent five thousand dollars on white oak laminate in the living room, only to see the edges peak and turn black within six months. The installer blamed the floor. The homeowner blamed the manufacturer. I looked at the wall shared with the master shower. The culprit was a decorative niche with no pitch and a microscopic breach in the membrane. Water was migrating through the framing, hitting the subfloor, and wicking into the laminate like a sponge. Flooring and waterproofing are two sides of the same coin.
The phantom leak behind the tiles
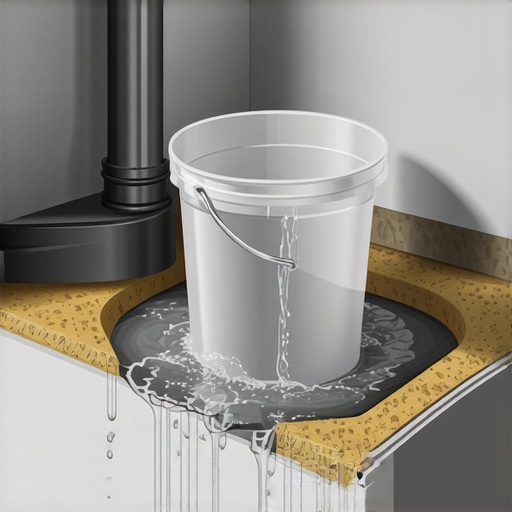
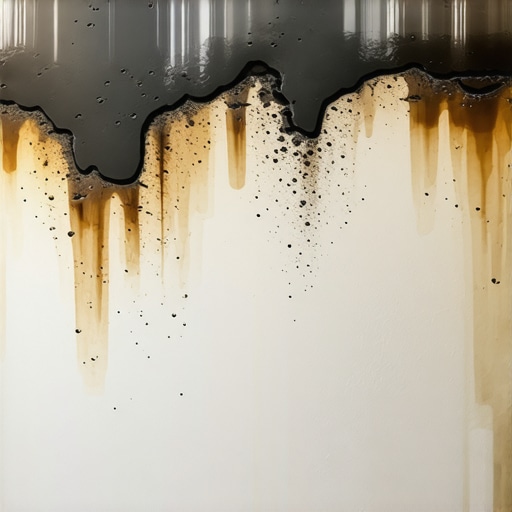
A shower niche leak often manifests as dampness in adjacent rooms because water follows the path of least resistance through the wooden wall framing. This moisture migration occurs when the niche sill lacks proper pitch or the corners lack liquid-applied or sheet-based waterproofing membranes to create a continuous barrier. You see, most people think tile and grout are waterproof. They are not. Grout is a porous cementitious material that acts like a filter. It slows water down, but it does not stop it. In the Pacific Northwest, where humidity stays high, that moisture stays trapped behind the tile and begins to rot the 2×4 studs. Once the wood is saturated, the water moves to the drywall on the other side of the wall. If your living room shares a wall with your shower, your floor leveling efforts are useless until you stop the hydraulic pressure from the shower niche.
“A floor is only as good as the subfloor beneath it; deflection is the enemy of every joint.” – Master Flooring Axiom
The geometry of a failed niche
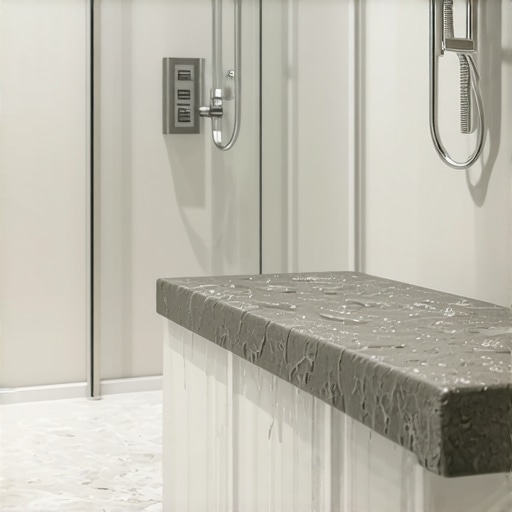
The geometry of a shower niche must include a mandatory downward slope on the bottom sill to ensure gravity pulls water back into the shower pan. Without a slope of at least one quarter inch per foot, water pools in the corners, leading to hydrostatic pressure and membrane failure. I have seen installers build niches that are perfectly level. On a floor, level is the goal. In a niche, level is a death sentence. When water sits on a flat surface, it eventually finds a pinhole in the sealant. I use a specific polymer-modified thin-set that meets ANSI A118.15 standards to set my niche tiles, ensuring a bond that can withstand constant thermal expansion. If you use a cheap, unmodified mortar, the vibration of the house moving will crack the bond, and the water will find its way into your living room wall.
[IMAGE_PLACEHOLDER]
Why water ignores your beautiful grout
Water ignores grout because the molecular structure of cement-based grout contains tiny voids that allow moisture to pass through via capillary action. This means that even the most aesthetic tile job can hide a structural disaster if the waterproofing envelope behind the tile is compromised or improperly installed. It is about the chemistry of the bond. When you apply a liquid waterproofing membrane, you need to measure the mil-thickness. If it is too thin, it is useless. If it is too thick, it can peel. Most guys just slap it on with a brush and hope for the best. I use a wet film gauge. I want to see a consistent 20 to 30 mils of coverage. Anything less and the moisture will eventually reach the cement board, which will then act like a wick, pulling the water down to the floor leveling compound and the subfloor below.
The physics of capillary action and wood framing
Capillary action describes the ability of water to flow into narrow spaces without the assistance of, or even in opposition to, external forces like gravity. In a wall assembly, water travels up and across wooden studs once they become saturated, eventually reaching the flooring materials in nearby rooms. This is why your carpet install might smell like mildew even if you never spilled a drop on it. The water is traveling through the bottom plate of the wall and soaking the carpet pad. I have pulled up carpet in bedrooms that was soaking wet because the shower niche ten feet away was leaking. The wood acts like a highway for the moisture. You have to break that cycle with a proper capillary break, usually 100 percent silicone sealant at all change of plane joints.
| Waterproofing Type | Vapor Permeance | Primary Failure Point | Recommended Use || :— | :— | :— | :— || Liquid Membrane | 0.5 – 1.2 perms | Inconsistent thickness | Small residential showers || Sheet Membrane | < 0.1 perms | Overlap seam integrity | Steam showers and niches || Traditional Liner | High | Clamping ring leaks | Large walk-in floors |
The one eighth inch that ruins everything
The precision of one eighth of an inch determines whether a shower niche stays dry or destroys the surrounding structural elements and flooring. This measurement applies to the slope of the niche sill and the overlap required for waterproofing bands at every corner and joint within the wall cavity. People think I am crazy when I spend hours with a level and a grinder. They want the floor done fast. I want the floor done once. If the subfloor is off by an eighth of an inch, your laminate floor will bounce. If the niche sill is off by an eighth of an inch the wrong way, the water will pool. I have no patience for the “close enough” crowd. The industry standard from the TCNA is clear about the requirements for waterproofing. You follow the book or you pay for it later.
“Tile is a finish, not a structural moisture barrier; the assembly beneath the tile dictates the longevity of the installation.” – TCNA Technical Manual
Concrete slabs and the lie of levelness
Concrete slabs are rarely level or flat, often requiring significant grinding or the application of self-leveling underlayment to meet the specifications for modern flooring like LVP or laminate. A flat subfloor prevents the locking mechanisms from failing and stops moisture from pooling under the floor. Here is a contrarian point for you. While most people want the thickest underlayment, too much cushion actually causes the locking mechanisms on LVP to snap under pressure. You think you are making the floor softer, but you are just creating a trampoline that breaks the joints. I prefer a high-density underlayment with a low thickness. It provides a solid base that protects the floor. If you have a moisture issue from a leaking shower, a thick, porous underlayment will just trap that water against the slab, creating a perfect breeding ground for mold.
Why your laminate floor is drinking from your shower
Laminate flooring is highly susceptible to moisture because its core is typically made of high-density fiberboard which expands rapidly when it absorbs water from a leaking shower niche or wall. This expansion causes the joints to peak and the wear layer to delaminate from the core. Once the fiberboard gets wet, it is over. You cannot dry out a laminate floor and expect it to return to its original shape. It is like a piece of bread. Once it is soggy, it stays soggy. If you notice the edges of your laminate floor starting to lift near a bathroom wall, stop looking at the floor. Start looking at the plumbing. Start looking at the niche. The water is likely coming from inside the wall, not from the surface of the floor.
- Verify 1/4 inch slope on niche sill.
- Apply waterproof band to all corners with 2 inch overlap.
- Perform 24 hour flood test before tiling.
- Check framing for L/360 deflection to prevent tile cracking.
- Seal all penetrations with 100 percent silicone caulk.
- Acclimate laminate or hardwood for 72 hours before installation.
- Ensure subfloor flatness is within 1/8 inch over 10 feet.
The final checklist for a waterproof future
A waterproof future requires a systematic approach to niche construction, subfloor preparation, and flooring installation to ensure no moisture can escape the wet zone and damage the structural integrity of the home. Following a strict checklist is the only way to guarantee a leak-free environment for decades. You have to be a stickler for the details. I dont care if the homeowner is in a hurry. I dont care if the contractor wants me to move faster. I do it right or I dont do it. That means checking the moisture content of the subfloor with a pin-meter. That means ensuring the shower niche is a sealed box before a single tile is set. That means grinding the concrete until it is as flat as a pool table. If you take shortcuts, the water will find them. Water never sleeps. It is always looking for a way out. Your job is to keep it in its place. Use the right thin-set. Use the right membrane. Most importantly, respect the physics of the house. Your living room wall will thank you.