How a 5-Gallon Bucket Proves Your Shower Drain Is Leaking into the Subfloor
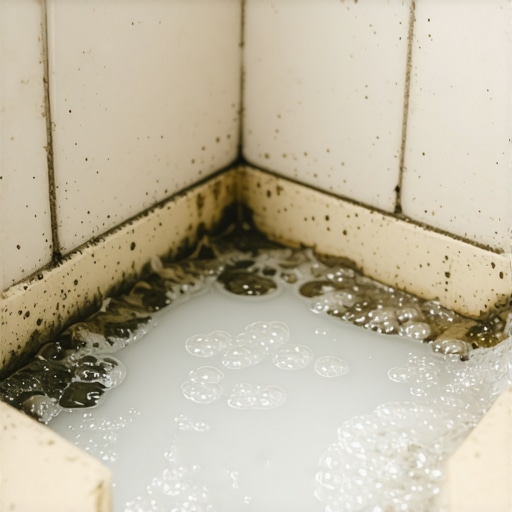
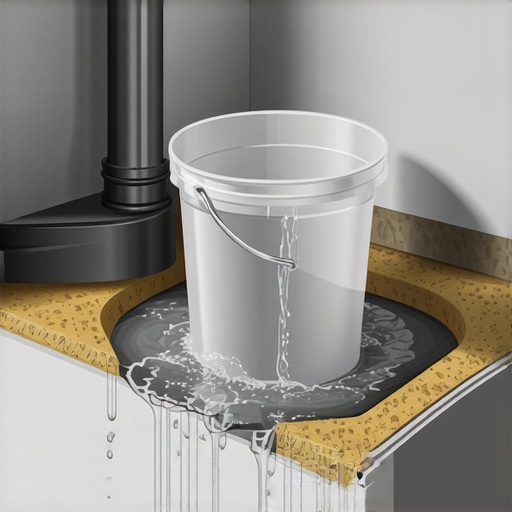
Most guys skip the leveling compound. They think the underlayment will hide the dip. It won’t. I spent three days grinding concrete on a job last month just so the floor wouldn’t click like a castanet. That is the reality of the trade. If you do not respect the subfloor, it will punish you. I once walked into a luxury master suite where the homeowner complained of a musty smell and a slight bounce in the laminate near the bathroom door. They thought it was just the humidity. I knew better. I grabbed a 5-gallon bucket, a drain plug, and a moisture meter. Within twenty minutes, I proved that the shower pan was failing and the subfloor was essentially a wet sponge. The water was traveling through the capillary channels of the plywood, reaching halfway across the bedroom. This is the difference between a floor installer and a floor architect. One covers up problems. The other solves the physics before the first plank is laid.
The science of the five gallon flood
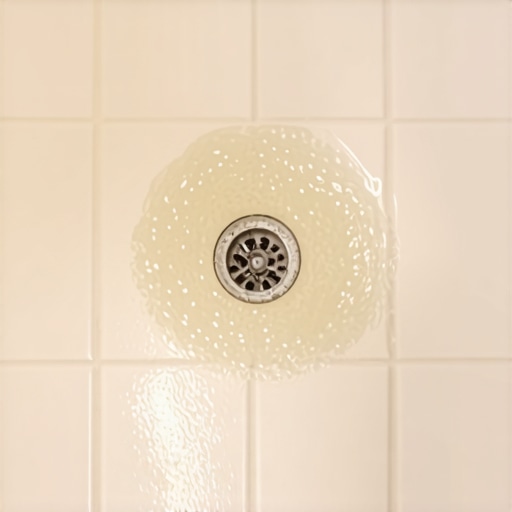
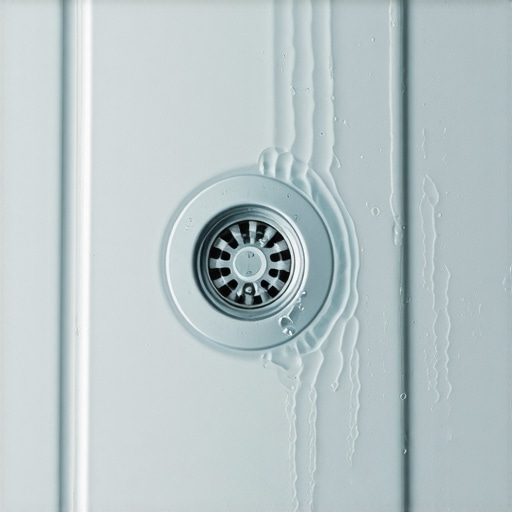
A shower flood test consists of plugging the drain and filling the base with water to detect structural leaks in the pan or flange. This diagnostic tool is essential because it isolates the plumbing from the waterproofing membrane. If the water level drops without a visible leak in the pipes, the subfloor is drinking that water. You need to understand that water follows the path of least resistance. In a shower, that path is often through a poorly sealed drain flange or a microscopic crack in the waterproofing membrane. When you fill that bucket and dump it in, you are applying static pressure. That pressure forces water into areas that a quick shower might miss. It is about volume and weight. Five gallons of water weighs roughly 42 pounds. That weight presses down on the drain seal. If that seal is compromised, the water will find its way into the substrate. From there, gravity and capillary action take over. The plywood or OSB subfloor acts like a wick, drawing the moisture away from the source and toward your expensive floor covering. This is why floor leveling often fails in bathrooms. You cannot level over a moving target, and wet wood is always moving.
Subfloor integrity and the invisible rot
Subfloor integrity refers to the structural soundness of the material beneath your finished floor, which must be dry, flat, and rigid. When moisture from a shower leak enters the subfloor, the chemical bonds in the wood begin to break down. If you are dealing with OSB, the resins that hold the wood chips together will swell and eventually fail. This leads to a loss of structural strength known as deflection. Deflection is the enemy of every flooring joint. If the subfloor bends even a fraction of an inch when you walk on it, the locking mechanism on your laminate or the grout lines in your tile will eventually snap. I have seen 1/2 inch plywood turn into something resembling wet cardboard because of a slow leak that went undetected for months. Most people think they can just wait for it to dry out. Wood has a memory. Once it has swollen and the fibers have separated, it rarely returns to its original flat state. This is why floor leveling is not a magic fix for water damage. You have to cut out the rot. You have to reach the joists. You have to ensure the skeleton of the house is sound before you even think about the aesthetic layer.
“A floor is only as good as the subfloor beneath it; deflection is the enemy of every joint.” – Master Flooring Axiom
The 1/8 inch that ruins everything
Floor leveling requires a surface to be within a tolerance of 1/8 inch over a 10 foot radius to prevent flooring failure. If your shower is leaking, that 1/8 inch tolerance is impossible to maintain. As the wood absorbs water, it expands. This expansion is not uniform. The wood will cup or crown, creating high spots and valleys. If you try to pour a self-leveling compound over a damp subfloor, the compound will fail to bond. Most modern leveling agents are cementitious. They require a dry, primed surface to create a crystalline bond with the substrate. Moisture interferes with this hydration process. It creates a layer of vapor that pushes the leveler away from the wood. I have seen entire sheets of leveling compound peel up like a scab because the installer ignored a damp spot near a shower. You are looking for a chemical marriage between the leveler and the floor. Water is the divorce lawyer in that scenario. You need to use a pin-type moisture meter to verify that the moisture content is below 12 percent before you even open a bag of leveler. Anything higher and you are just throwing money into a puddle.
Laminate failure and the moisture trap
Laminate flooring fails when exposed to subfloor moisture because the high density fiberboard core absorbs water and expands at the seams. Even so-called waterproof laminate is only waterproof from the top down. The bottom of those planks is usually raw fiberboard or a thin melamine backing. When the subfloor is wet from a shower leak, the moisture is trapped between the underlayment and the plank. It has nowhere to go but up. This causes the edges of the laminate to swell, a condition we call peaking. Once the edges peak, the wear layer is exposed to friction from foot traffic. It wears down faster, and soon you have bare wood showing at every joint. The 5-gallon bucket test prevents this heartbreak. If you find the leak early, you save the floor. If you install over the leak, you are guaranteeing a tear-out within two years. I have had customers get angry when I tell them I cannot install their laminate because the shower is leaking. They see a dry surface. I see the physics of the vapor drive. You cannot argue with a moisture meter. It does not have an opinion. It only has data.
Carpet install over a compromised base
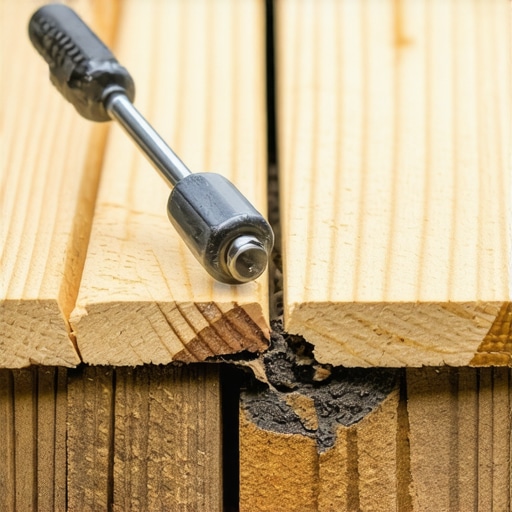
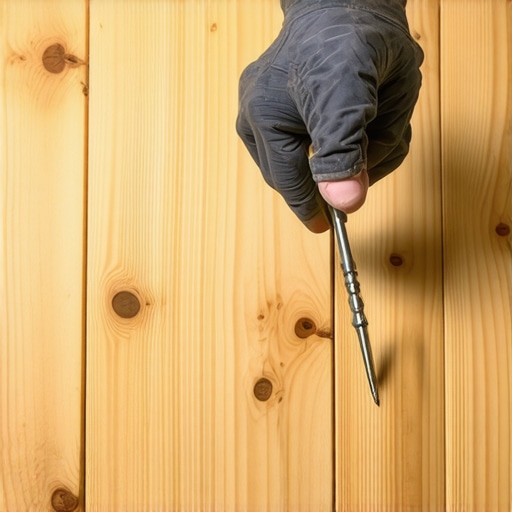
A carpet install on a moisture-damaged subfloor leads to mold growth and the structural failure of the tack strips. People think carpet is forgiving because it is soft. It is actually a giant filter. If the subfloor beneath a carpet is damp from a shower leak, the padding will soak up that water like a sponge. This creates a dark, warm environment that is perfect for mold spores. Furthermore, the tack strips are held down by nails or staples. When the wood softens from moisture, those fasteners lose their grip. The carpet will lose its tension and start to ripple. You cannot stretch a carpet onto a rotting subfloor. I have walked into rooms where the carpet felt like walking on a marsh. The homeowner thought it was just old padding. In reality, the shower in the adjacent room had been leaking into the floor joists for years. The wood was so soft I could push a screwdriver through it with one hand. This is why the prep work is more important than the finish work. A good carpet install starts with a crowbar and a flashlight, checking every corner for signs of water intrusion.
| Material | Janka Hardness | Moisture Tolerance | Expansion Rate |
|---|---|---|---|
| Solid White Oak | 1360 | Low | High |
| Engineered Oak | 1360 | Medium | Low |
| HDF Laminate | N/A | Very Low | Extreme |
| SPC Vinyl | N/A | High | Minimal |
| Plywood Subfloor | N/A | Medium | Moderate |
The truth about waterproof claims
Waterproof flooring ratings usually apply to surface spills and do not protect against subfloor saturation or hydrostatic pressure. This is the biggest lie in the industry. Manufacturers want you to think their product is invincible. While the core of an SPC (Stone Plastic Composite) floor might not swell, the water underneath it will still grow mold. It will still rot your joists. It will still cause the adhesive to emulsify. If you have a shower leak, no amount of waterproof flooring will save your house. You have to stop the water at the source. While most people want the thickest underlayment, too much cushion actually causes the locking mechanisms on LVP to snap under pressure. This is a contrarian point that many big-box retailers skip. They sell you a 6mm pad for comfort, but that pad allows the floor to bridge over gaps. When you walk on it, the joint flexes. If there is moisture in that gap, it acts as a lubricant, making the joint fail even faster. You want a high-density, low-compression underlayment that acts as a vapor barrier. But a vapor barrier only works if the wood is dry when you seal it. If you seal moisture into a subfloor, you are just accelerating the rot.
“A floor is only as good as the subfloor beneath it; deflection is the enemy of every joint.” – Master Flooring Axiom
Practical checklist for subfloor preparation
- Perform a 24-hour flood test on all shower pans before installing adjacent flooring.
- Check the moisture content of the subfloor at 10-foot intervals using a calibrated meter.
- Inspect the perimeter of the shower for any staining or darkening of the wood.
- Verify that the subfloor is flat within 1/8 inch over a 10-foot span.
- Ensure all fasteners are flush or countersunk to prevent telegraphing.
- Check the integrity of the drain flange and weep holes for clear drainage.
- Remove any old adhesive or wax that could interfere with the leveler bond.
Molecular breakdown of thin-set and seals
The chemistry of a proper shower seal involves the cross-linking of polymers within the waterproofing membrane. When you use a liquid-applied membrane, you are creating a rubberized gasket that must be continuous. Any break in that membrane, even one the size of a pinhole, can allow gallons of water to pass through over time due to capillary action. Water molecules are tiny. They can move through the smallest fissures in cementitious grout. This is why we use modified thin-set. The polymers in the thin-set fill the voids that water would otherwise occupy. However, if the subfloor is already saturated, the osmotic pressure can actually push the tile off the floor. The water wants to move from an area of high concentration to an area of low concentration. If the subfloor is the high concentration zone, it will push against the tile bond until it fails. This is often seen as tenting, where the tiles lift and peak in the center of the room. It all goes back to that 5-gallon bucket. If you take the time to test the drain, you avoid the molecular battle that you will inevitably lose. Don’t be the guy who thinks a bit of silicone will fix a leaking subfloor. Be the architect who builds a floor that lasts a lifetime.