How to Stop Your Shower Bench from Leaking
A shower bench is not a piece of furniture. It is a structural protrusion within a high-moisture environment that must function as an extension of the waterproofing envelope. Most installers treat it as an afterthought. They frame it with scrap 2×4 lumber, slap some cement board on it, and wonder why the floor joists are rotting three years later. I spent three days grinding concrete on a job last month just so the floor wouldn’t click like a castanet, and that same client had a leaking bench because the previous guy didn’t understand capillary action. Water does not just sit on top of your tile. It migrates through the grout, moves behind the thinset, and finds any path of least resistance. If your bench is not integrated into the wall membrane with a continuous seal, you are not building a seat, you are building a ticking time bomb of mold and structural decay.
The structural failure of the decorative bench
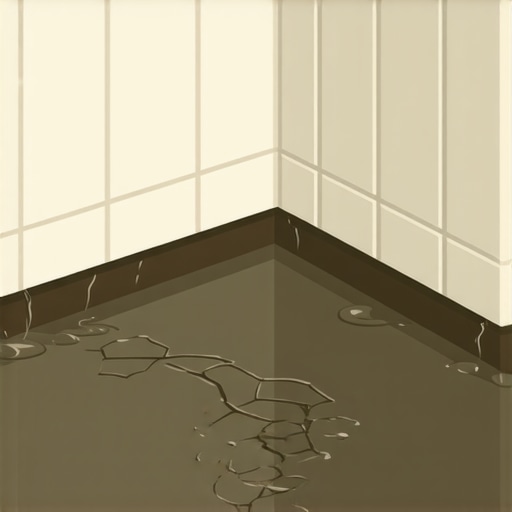
Stopping a shower bench leak requires a continuous waterproofing membrane that integrates the bench seat and the vertical walls into a single monolithic shell. You must ensure the bench has a minimum two percent slope toward the drain to prevent standing water from penetrating the grout lines. Most leaks occur at the junction where the bench meets the wall due to differential expansion and contraction between the materials. This transition point must be reinforced with waterproof banding and high-quality liquid membranes or sheet membranes to maintain a watertight seal under thermal stress.
I have seen $30,000 bathroom renovations gutted because of a single pinhole in the bench corner. Most guys skip the leveling compound and the proper pre-slope. They think the underlayment or the tile will hide the dip. It won’t. If you have a flat bench, you have a leak. It is that simple. The physics of water tension dictate that moisture will find its way into the substrate if it has nowhere else to go. We are talking about the molecular level of water migration. When you use porous materials like wood framing for a bench, you are asking for trouble. Wood moves. Tile does not move. When the wood framing swells from humidity, it cracks the waterproofing seal. This is why I always advocate for high-density expanded polystyrene (EPS) foam blocks or solid masonry for bench construction. These materials do not expand and contract with moisture, providing a stable base for your waterproofing layers.
“A floor is only as good as the subfloor beneath it; deflection is the enemy of every joint.” – Master Flooring Axiom
The physics of the liquid applied membrane
Liquid waterproofing membranes must be applied at a specific mil thickness to create a flexible yet impenetrable barrier against hydrostatic pressure. You cannot just paint it on like a bedroom wall. You need a wet film thickness gauge to ensure you are hitting the manufacturer specifications, usually around 30 to 50 mils. If the layer is too thin, it will brittle and crack. If it is too thick, it may not cure properly, leaving a soft spot that compromises the bond of your thinset. The chemistry of these membranes relies on cross-linking polymers that create a rubberized shield. This shield must be continuous from the floor, up the face of the bench, across the seat, and at least six inches up the wall behind the bench.
The common mistake is the lack of reinforcement at the corners. Every change in plane is a potential failure point. I use a specific alkaline-resistant mesh or a dedicated waterproof tape embedded into the first layer of liquid membrane. This creates a bridge. When the house settles, that bridge allows the membrane to stretch without tearing. Without that reinforcement, the membrane will snap at the corner, and water will begin its slow crawl into your framing. I have pulled out benches where the wood was so soft you could stick a finger through it, all because the installer saved ten dollars on a roll of mesh tape. It is a professional embarrassment. You need to treat the bench as part of the shower pan. The same rules apply. If you wouldn’t trust a flat pan, don’t trust a flat bench.
[IMAGE_PLACEHOLDER]
Gravity and the 2 percent slope requirement
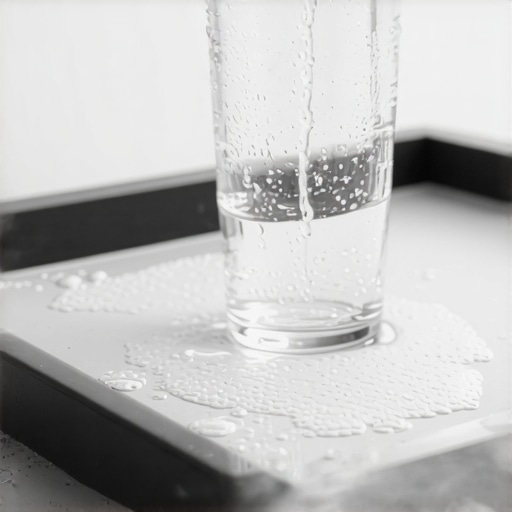
Water management in a shower relies on the simple rule of gravity directing all moisture toward the primary drain system. A shower bench seat must have a 1/4 inch per foot slope. This prevents the formation of puddles which create hydrostatic pressure against the grout. Over time, that pressure will force water through even the best-sealed grout. By sloping the bench, you are using physics to protect your home. You should be able to place a level on the bench and see the bubble clearly off-center. If it looks level to the eye, it is probably wrong. In the world of high-end tile, we don’t build things flat. We build them to move water.
| Material Type | Permeability Rating | Risk Level | Recommended Use |
|---|---|---|---|
| Pressure Treated Wood | High | Extreme | Framing only, never for surface |
| Cement Backer Board | Medium | High | Requires thick liquid membrane |
| Extruded Polystyrene | Low | Low | Excellent for bench cores |
| Liquid Membrane | Very Low | Minimal | Essential for all transitions |
Chemical bonds between thinset and foam
The bond between your tile and the bench is only as strong as the chemical interaction at the interface. When using foam benches, you must use a polymer-modified thinset that is compatible with the waterproofing membrane. Non-modified thinset relies on mechanical suction which does not happen on a waterproof surface. You need the chemical tack of those polymers to bite into the membrane. I have seen guys use the wrong mud and the tile literally pops off the bench in one piece. That is not just a safety hazard. It is a sign that the installer does not understand adhesive chemistry. You are looking for an ANSI A118.15 rating for your mortar. This is the gold standard for high-bond strength in submerged or high-moisture environments.
When you are buttering the back of a large format tile for a bench, you need 100 percent coverage. No ridges. No air pockets. Air pockets behind a tile on a shower bench are little caves where moisture collects. Once the moisture is in there, it has no way to evaporate. It sits. It breeds bacteria. It eventually breaks down the bond. I use a flat trowel to back-butter every piece that goes on a bench seat. It takes more time. It is hard on the wrists. But it ensures that there is no space for water to hide. If you want a floor or a bench to last fifty years, you build it to be solid. No voids. No shortcuts.
“The integrity of a tiled surface is dependent on the moisture management of the substrate.” – TCNA Standards Handbook
The ghost in the expansion gap
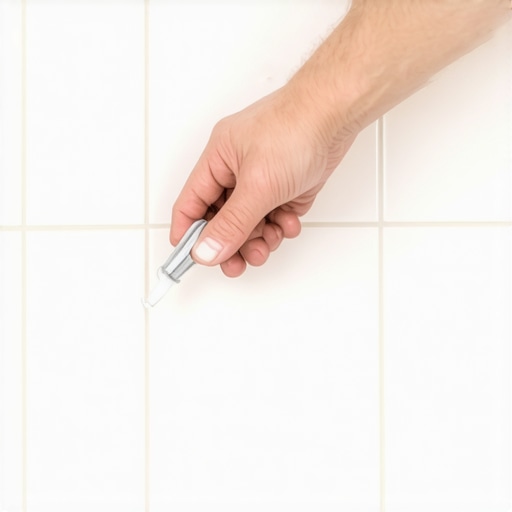
Movement joints are the most overlooked aspect of shower bench construction and are the primary reason for tile cracking and subsequent leaks. You cannot grout the corner where the bench meets the wall. Grout is rigid. Houses move. When that corner moves even a fraction of a millimeter, the grout will crack. Instead, you must use a 100 percent silicone sealant that matches your grout color. This allows the joint to be flexible. Silicone acts as a gasket. It compresses and expands. If you use grout in those corners, you are essentially inviting the water to bypass your tiles and attack the membrane directly. I see it every day. Beautiful tile work ruined by a bead of hard grout in a change of plane.
Checklist for a leak proof shower bench
- Verify the bench framing is rock solid with no deflection.
- Ensure the seat has a 1/4 inch per foot slope toward the drain.
- Apply a continuous waterproofing membrane over the entire bench surface.
- Reinforce all corners and transitions with waterproof banding or mesh.
- Use a wet-film gauge to check membrane thickness.
- Back-butter all tiles to achieve 100 percent mortar coverage.
- Use 100 percent silicone sealant in all vertical and horizontal change-of-plane joints.
- Perform a 24-hour flood test before installing any tile.
How to build a bench that survives a flood
The best way to ensure a bench never leaks is to build it out of materials that cannot rot. I have shifted almost entirely to using pre-fabricated foam benches made from high-density EPS. These units are lightweight, perfectly sloped from the factory, and completely waterproof once the seams are taped. You bond them to the floor and wall with the same thinset you use for your tile. It eliminates the human error of framing a slope with wood. If you are still using 2x4s and plywood for a shower bench, you are living in the 1980s. The industry has moved on because we got tired of fixing the failures of that old system.
If you must build a custom shape using masonry, ensure the mortar bed is fully cured before applying your waterproofing. If you trap moisture inside a mortar bed by applying a membrane too early, you create a sandwich of rot. The moisture will eventually blow the membrane off the surface as it tries to escape. Patience is the hallmark of a master installer. We wait for the chemicals to react. We wait for the moisture to evaporate. We do not rush the substrate. Because once the tile is on, the substrate is hidden forever, and its failures become the homeowner’s nightmare. It will buckle. It will leak. It will fail if you do not respect the physics of the environment. Always check your moisture levels. Always check your slopes. Always over-engineer the waterproofing. That is how you sleep at night after the job is done.