How to Waterproof a Window Inside a Shower Without It Leaking
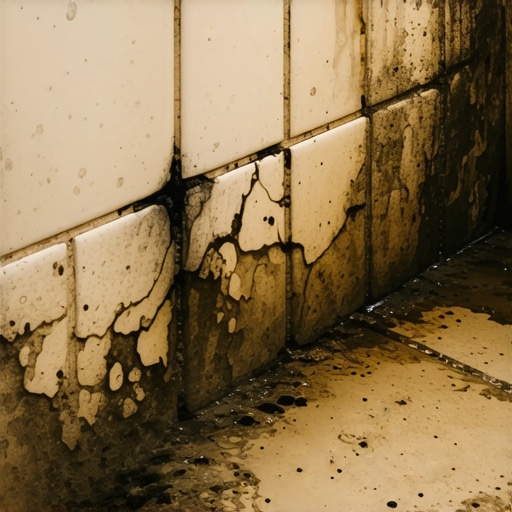
I spent three days grinding concrete on a job last month just so the floor wouldn’t click like a castanet. That job taught me that people look at surfaces while I look at the structural integrity underneath. When it comes to a window inside a shower, most contractors treat it like a decorative afterthought. They slap some trim around it and call it a day. That is exactly how you end up with black mold eating your studs from the inside out. I once walked into a house where the homeowner thought their waterproof vinyl was failing because of a plumbing leak. It turned out the window sill in the shower was pitched slightly backward. Every time they showered, water was running behind the tile and into the wall cavity. By the time I got there, the subfloor was mush and the window frame was a science experiment. You cannot build a wet room and ignore the physics of water movement. Water is patient. It will find the one millimeter gap you missed. It will use capillary action to climb up your framing. If you do not treat the window sill with the same respect you give to a floor leveling project, your shower will fail within three years. That is a fact of the trade.
The physics of the shower window sill
Shower window waterproofing requires sloped sills, liquid membranes, and high-grade sealants to prevent capillary action and hydrostatic pressure from driving moisture into the wall cavity and causing structural rot. The first thing you have to understand is that water does not just fall down. It clings. It moves sideways. It gets pulled into tight spaces. If your window sill is perfectly level, you have already lost the battle. Every shower window sill needs a minimum pitch of one quarter inch per foot toward the shower drain. This ensures that gravity works for you and not against you. Most guys think they can just build up the thin-set to create that pitch. That is a amateur move. You need to pitch the actual wood framing of the rough opening. If the wood is flat, the tile will eventually follow the lead of the framing as things settle. I use a planer to shave down the front edge of the rough sill or add a shim to the back. It has to be solid. If there is any deflection, the grout will crack. And when grout cracks, water gets in. It is the same logic we use for floor leveling. You do not fix a dip with more padding; you fix it at the source.
“A floor is only as good as the subfloor beneath it; deflection is the enemy of every joint.” – Master Flooring Axiom
The ghost in the expansion gap
Expansion gaps and flexible sealants are required around vinyl window frames because thermal expansion causes contraction and movement that can break the waterproof bond of rigid grout or epoxy. Windows are not static. They are made of different materials than your tile and your backer board. In the winter, that vinyl frame is going to shrink. In the summer, it is going to expand. If you butt your tile right up against the window frame and fill it with grout, that grout will turn to powder within six months. You need a movement joint. This is a gap of at least one eighth of an inch that is filled entirely with one hundred percent silicone sealant. Not a siliconized caulk from a discount bin, but a high-performance architectural grade silicone. This gap allows the window to move without pulling on the waterproofing membrane. Think of it like a floating floor. If you do not leave room for the floor to breathe, it buckles. If you do not leave room for the window to move, the seal breaks. I have seen guys try to use grout here because they think it looks better. It looks great for a week. Then the leaks start. You have to prioritize the engineering over the aesthetics every single time.
Why your subfloor logic applies to shower walls
Structural stability and rigidity in wall framing are the foundations of waterproofing shower windows, much like how floor leveling prevents laminate or tile from cracking under vertical loads. If the wall framing around the window is weak, the whole system fails. I have seen windows that were not properly nailed into the king studs. Every time the wind blew, the window shifted a fraction of a millimeter. That was enough to tear the liquid waterproofing membrane. Before you even think about tile, you need to check the rough opening for square and plumb. Use a long level. If there is a crown in the stud, sister it or replace it. You want a surface that is as flat as a high-end carpet install prep. While a carpet install might hide a bumpy floor, tile is unforgiving. If the wall moves, the tile cracks. If the tile cracks, the waterproofing is under stress. I always use a cement-based backer board around windows, never a moisture-resistant drywall. Drywall is just paper and gypsum. Once water touches it, it is over. You want a substrate that is dimensionally stable even when wet.
| Material Type | Waterproofing Rating | Flexibility | Best Use Case |
|---|---|---|---|
| Sheet Membrane | High | Moderate | Large flat surfaces |
| Liquid Membrane | Very High | High | Complex corners and sills |
| Silicone Sealant | High | Very High | Movement joints |
| Urethane Sealant | Extreme | Low | Structural bonds |
The chemistry of the waterproof bond
Liquid waterproofing membranes create a seamless barrier when applied to cementitious backer boards and window flanges, providing superior protection against vapor transmission and direct water contact. I prefer liquid membranes for windows because they allow you to paint the waterproofing directly into the channel of the window frame. Sheet membranes are great for flat walls, but they get bulky in corners. By the time you fold a sheet membrane into a window corner, you have three layers of material. That creates a hump that makes the tiling a nightmare. With a liquid membrane like RedGard or Hydro Ban, you can achieve a consistent mil thickness. I apply at least three coats. The first coat fills the pores of the cement board. The second coat builds the film. The third coat is for insurance. You have to pay attention to the manufacturer instructions regarding the wet film thickness. If you apply it too thin, it is just a suggestion of waterproofing. If you apply it too thick, it can skin over and trap moisture underneath. It is a chemical process. It is the same as choosing the right adhesive for a floor. You do not use a basic thin-set for large format porcelain; you use a polymer-modified mortar that can handle the weight and the bond.
“The transition between different materials is the most likely point of failure in any moisture-management system.” – TCNA Field Manual
The zero threshold mentality
Integrated flashing systems and weep hole management ensure that moisture trapped behind the window frame can escape without penetrating the building envelope or substructure. Many modern windows have weep holes on the exterior. If you bury these in thin-set or tile, the window cannot drain. You have to understand the anatomy of the window you are working with. If it is a replacement window, it sits inside a frame. If it is a new construction window, it has a nailing fin. I always prefer a new construction window because that nailing fin provides an extra layer of protection. I flash that fin with a butyl-based tape before I even install the backer board. This creates a secondary drainage plane. If water gets past the tile, and past the liquid membrane, it hits the flashing and is directed back out or down. It is about layers of redundancy. You never rely on just one seal. That is like relying on the click-lock mechanism of a cheap laminate floor to keep out a flood. It is not going to happen. You need a system that assumes some water will get in and provides a clear path for it to get out.
- Verify the rough opening is pitched at 2 percent toward the shower.
- Flash the window fins with high-performance butyl tape.
- Install cementitious backer board flush with the window frame.
- Apply liquid waterproofing membrane in three distinct coats.
- Embed mesh tape in all corners and transitions for reinforcement.
- Leave a 1/8 inch gap between tile and window frame for silicone.
- Use 100 percent RTV silicone to fill the expansion joint.
The molecular reality of sealants
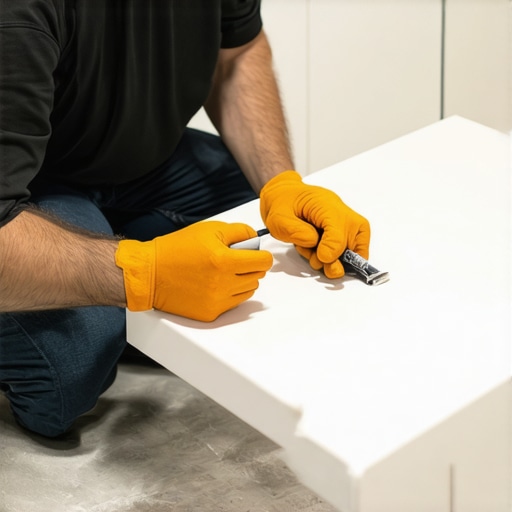
Polymer-based sealants offer chemical resistance and adhesion properties that prevent mold growth and leaks at the critical junction where the tile meets the window. Not all caulks are created equal. If you buy the three-dollar tube, you will be redoing this job in two years. In a shower, you are dealing with high heat, soap scum, and constant moisture. You need a sealant that is formulated for sanitary use. These contain fungicides that prevent the silicone from turning black. But beyond the chemistry, the application is what matters. You have to clean the window frame and the tile edges with denatured alcohol before applying the silicone. If there is dust from the tile saw on the surface, the silicone will bond to the dust, not the window. It will look sealed, but as soon as the window expands, the silicone will peel away like a dry scab. I take the time to tape off my joints. It keeps the lines clean and ensures that I am forcing the silicone deep into the gap. You want the sealant to have a two-point bond, not a three-point bond. If it sticks to the back of the joint, it will tear. It should only stick to the sides of the tile and the window frame. This is high-level engineering. People think it is just squeezing a trigger. They are wrong.
The maintenance of a high-performance system
Regular inspections and sealant replacement are the only ways to ensure long-term waterproofing because all organic materials and sealants eventually degrade under UV exposure and cleaning chemicals. Even the best job needs an eye on it. Every year, you should press your fingernail into the silicone around the window. If it feels brittle or if you see it pulling away from the frame, it is time to cut it out and replace it. Do not just smear new silicone over the old. It will not bond. You have to remove every trace of the old stuff. It is like refinishing a hardwood floor. You cannot just put a new coat of poly over a floor that has wax on it. You have to get down to the raw material. If you maintain the seal, the waterproofing underneath will stay dry forever. If you let the seal fail, you are putting a lot of pressure on your liquid membrane. While those membranes are tough, they are not designed to be submerged indefinitely. They are the backup. The silicone and the pitch of the sill are your primary defense. If you get those right, you can have a window in your shower for fifty years without a single drop of water entering your walls. It is about the discipline of the install. It is about not taking shortcuts. Most people want the fast way. The fast way is how I get paid to come in and tear everything out later. Do it right the first time. Check your levels. Respect the chemistry. Keep the water moving toward the drain.