Why Your Shower Niche Is Holding Water and Growing Mold
Why Your Shower Niche Is Holding Water and Growing Mold
I spent three days grinding concrete on a job last month just so the floor wouldn’t click like a castanet, and that same level of obsessive precision is exactly what is missing from your shower. Most homeowners see a shower niche as a convenient little shelf for their expensive shampoo. I see it as a structural vulnerability that most installers treat with the same care a toddler treats a coloring book. I once walked into a house where the owner complained of a musty smell in a bathroom that was barely six months old. I popped one tile off the bottom of the niche and a liter of stagnant, black water spilled out like a scene from a horror movie. The installer had used a scrap of drywall and didn’t pitch the shelf. It was a ticking time bomb of rot.
The physics of a standing pool
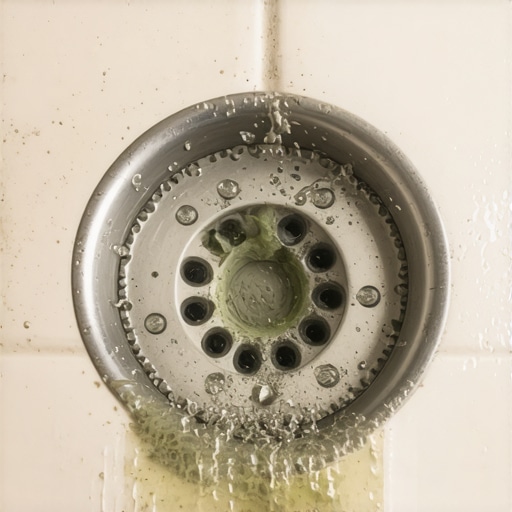
A shower niche holds water because of a lack of positive pitch on the bottom horizontal surface, preventing gravity from directing moisture toward the main drain. When the shelf is perfectly level or, worse, sloped backward toward the wall, water becomes trapped. This creates a permanent reservoir behind the tile. Surface tension keeps that water clinging to the grout lines. Over time, the moisture wicks through the cementitious grout and sits against the waterproofing membrane. If that membrane has even a pinhole failure, you are looking at structural framing rot within months. The water cannot evaporate because the shower is a high humidity environment. It just sits there. It stagnates. It becomes a breeding ground for Serratia marcescens and various fungal colonies.
“A floor is only as good as the subfloor beneath it; deflection is the enemy of every joint.” – Master Flooring Axiom
The myth of the waterproof grout joint
Grout is a porous material that slows down water penetration but does not stop it entirely regardless of sealer application. People think grout is like a rubber gasket. It is not. It is more like a very dense sponge. When you have a niche that is flat, the water stays in contact with the grout for hours after the shower is turned off. This prolonged exposure leads to capillary action. The moisture is pulled deep into the substrate. If your installer used a standard cement board without a liquid applied or sheet membrane, that moisture is now feeding the wood studs. Mold does not need light to thrive. It only needs moisture, a food source like the paper backing on drywall, and a lack of airflow. Your niche provides all three in abundance.
Why your level is lying to you
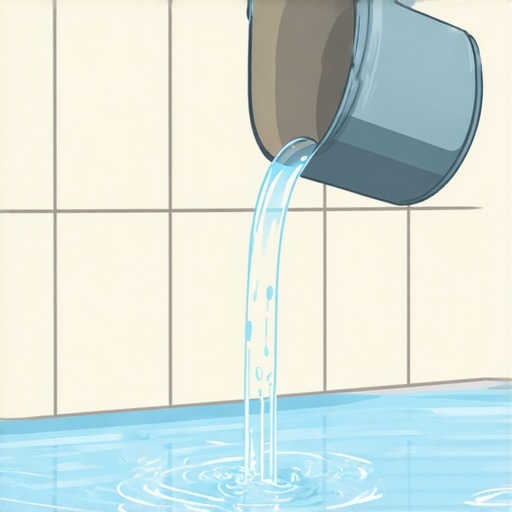
Standard bubble levels are often not sensitive enough to detect the micro-pitch required for proper drainage in a small five inch deep cavity. You need a minimum of a quarter inch per foot of slope. On a standard niche, that is a tiny fraction of an inch. If the installer uses a fat bead of thin-set at the front and less at the back, they have effectively created a bowl. This is a common failure in modern installations where speed is prioritized over geometry. I always check my niches with a digital level or by literally pouring a small amount of water on the bare substrate before the tile goes up. If that water does not immediately run off into the shower pan, the tile will fail. It is that simple. There is no middle ground in waterproofing.
The hidden link between floor leveling and shower failure
If the subfloor was not properly addressed with floor leveling compound before the shower pan was built, the entire geometry of the bathroom is compromised. I have seen installers try to compensate for a slanted floor by tilting the shower walls. This affects how the niche sits in the framing. When the floor is out of level, the installer fights the tile layout the whole way up. This leads to thick mortar beds and uneven joints. In a carpet install, you can hide a dip. In a laminate project, you can use underlayment to mask minor imperfections. In a shower, every millimeter of error is magnified by the behavior of liquid water. If the base of the room is not a true horizontal plane, your niche pitch will almost always be wrong.
| Material Type | Water Resistance | Risk of Mold | Installation Complexity |
|---|---|---|---|
| Pre-formed ABS Niche | High | Low | Low |
| Stainless Steel Insert | High | Very Low | Medium |
| Site-Built Cement Board | Variable | High | High |
| EPS Foam Pre-sloped | High | Low | Low |
The chemistry of the bond and the biofilm
Modified thin-set creates a chemical and mechanical bond that can be degraded by constant hydrostatic pressure from trapped water. When water sits in the niche, it creates a small amount of pressure. This is not much, but over years, it can lead to the emulsification of certain low-grade mortars. As the mortar weakens, the tile loses its bond. You might notice the grout cracking first. That crack is an invitation for more water. Once the biofilm (that pink or black slime) starts to grow, it produces metabolic byproducts that are acidic. These acids further eat away at the lime in your cement grout. It is a self-reinforcing cycle of destruction. You aren’t just looking at a cleaning issue. You are looking at a chemical breakdown of the installation system.
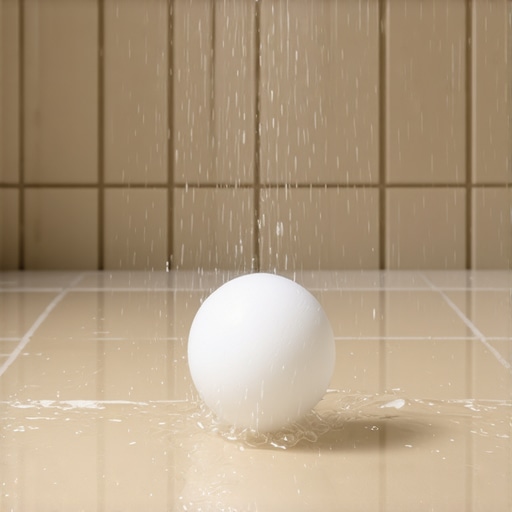
- Check the pitch with a marble; it should roll out of the niche instantly.
- Ensure the waterproofing membrane extends at least six inches past the niche opening.
- Always use a solid piece of stone or quartz for the sill to minimize grout lines.
- Avoid using small mosaic tiles on the bottom shelf of the niche.
- Verify that the installer used a waterproof sealant at the transition corners.
The ghost in the grout line
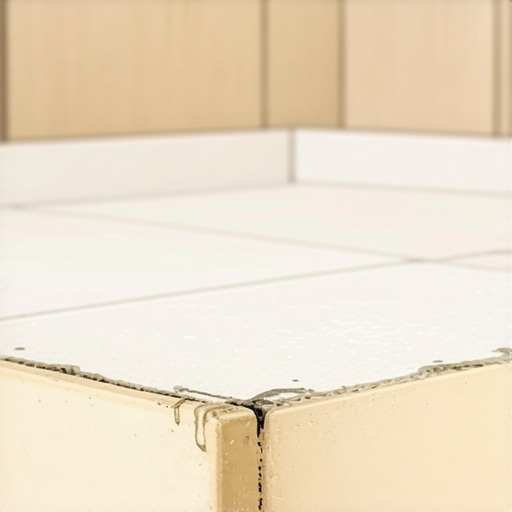
Microscopic cracks in the corners of a niche are the primary entry point for moisture that leads to catastrophic wall failure. Because walls move and houses settle, these 90 degree angles are under constant stress. If the installer used hard grout instead of a color-matched 100 percent silicone caulk in the corners, the joint will eventually pop. This is where the water sneaks in. It gets behind the tile and travels down the wall. You might see the mold growing at the base of the shower and think you have a floor problem. In reality, the water is coming from the niche three feet above. It is a slow leak, often invisible, until the day you lean against the wall and your hand goes through the tile.
“Water follows the path of least resistance; if you don’t give it a path, it will make its own.” – TCNA Handbook Wisdom
The 1/8 inch that ruins everything
A common mistake is forgetting to account for the thickness of the tile and thin-set when calculating the final slope. An installer might pitch the raw framing perfectly, but then they add a decorative bullnose or a thick piece of marble for the shelf. If that finish piece has a slight lip at the front edge, it creates a dam. That 1/8 inch lip is enough to hold back a pool of water. I see this constantly with “designer” tiles that have irregular edges. The aesthetic choice overrides the engineering requirement. You must ensure that the finished surface, not just the substrate, maintains that outward slope. If you can’t see the slope with your naked eye, it might not be enough. I want to see that water move. I want to see it flee the niche as if it is being chased.