How to Fix a Leaking Linear Drain Without Tearing Out the Floor
I spent three days grinding concrete on a job last month just so the floor wouldn’t click like a castanet. Most guys skip the leveling compound. They think the underlayment will hide the dip. It won’t. I spent that time in a cloud of dust because the subfloor is the only thing that matters. When a linear drain starts leaking, the immediate instinct of most contractors is to grab a sledgehammer. They see a wet spot on the ceiling below and assume the entire shower pan has failed. This is a mistake that costs homeowners thousands of dollars and weeks of displacement. You do not always need to tear out the tile to fix a drainage failure. Often, the failure is localized at the interface between the drain body and the waterproofing membrane. Fixing it requires a surgical approach, an understanding of hydrostatic pressure, and the right chemical resins to bridge the gap without compromising the structural integrity of the shower floor.
The myth of the waterproof grout joint
Grout is not a waterproof barrier but a cosmetic filler that manages the spacing between tiles. Many people believe that applying a fresh layer of grout or a bead of silicone around a leaking linear drain will solve the problem. It will not. Water travels through grout via capillary action and eventually reaches the subfloor or the pre-slope. If the primary seal between the linear drain flange and the liquid-applied membrane has delaminated, the water will find that void every single time. You need to address the mechanical bond at the molecular level, not just the surface aesthetics. Most leaks occur because the installer failed to achieve a 100 percent coverage of the thin-set or membrane around the drain throat. This creates a hidden channel where water sits, stagnates, and eventually bypasses the flange. To fix this, we have to look deeper into the assembly.
The capillary action of subsurface moisture
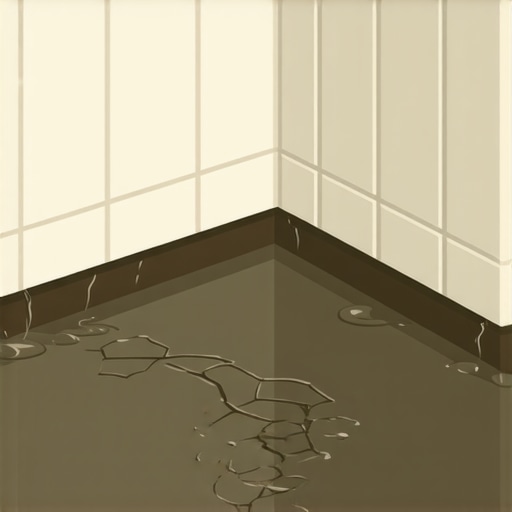
Moisture moves through porous materials like a sponge through a process called capillary suction. When a linear drain is installed, it sits at the lowest point of the shower. If the floor leveling was done correctly, the water should flow toward the grate. However, if there is a tiny fissure in the bond between the drain and the tile, water is pulled under the tile through surface tension. This moisture accumulates against the drain body. If the waterproofing was done with a topical membrane like Kerdi or a liquid-applied product like RedGard, any pinhole becomes a highway for water. The goal of a non-invasive repair is to identify these pinholes using a borescope and seal them with an injectable, low-viscosity resin that can penetrate the same microscopic channels the water uses.
“A floor is only as good as the subfloor beneath it; deflection is the enemy of every joint.” – Master Flooring Axiom
Surgical entry points for drain repair
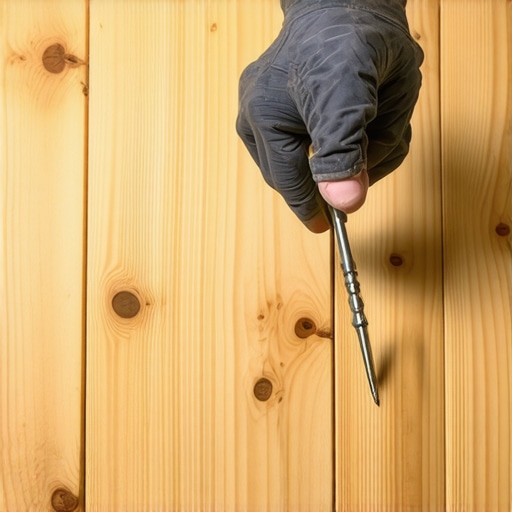
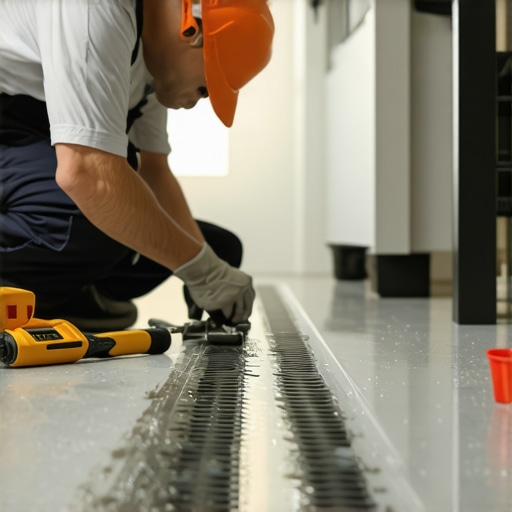
Accessing the leak site without demolition requires high-precision tools and a steady hand with an oscillating saw. You start by removing the drain grate and cleaning the throat of the drain with a stiff nylon brush and a degreaser. You need the surface to be surgically clean for any new sealant to bond. If you see a gap between the tile edge and the drain body, that is your entry point. Instead of ripping up the tile, you use a vacuum-shrouded diamond blade to clear out the old, failing sealant. This creates a clean channel. You are looking for the exact point where the membrane meets the stainless steel or plastic flange. If the leak is coming from a cracked weld in a cheap, offshore linear drain, you will see it once the debris is cleared. If the leak is a bond failure, you will see the membrane lifting away from the flange. This is where chemical engineering takes over from traditional carpentry.
The chemical bond of modified silane polymers
Modified silane polymers offer the highest level of adhesion to non-porous surfaces like stainless steel linear drains. Standard silicone has poor tear strength and will eventually peel away from the metal. An MS Polymer or a high-grade epoxy resin is different. These materials are moisture-curing, meaning they actually use the residual humidity in the subfloor to trigger the cross-linking of their molecular chains. When you inject these into the gap around the drain, they flow into the voids and create a gasket that is both flexible and incredibly strong. This is the same technology used in automotive windshield bonding and aerospace applications. You are not just plugging a hole. You are creating a new, monolithic seal that integrates the drain body with the surrounding tile assembly. This prevents the need for a carpet install in the hallway after a flood, as the water stays exactly where it belongs.
| Material Type | Shore A Hardness | Adhesion Strength | Best Use Case |
|---|---|---|---|
| Silicone Sealant | 25 | Low | Topical Joints Only |
| MS Polymer | 45 | Very High | Drain Flange Bonding |
| Epoxy Resin | 80 | Extreme | Structural Void Filling |
| Polyurethane | 40 | High | Expansion Gaps |
The ghost in the expansion gap
Thermal expansion causes the linear drain to move at a different rate than the surrounding tile floor. Metal expands and contracts rapidly when exposed to hot shower water, while the porcelain tile and concrete subfloor remain relatively stable. If there is no allowance for this movement, the bond will snap. This is often why a drain that was dry for a year suddenly starts leaking. The repair must involve a material that has at least 25 percent movement capability. This is why epoxy is used for structural fills while a hybrid polymer is used for the final perimeter seal. If you lock the drain in too tightly with rigid grout, the physical force of the expansion will crack the subfloor or the tile itself. I have seen 48-inch linear drains bow in the middle because they had no room to breathe at the ends. Always leave a 1/8 inch gap and fill it with a color-matched high-performance sealant.
The 1/8 inch that ruins everything
Precision in floor leveling is the difference between a dry subfloor and a rotted joist system. If the shower floor has a birdbath or a flat spot within 6 inches of the drain, water will pool there. This standing water puts constant hydrostatic pressure on the seals. Most people think a leak is a fast-moving stream, but it is usually a slow, heavy pressure that forces molecules through the tiniest imperfections. When repairing the drain, check the level of the surrounding tiles. If they are pitched away from the drain, you may need to build up the area with a topical leveling compound specifically designed for wet environments before resealing. This ensures that gravity works with you rather than against you. A perfectly pitched floor is the best waterproofing insurance policy you can buy.
“The movement joint is not an option; it is a structural necessity for the longevity of tile assemblies.” – TCNA Handbook
Diagnostic checklist for drain leaks
- Remove the grate and inspect for visible cracks in the flange corners.
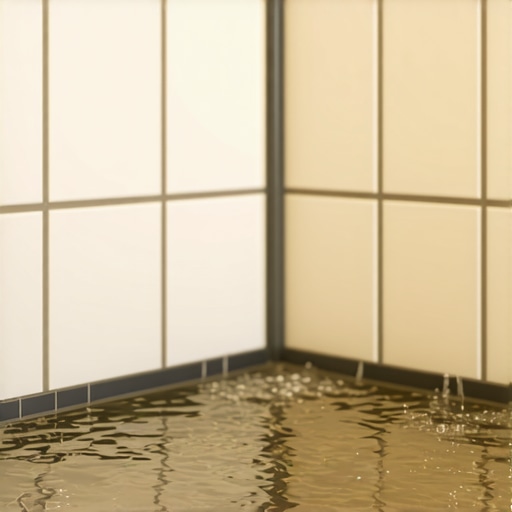
- Perform a flood test by plugging the drain and filling the base with 2 inches of water.
- Use a moisture meter to check the perimeter of the drain for high RH readings.
- Check the subfloor from the crawlspace or the room below for water staining.
- Verify that the weep holes in the drain assembly are not clogged with thin-set.
Why your subfloor is lying to you
Subfloors can hold a massive amount of water before showing a single drip on the ceiling. By the time you see a leak, the plywood or OSB under the tile is likely saturated. This is why the repair must include a drying phase. You cannot seal a wet subfloor. If you inject resin into a damp void, the steam pressure from the drying wood will blow the seal out from the inside. Use a commercial-grade dehumidifier and fans to pull the moisture out through the drain throat for at least 48 hours before applying the final sealants. You might smell floor wax or old standing water during this process, but that is the sound of the subfloor returning to a stable state. A dry subfloor provides the rigid foundation needed for the new chemical bond to hold for the next twenty years. If you rush this step, you are just wasting expensive resin on a failing substrate.
The final verification of the seal
Once the repair is cured, you must perform a second flood test. This is the moment of truth for any installer. Plug the drain again and fill the shower. Let it sit for 24 hours. If the water level does not drop and the ceiling below stays dry, you have successfully performed a surgical repair. This method saves the homeowner from the mess of a carpet install replacement or the massive cost of a new shower pan. It requires patience and the right materials, but it proves that flooring is an engineering discipline. You are managing the physics of water and the chemistry of adhesives to protect the structure of the home. This is the difference between a handyman and a master floor architect. We do not just fix the leak; we correct the failure in the original design and ensure the new seal is stronger than the original factory bond.