Why Your Grout is Cracking in the Corners of Your Shower
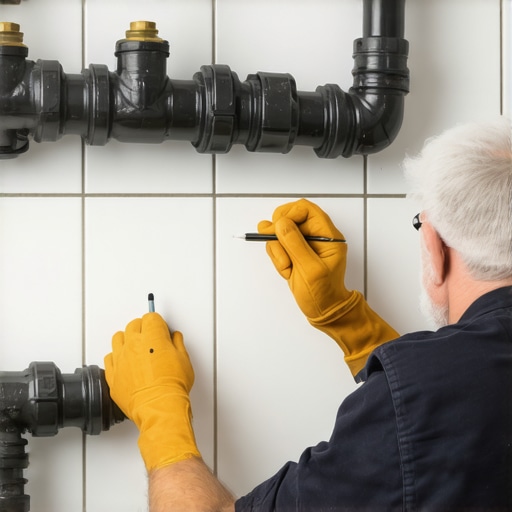
I spent three days grinding concrete on a job last month just so the floor wouldn’t click like a castanet under the weight of a new laminate install. Most guys skip the leveling compound. They think the underlayment will hide the dip. It won’t. I see the same lazy habits in bathrooms everywhere. Homeowners call me in a panic because their expensive walk-in shower looks like it is falling apart after six months. They see a hairline fracture in the corner grout and think the house is sinking. It usually is not sinking, but the installer certainly failed the physics test. I have spent twenty-five years with my knees on a wet subfloor and my hands in a bucket of thin-set. I know exactly why those cracks appear. It is not bad luck. It is a fundamental misunderstanding of how a house moves and how cement reacts to stress. If you want a floor or a shower that lasts longer than the warranty on a cheap truck, you have to respect the structural reality of your home. You cannot treat a shower like a monolithic block of stone because it is not. It is a collection of shifting planes that want to tear each other apart.
The rigid trap of cementitious grout
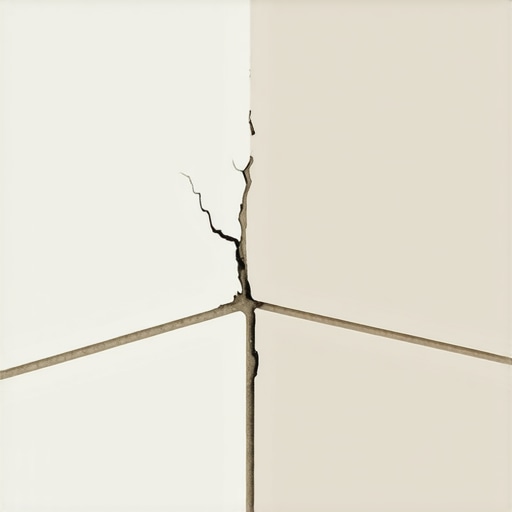
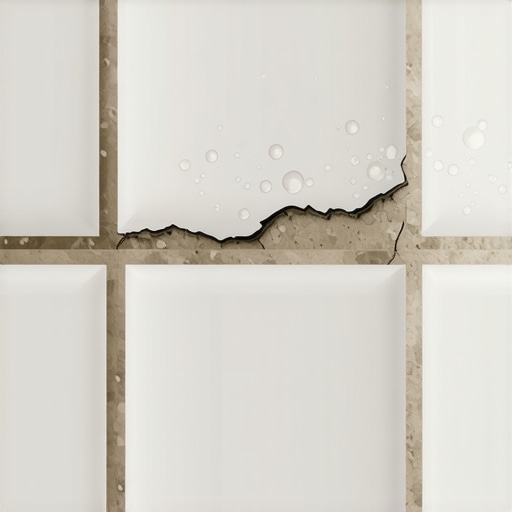
Grout cracking in shower corners occurs because cementitious grout is a brittle material that cannot withstand structural movement or plane shifts. When perpendicular walls or wall-to-floor transitions move due to thermal expansion or moisture changes, the rigid grout joint snaps under the pressure of the change of plane.
Standard grout is basically a modified form of concrete. It is strong in compression but weak in tension. When your house breathes, which it does every single day, the wood framing expands and contracts. If you have two walls meeting at a ninety-degree angle, they are not moving in the same direction. One wall might be pulling left while the other pushes right. When you cram a hard, sandy paste into that corner, you are creating a rigid bond between two moving objects. Something has to give. Since the wood and the tile are stronger than the grout, the grout is the first thing to fail. This is why the Tile Council of North America has very specific rules about where grout should never be used. I see guys ignore this every day because they are too lazy to reach for a tube of silicone. They think a little extra polymer in the grout mix will save them. It will not. The chemistry of Portland cement does not allow for the elasticity required to handle the deflection of a standard home frame.
Why your subfloor is lying to you
Subfloor deflection refers to the vertical movement or bouncing of the floor joists under a live load or dead load. If your subfloor is not rigid enough to meet L/360 standards, the tile assembly will flex, causing grout failure and cracked tiles in the corners of the shower.
Most people think a floor is solid. It is not. It is a trampoline made of wood and nails. If your joists are spaced too far apart or if your plywood is too thin, the floor will dip every time you step on it. This vertical movement translates directly into the corners of your shower. If the floor drops by even a fraction of an inch, it pulls away from the wall tile. If you have a rigid grout joint there, it will pop out like a dry scab. I have walked onto jobs where the installer put heavy 12×24 porcelain tile over a single layer of 5/8 inch OSB. That is a recipe for disaster. You need a minimum of 1-1/8 inches of total subfloor thickness for a stable tile installation. Without it, you are just waiting for the grout to turn into dust. I have spent hours explaining to homeowners that their carpet install hidden in the next room is actually affecting their shower because the entire floor system is tied together. If one part of the house is bouncing, the vibration travels. You cannot isolate a shower from the physics of the house it sits in.
“A floor is only as good as the subfloor beneath it; deflection is the enemy of every joint.” – Master Flooring Axiom
The physics of the change of plane
A change of plane is any spot where two surfaces meet at an angle, such as wall corners or the joint between the wall and the floor. These areas require a flexible sealant instead of rigid grout to accommodate differential movement without cracking or leaking.
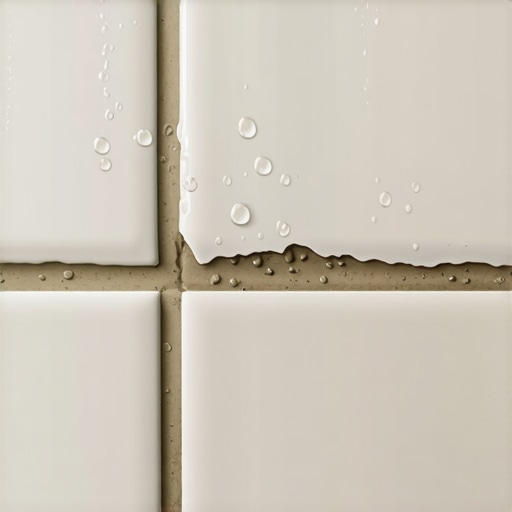
This is where the industry standard EJ171 comes into play. It is a technical way of saying you need expansion joints. In a shower, every single corner is a change of plane. If you use grout there, you are breaking the law of tile installation. I do not care what the guy at the big box store told you. You need a 100 percent silicone sealant in those corners. Silicone is an elastomer. It can stretch to double its size and return to its original shape. Grout cannot stretch even a micron. When the moisture in the air spikes, your studs swell. When the heater kicks on in the winter, they shrink. This cycle is relentless. If you do not have a flexible joint in the corner, the stress will build up until the bond breaks. Sometimes the grout stays in the joint but pulls away from the tile edge. We call that a bond failure. It is just as bad as a crack because it lets water behind the tile, which leads to mold and rot. I have torn out showers that were only two years old where the wall studs were completely black with rot because of a tiny crack in the corner grout.
| Grout Type | Flexibility Level | Moisture Resistance | Best Application |
|---|---|---|---|
| Sanded Grout | Very Low | Moderate | Floor joints over 1/8 inch |
| Unsanded Grout | Very Low | Moderate | Wall joints under 1/8 inch |
| High-Performance Grout | Low | High | Commercial floor areas |
| 100% Silicone Sealant | Very High | Exceptional | Corners and changes of plane |
The 1/8 inch that ruins everything
An expansion gap of at least 1/8 inch must be maintained at all corners and perimeters to allow for natural structural shifting. If the tile is butt-jointed against the adjoining wall, the expanding tiles will crush the grout and cause tenting or cracking.
I see this mistake on every DIY job. People think a tight joint looks better. They shove the tile right up against the corner wall with zero gap. Then they wonder why the tile is popping off the wall. You need to leave space. That space is not just for the sealant. It is a buffer zone. When the temperature changes, the tile itself expands. It is a microscopic change, but over a ten-foot wall, it adds up. If there is no room to grow, the tiles will push against each other. This creates incredible pressure in the corners. If you have a 1/8 inch gap filled with silicone, the tile can move into that space safely. If you have grout in there, the pressure will pulverize it. It is simple mechanics. You have to give the materials room to exist. This is the same reason you leave a gap when doing a laminate install or putting down hardwood. Everything moves. If you fight the movement, you lose.
Siliconized acrylic is not the answer
Siliconized acrylic caulk is often confused with 100 percent silicone, but it lacks the long-term elasticity and mold resistance required for wet environments. Using the wrong sealant in a shower corner will lead to shrinkage and detachment within the first year of use.
Do not buy the cheap stuff that says it is tub and tile caulk if it is water-based. It is basically just paint with some solids in it. It will look great for a month, then it will shrink as the water evaporates out of it. Once it shrinks, it pulls away from the tile and you are right back where you started. You want the stuff that smells like vinegar. That is the acetic acid in 100 percent silicone. It is harder to tool and it is a mess if you get it on your clothes, but it is the only thing that works. It forms a chemical bond with the edge of the tile that is almost impossible to break. I have seen silicone joints hold up for twenty years while the grout around them turned to sand. It is about the chemistry of the bond. Silicone does not lose its volume over time. It stays plump and flexible, which is exactly what a moving corner needs.
“Movement joints are not optional; they are a requirement for a permanent installation.” – TCNA Handbook for Ceramic Tile Installation
The regional humidity factor
In high humidity regions like Florida or the Gulf Coast, the expansion and contraction of wood framing is accelerated, making flexible corner joints even more vital. The moisture content of the studs can fluctuate significantly, causing constant movement in the shower assembly.
If you live in a place where you can feel the air, your house is moving more than you think. The moisture in the air gets into the framing even if you have a moisture barrier. Wood is like a sponge. It will suck up that humidity and grow. In dryer climates like Phoenix, the wood dries out and shrinks. Either way, you have movement. If your installer did not acclimate the materials or if they did not account for the local climate, your grout is doomed. I always tell people that the weather outside affects the tile inside. It is all one system. You cannot ignore the environment. This is why I insist on using premium modified thin-sets that have a higher polymer content. They can handle a bit more stress, but even the best thin-set cannot save a rigid corner joint.
Checklist for a crack-free shower corner
- Verify that the subfloor meets L/360 deflection standards before tiling.
- Ensure a 1/8 inch gap is left between all tiles at a change of plane.
- Clean all grout and debris out of the corner joints before sealing.
- Apply a high-quality 100 percent silicone sealant that matches your grout color.
- Avoid using grout in any corner, even if the manufacturer says it is flexible.
- Maintain a consistent temperature in the home to minimize radical framing shifts.
The proper way to fix cracked grout
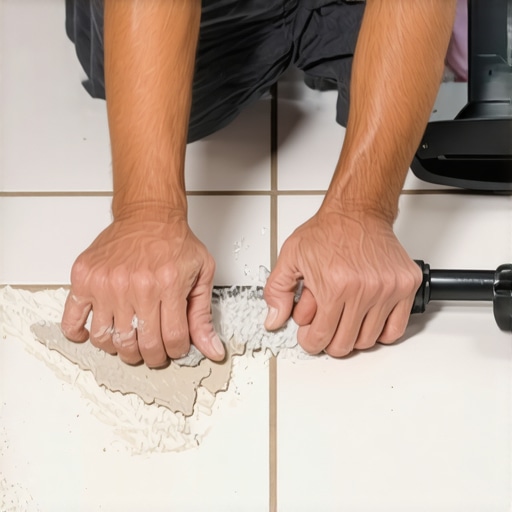
Removing cracked grout from shower corners requires a carbide-tipped grout saw or an oscillating tool to clear the joint depth without damaging the tile edges. Once the old material is removed, the joint must be filled with color-matched silicone to prevent future cracking.
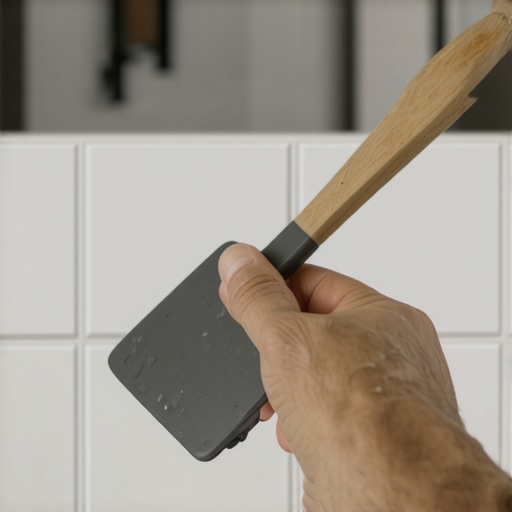
If you just smear more grout over the crack, you are wasting your Saturday. It will crack again in a week. You have to get the old stuff out. I use a manual grout saw because I like to feel the resistance. You have to be careful not to chip the glaze on the tile. Once you have a clean channel, you vacuum out every bit of dust. If there is dust in there, the silicone will not stick. Then you use painter’s tape to get a clean line. Pull the tape while the silicone is still wet. It takes patience and a steady hand. Most people rush this part. They think it is just a cosmetic fix. It is not. You are rebuilding the structural seal of your shower. Treat it with the respect it deserves and you will never have to look at a cracked corner again. If you skip these steps, do not be surprised when you have a leak in your kitchen ceiling. It all starts with that one little crack. It is a warning sign. Ignore it at your own risk. I have seen a lot of things in my time, but I have never seen a rigid joint beat the laws of physics. Move with the house or the house will break your work. It is that simple.