Why Your Shower Grout Turns Yellow No Matter How Much You Clean It
Why your shower grout turns yellow no matter how much you clean it
Most homeowners believe that a yellowing shower is a sign of poor hygiene or a lack of elbow grease. I have spent twenty five years on my knees with a trowel and a moisture meter, and I can tell you that the yellow tint you see is rarely about your cleaning habits. It is a structural engineering failure and a chemical reaction happening deep inside the cementitious matrix of your floor. I once spent three days grinding down a concrete slab on a job where the previous installer thought they could hide a half inch dip with extra thin set. They were wrong. That dip collected water, the water saturated the substrate, and the grout turned the color of an old tooth within a month. If your subfloor is not level and your drainage pitch is off, no amount of bleach will save you. A floor is a performance surface, and in a shower, that performance depends on the physics of water migration and the chemistry of mineral deposits.
The structural failure behind the stain
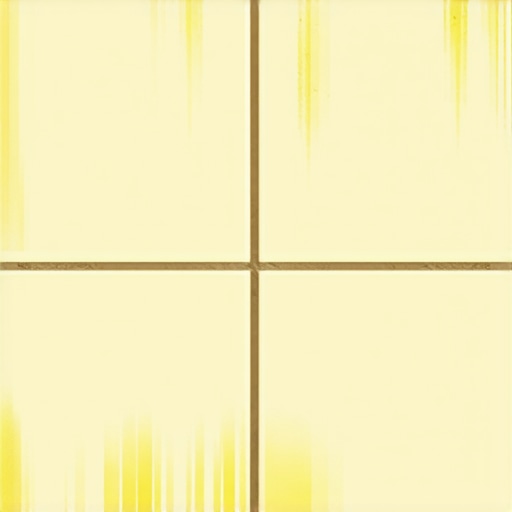
Yellow grout is often the result of iron oxidation or the accumulation of fatty acids from soaps that have been absorbed into the porous structure of the material. When a shower pan is built, the floor leveling process must be perfect to ensure water moves toward the drain. If the installer treated the shower floor with the same margin of error as a bedroom carpet install, you have a problem. Carpet can hide a quarter inch hump. In a shower, that hump creates a pond. This standing water sits in the pores of the grout, allowing minerals to precipitate out of the water and bond to the cement. It is a slow, microscopic process of mineralization that permanently alters the color of the joint. You are not looking at dirt. You are looking at a change in the chemical composition of the grout itself. This is why superficial scrubbing fails to restore the original white or gray tone.
“A floor is only as good as the subfloor beneath it; deflection is the enemy of every joint.” – Master Flooring Axiom
Why your cleaning routine is backfiring
High alkalinity cleaners and harsh bleaches actually degrade the polymer chains used in modern grout mixtures. Most people reach for the strongest chemical they can find when they see yellowing. This is a mistake that leads to increased porosity. When you strip away the top layer of the grout with acidic or highly oxidative cleaners, you open up the internal capillaries of the cement. This makes the surface even more absorbent. The next time you shower, more soap scum and hard water minerals find their way deeper into the joint. You are essentially creating a cycle where each cleaning makes the floor more susceptible to staining. If you want to avoid this, you have to understand the Janka scale of durability and the chemical resistance of your materials. Just as a laminate floor cannot handle standing water without swelling, cementitious grout cannot handle aggressive chemical abrasion without losing its structural integrity.
The truth about porous sealants
Sealants are often marketed as a permanent shield against stains, but they are actually temporary breathable membranes that require constant maintenance. If your grout is turning yellow, it is highly likely that your sealer has failed or was never applied correctly in the first place. A quality sealer needs to penetrate the grout, not just sit on top of it. When a sealer wears thin, water carries oils and dyes from your shampoo into the grout line. Once those contaminants are locked under the surface, they are shielded from your scrub brush. This creates a ghost stain that appears to be on the surface but is actually suspended a millimeter deep. In my experience, homeowners who treat their shower maintenance with the same precision as a professional floor leveling project have much better results than those who rely on store bought spray cleaners.
| Grout Type | Porosity Level | Chemical Resistance | Best Use Case |
|---|---|---|---|
| Sanded Cement | High | Low | Wide joints over 1/8 inch |
| Unsanded Cement | Medium | Low | Narrow joints and polished stone |
| High Performance Cement | Low | Medium | High traffic residential showers |
| Epoxy Grout | Zero | High | Commercial kitchens and steam rooms |
Installation errors that trap moisture
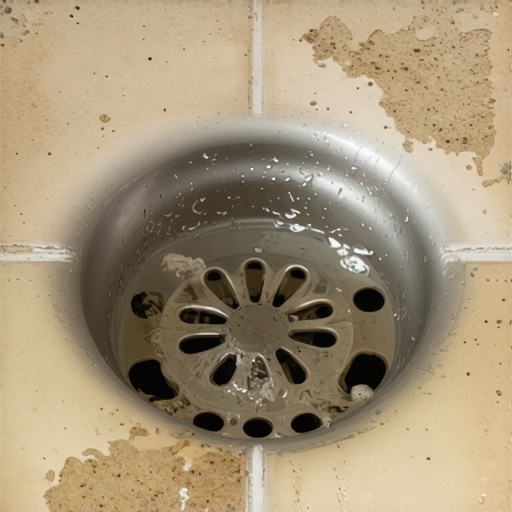
The most common cause of persistent yellowing is a saturated mud bed. Below your tile is a layer of mortar that must stay dry between uses. If the weep holes in your drain are clogged or the pre slope was ignored, that mortar bed becomes a swamp. The yellow you see is actually the byproduct of anaerobic bacteria and minerals wicking up from the saturated base. This is a physics problem. It is called capillary action. No amount of scrubbing the surface will fix a wet subfloor. If the person who did your install skipped the floor leveling stage or didn’t understand the TCNA requirements for shower pans, you are fighting a losing battle against gravity and moisture. You might as well try to stop a flood with a paper towel. The moisture will continue to push minerals to the surface as it evaporates, a phenomenon known as efflorescence, which can often appear as a yellow or white crust.
“Proper drainage is the primary defense against microbial growth and mineral discoloration in wet environments.” – TCNA Technical Manual
The ghost in the expansion gap
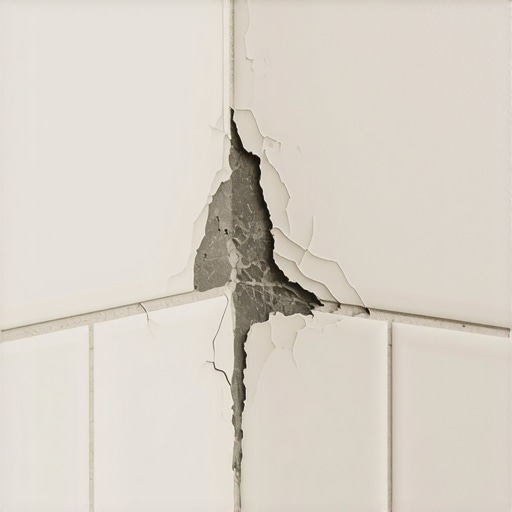
Perimeter joints in a shower should never be filled with grout. They require 100 percent silicone caulk to allow for the natural expansion and contraction of the house. When installers use grout in these corners, it inevitably cracks. These micro cracks are the perfect entry point for water to get behind the tile and rot the wallboard. This hidden rot often leaches tannins and adhesives into the water supply that eventually drains out across your floor, leaving a yellow or brown trail. This is the same reason we leave expansion gaps in a laminate install. Materials need to move. If you lock them in place with rigid cement, they will break, and water will find the path of least resistance. That path usually ends with a stain that you can’t clean because the source of the stain is behind the wall.
The 1/8 inch that ruins everything
Precision is the difference between a floor that lasts thirty years and one that fails in three. In shower construction, the pitch must be exactly one quarter inch per foot. If the pitch is too shallow, water dwells. If it is too steep, the tile won’t lay flat. When water dwells, it becomes a petri dish. The yellowing is often a biofilm, a complex colony of bacteria that thrives on the minerals in your tap water. This biofilm is incredibly sticky. It bonds to the rough surface of the grout and resists standard detergents. To fix this, you have to change the environment. You have to ensure the floor dries out completely. This might mean improving ventilation or, in extreme cases, tearing out the floor to fix the subfloor leveling and drainage issues that were ignored during the initial construction phase.
Grout Maintenance Failure Checklist
- Check if the water beads on the grout surface or soaks in immediately.
- Inspect the weep holes at the base of the drain for blockages.
- Verify that the bathroom fan is moving at least 50 CFM of air.
- Look for cracked or missing grout in the corners of the shower.
- Test the hardness of your water to see if iron levels are elevated.
Modern solutions and chemical interventions
If you are tired of the yellow, you have two real options. The first is a grout colorant, which is essentially an epoxy coating that sits over the existing grout. This seals the pores and provides a consistent color. It is a surface fix, but it works well if the structural integrity of the shower is still sound. The second, more permanent solution is to use epoxy grout. Epoxy is non porous. It is a chemical bond that does not allow water or oils to penetrate. It is difficult to install and requires a fast hand, but it is the only way to guarantee a white floor stays white. If you are planning a remodel, don’t let your contractor talk you into standard cement grout just because it is easier for them to wipe down. Demand high performance materials that match the demands of the space. You wouldn’t use indoor glue for a deck, so don’t use basic grout for a high moisture shower.
Final verdict on shower longevity
The yellowing of your grout is a symptom, not the disease. It tells a story of moisture retention, mineral accumulation, and perhaps a rushed installation. Whether you are dealing with a bad carpet install in the hall or a failing shower in the master suite, the principles of flooring remain the same. You must respect the substrate. You must manage moisture. You must understand the chemistry of the materials you bring into your home. Stop blaming your mop and start looking at the physics of your floor. If the foundation is wrong, the surface will never be right. Proper maintenance starts with a level subfloor and ends with a chemical understanding of how your water interacts with your home. Anything less is just a temporary fix for a permanent problem.