How to Repair Cracked Grout in the Corners of Your Shower
The hard reality of residential construction is that houses move. They breathe, they settle, and they shift under the weight of seasonal humidity. I spent three days grinding concrete and scraping out moldy thin-set on a job last month just so the new tile floor would not click like a castanet because the previous guy ignored the subfloor prep. The same physics apply to your shower. When you see a vertical crack in the corner of your shower grout, you are looking at a structural failure of materials. Grout is a rigid, cementitious product designed to fill gaps between tiles on a flat plane. It has zero flexibility. When the two walls of your shower expand and contract at different rates, that rigid grout has no choice but to snap. Most homeowners reach for more grout to fill the void, but that is a temporary band-aid on a recurring wound. To fix this properly, you have to stop thinking like a decorator and start thinking like a structural engineer. You need a movement joint, not a grout line.
The structural trap of the ninety degree angle
A shower corner represents a change of plane where two independent wall systems meet. These walls are subject to different thermal expansion rates and structural deflection which causes the rigid grout to crack. Using 100 percent silicone sealant is the only industry-standard method to create a flexible, waterproof movement joint that survives house settling.
In the world of professional tile installation, we follow the TCNA (Tile Council of North America) guidelines religiously. One of the most important rules is EJ171, which governs movement joints. It states that any change of plane, whether it is floor-to-wall or wall-to-wall, requires a flexible sealant. When a house settles, the wooden studs behind your backer board move. Even a millimeter of shift is enough to pulverize the bond of a portland cement-based grout. If you live in a high-humidity region like the Gulf Coast or the Pacific Northwest, your framing lumber is constantly absorbing and releasing moisture. This creates a mechanical stress on the tile assembly that grout cannot withstand. I have seen fifteen thousand dollar marble showers ruined because the installer thought they could defy the laws of physics with a bit of sanded grout. The grout eventually turns to powder, water seeps behind the tile, and suddenly you have a rot problem in your wall cavity that costs five figures to remediate. To fix it, you must remove every trace of the old material and replace it with a product that can stretch and compress without breaking its bond.
“A floor is only as good as the subfloor beneath it; deflection is the enemy of every joint.” – Master Flooring Axiom
The chemistry of adhesion and why your caulk is failing
Standard painters caulk or siliconized acrylic products often fail in shower corners because they lack the high solids content and fungal resistance of pure silicone. Professional repairs require 100 percent RTV silicone to ensure the bond remains watertight while resisting the constant exposure to soap scum and high temperatures.
Not all tubes of goo are created equal. If you walk into a big-box store, you will see rows of “Kitchen and Bath” caulk. Most of these are water-based acrylics with a little bit of silicone added. They are easy to clean up with water, which makes them popular for DIYers, but they are inferior for wet environments. As the water evaporates out of the acrylic caulk during the curing process, the bead shrinks. This shrinkage creates internal tension even before the house moves. Furthermore, acrylics are organic, which means they serve as a food source for mold and mildew. Pure 100 percent silicone is inorganic. It does not shrink because it cures through a chemical reaction with atmospheric moisture, not evaporation. It also has a much higher elongation percentage. This means it can stretch up to 25 or 50 percent of its original width without tearing. When you are choosing your material, look for the smell of vinegar. That is the acetic acid being released during the curing of acetoxy silicone, a sign of a high-performance product. If you want a bead that lasts twenty years instead of twenty months, you buy the professional-grade tubes that require mineral spirits for cleanup.
| Material Property | Cementitious Grout | Siliconized Acrylic | 100% RTV Silicone |
|---|---|---|---|
| Flexibility | Zero | Low to Moderate | Very High |
| Shrinkage Rate | Minimal | High (15-25%) | Zero |
| Mold Resistance | Low (Porous) | Moderate | Excellent |
| Adhesion Strength | Mechanical | Chemical (Weak) | Chemical (Strong) |
The surgical extraction of failed materials
Before applying new sealant, you must remove all existing grout and soap residue from the joint using a carbide-tipped grout saw or a multi-tool. Any remaining debris will prevent the new silicone from forming a molecular bond with the tile edges, leading to premature delamination and leaks.
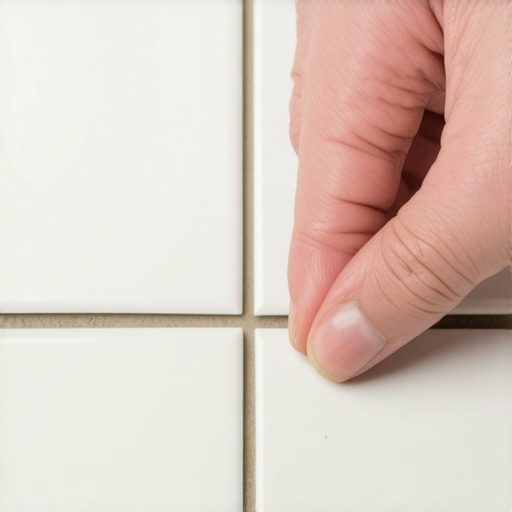
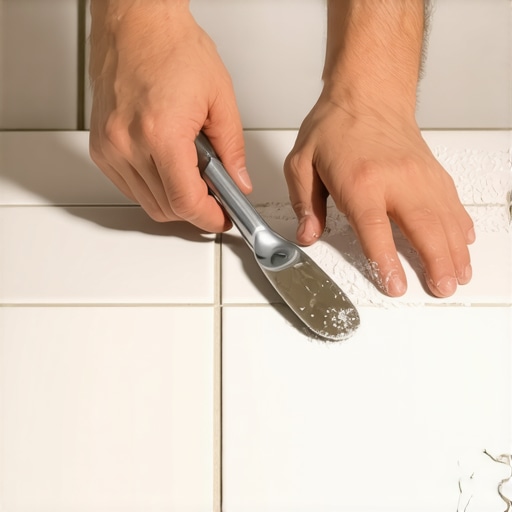
Preparation is the part everyone hates, which is why most people fail. You cannot simply squeeze silicone over the top of old grout. It will not stick. You need to get into that corner with a manual grout rake or a vibrating multi-tool equipped with a diamond blade. You must be careful not to nick the waterproof membrane behind the tile. If you puncture your Kerdi or your RedGard, you have created a direct path for water to reach your studs. I prefer using a manual carbide scraper for the corners because it gives me tactile feedback. You can feel when you hit the edge of the tile. You need to dig out the grout to a depth of at least 1/8 inch. Once the bulk is gone, you are left with a thin film of cement and years of body oils and soap film. This is where most people get lazy. You need to take a stiff nylon brush and scrub that joint with denatured alcohol or 99 percent isopropyl alcohol. Do not use a household cleaner that leaves a scent or a film. You need the tile edges to be chemically clean. If there is even a microscopic layer of soap scum, the silicone will just sit on top like a piece of cooked spaghetti instead of bonding.
- Remove 100% of the old cracked grout from the corner vertical line.
- Vacuum the joints thoroughly to remove all dust and grit.
- Wipe the tile edges twice with denatured alcohol using a lint-free rag.
- Ensure the joint is bone dry before proceeding; use a hair dryer if necessary.
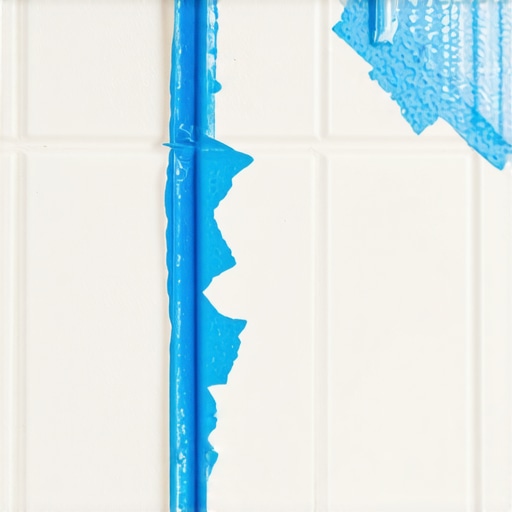
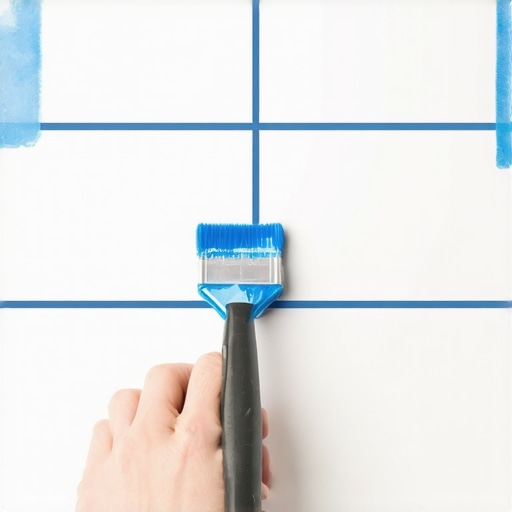
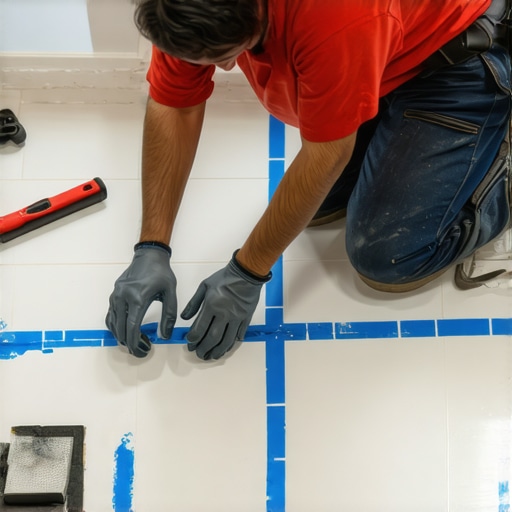
- Tape off the edges with blue painter’s tape for a crisp, professional line.
The art of the perfect waterproof bead
Applying silicone requires a steady hand and a specific technique involving a soapy water solution or a professional profiling tool. By smoothing the bead immediately after application, you force the sealant into the tile pores and create a concave shape that sheds water effectively.
Many people struggle with silicone because it is sticky and messy. The secret is in the tooling. After you have laid down a consistent bead of silicone from the bottom of the shower to the top, you need to tool it. I see guys trying to use a dry finger, and they end up with silicone halfway up their arm and a jagged mess in the corner. Instead, prepare a spray bottle with a heavy concentration of Dawn dish soap and water. Mist the bead and your finger. The soap prevents the silicone from sticking to your skin or the face of the tile, allowing you to glide over the surface. The goal is to create a slight cove. This shape is not just for looks; it ensures that water runs away from the corner and down toward the drain. One contrarian data point that most people ignore is the thickness of the joint. While people want the thinnest line possible for aesthetics, a joint that is too thin actually fails faster. Silicone needs a certain mass of material to handle the expansion and contraction cycles. If the bead is paper-thin, the internal stress becomes too concentrated and the material tears. Aim for a 3/16 inch bead for maximum longevity.
“Movement joints are not optional; they are structural necessities in every tiled installation.” – TCNA Handbook
The 1/8 inch that ruins everything
Small gaps left at the base of the vertical corner where it meets the shower pan are the primary entry points for water intrusion. Ensuring a continuous, unbroken seal at this three-way junction is the most critical step in preventing subfloor rot and mold growth.
The intersection where two walls meet the floor is the most dangerous spot in your bathroom. This is a three-dimensional movement point. The walls move left and right, and the floor moves up and down. If your grout is cracked there, water is being pulled into the wall through capillary action every time you take a shower. When I do a repair, I make sure the vertical silicone bead overlaps the horizontal bead. We call this a “married joint.” It must be a monolithic seal. If you have a fiberglass shower pan that flexes when you stand on it, this joint is under even more pressure. In those cases, I sometimes suggest a neutral-cure silicone which has even better adhesion to plastics and metals than the standard acetoxy-cure versions. You also need to wait. Do not turn that shower on the next morning. Even if the tube says “shower ready in 3 hours,” I tell my clients 24 hours minimum. The surface might feel dry, but the center of that bead is still undergoing a chemical cross-linking process. If you hit it with hot water and steam too early, you will cloud the finish and weaken the bond. Patience in the curing phase is what separates a professional result from a weekend hack job.