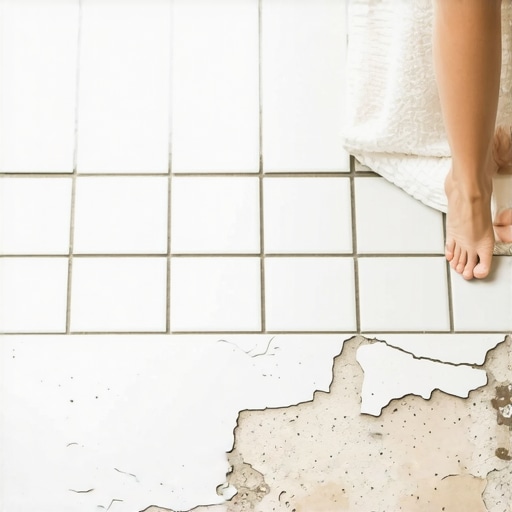
Why Your Kitchen Tiles Feel Loose Under Your Feet
The smell of WD-40 and fresh oak dust follows me everywhere. It is the scent of twenty five years on my knees, crawling across every conceivable type of subfloor from cracked concrete slabs to rotting plywood. Most homeowners think a floor is just something pretty you walk on. They see a showroom and pick a color. To me, a floor is a complex structural assembly involving load-bearing physics, chemical bonding, and moisture management. When those kitchen tiles start to crunch, shift, or feel hollow, you are not just looking at a cosmetic glitch. You are witnessing a systemic failure of the engineering beneath your toes. Most guys skip the leveling compound. They think the underlayment will hide the dip. It won’t. I spent three days grinding concrete on a job last month just so the floor wouldn’t click like a castanet. That is the reality of professional installation. If your tiles move, someone took a shortcut, and now the physics of the house are catching up to you.
The silent failure of the leveling compound
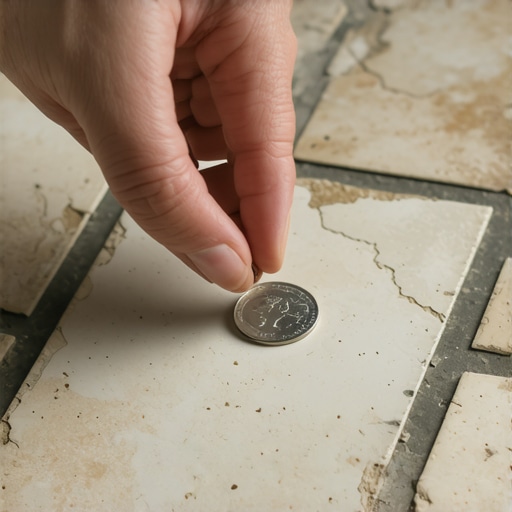
Floor leveling is the most overlooked phase of any kitchen renovation because it is invisible once the finished material is installed. A subfloor must meet the industry standard of one eighth of an inch of deviation over a ten foot radius. If the substrate has a dip deeper than a nickel, the tile will bridge that gap rather than resting on the mortar. This creates an air pocket. Every time you step on that spot, the tile flexes. Ceramic and porcelain are rigid materials. They do not like to bend. When you apply two hundred pounds of human weight to a rigid surface over a void, the bond between the thin-set and the tile snaps. This is why you hear that gritty, crunching sound. It is the dried mortar turning back into sand because it is being pulverized by the movement of the tile. Proper floor leveling requires more than just pouring a bag of self-lever; it requires a primer that creates a chemical bridge between the old substrate and the new cementitious layer. Without that primer, the leveling compound itself will delaminate, leaving you with a loose floor and a pile of expensive, broken rubble.
“A floor is only as good as the subfloor beneath it; deflection is the enemy of every joint.” – Master Flooring Axiom
The physics of deflection and joist spacing
Deflection refers to the vertical movement of a floor system under a load, and it is the primary reason for grout failure and loose tiles. Most residential floors are engineered for a deflection rating of L over 360, which means the floor should not bend more than the length of the span divided by 360. For natural stone, that requirement jumps to L over 720. If your joists are spaced too far apart or if the plywood subfloor is too thin, the entire structure acts like a trampoline. You might not notice it walking across a carpet install, where the padding absorbs the energy. However, tile is unforgiving. If the subfloor bounces, the bond breaks. This often happens in older homes where the original builder intended for lightweight materials like laminate or linoleum. When a modern homeowner installs heavy porcelain or stone without reinforcing the joists or adding a second layer of underlayment, the floor is doomed. You need to check the thickness of your subfloor. A single layer of five eighths inch plywood is never enough for tile. You need a minimum of one and one eighth inches of total wood thickness to ensure the assembly is stiff enough to keep the mortar bed intact.
Chemical bond failure and the thinset skinning effect
The chemistry of the adhesive determines whether your kitchen floor remains a monolithic structure or becomes a collection of loose plates. Many installers make the mistake of spreading too much thin-set at once. In a busy environment, the surface of the mortar begins to dry and form a skin, much like a pudding left out on the counter. Once this skin forms, the tile will not properly transfer the adhesive to its back. You might think you have coverage, but in reality, the tile is just sitting on top of the ridges. To prevent this, professionals use a technique called back-buttering. We apply a thin layer of mortar to the back of the tile itself before setting it into the notched bed on the floor. This ensures a molecular bond. If you pull up a loose tile and the back of it is clean, you have a transfer failure. The adhesive stayed on the floor because it had already skinned over or was mixed too dry. A proper mix should have the consistency of peanut butter, holding a ridge without sagging but remaining wet enough to stick to your finger like glue. If the installer was rushing, they likely used a low-grade, non-modified thin-set on a substrate that required polymer modification for flexibility.
The moisture trap and slab vapor pressure
Concrete slabs are not solid rocks; they are sponges that constantly breathe water vapor from the earth. If your kitchen is on a grade-level slab, the moisture vapor pressure can be high enough to blow the tile right off the floor. This is a common issue in showers and kitchens where the plumbing is concentrated. Before any tile goes down, a calcium chloride test or an in-situ probe should be used to measure the moisture emission rate. If the slab is too wet, the alkaline salts in the concrete will attack the adhesive bond, a process known as saponification. This turns the bond into a chalky, brittle substance that releases the tile. In high-moisture environments, a vapor barrier or an uncoupling membrane like Schluter-Ditra is mandatory. These membranes provide a small air gap that allows the slab to breathe without putting pressure on the tile. They also act as a crack isolation barrier, so if the slab develops a hairline crack due to seasonal shifting, the movement is not transferred directly to the kitchen floor. Skip this, and you are essentially gambling with the humidity levels of the ground beneath your home.
| Material Type | Max Deflection | Acclimation Time | Ideal Subfloor |
|---|---|---|---|
| Solid Hardwood | L/360 | 7-14 Days | 3/4 Inch Plywood |
| Porcelain Tile | L/360 | None | CBU or Membrane |
| Natural Stone | L/720 | None | Double Layer Plywood |
| Laminate | L/240 | 48 Hours | Level Concrete/Wood |
| Luxury Vinyl | L/240 | 48 Hours | Flat Subfloor |
The danger of locking a floating floor
Floating floors such as laminate or LVP require a perimeter expansion gap because they expand and contract with the changing seasons. I have seen countless DIY jobs where the homeowner ran the floor tight against the cabinets or, worse, installed a heavy kitchen island right on top of the planks. This locks the floor in place. When the humidity rises and the planks try to expand, they have nowhere to go. The pressure builds until the joints begin to peak or the planks pull apart, creating a floor that feels bouncy or loose. A laminate floor is essentially a giant wooden sheet that moves as one unit. If you pin it down with a heavy appliance or baseboards nailed too tight, you are asking for a structural failure. You need at least a quarter inch of space around every vertical obstruction. This gap is hidden by the baseboard or shoe molding. If the floor feels like it is moving under your feet, it might be because the planks have reached their expansion limit and are now bowing upward, creating a hollow void between the material and the subfloor.
“Waterproof does not mean flood-proof; the moisture underneath is always the real killer.” – Tile Council of North America Standard
The checklist for a solid installation
- Verify subfloor flatness using a ten foot straight edge to identify high and low spots.
- Check joist span and plywood thickness to meet L/360 or L/720 deflection standards.
- Perform a moisture test on concrete slabs to ensure levels are below 3 pounds per 1,000 square feet.
- Use a high-quality polymer-modified thin-set and ensure 95 percent mortar coverage for wet areas.
- Install an uncoupling membrane to isolate the tile from substrate movement and cracks.
- Ensure a quarter inch expansion gap exists at all walls and fixed cabinets.
The invisible errors in grout and transition
Grout is not a structural adhesive; it is a filler that accommodates microscopic movement and keeps debris out of the joints. When people complain about loose tiles, they often point to cracking grout as the first symptom. This is because the grout is the weakest link in the assembly. If the tile moves even a fraction of a millimeter, the grout will crumble. Many installers use sanded grout in joints that are too narrow or fail to use a flexible caulk at the change of plane. In a kitchen, the joint where the floor meets the cabinets or the wall should never be filled with hard grout. It must be a color-matched 100 percent silicone sealant. Houses move. They settle in the winter and swell in the summer. If you have hard grout in those corners, the pressure from the house shifting will push against the tile field and pop the weakest bond. This is why your showers often leak at the corners; the grout cracks and water finds its way behind the system. A floor must be allowed to live and breathe within its footprint, but the individual components must be bonded so tightly that they act as a single, rigid unit. Achieving that balance is the difference between a floor that lasts fifty years and one that fails in five.
The reality of the repair vs replacement
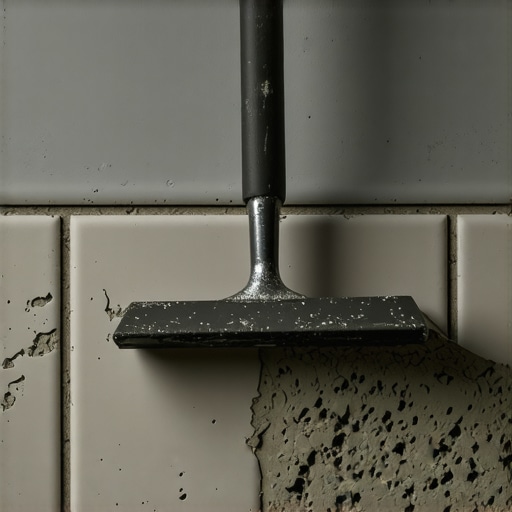
If you have more than three or four loose tiles in a concentrated area, the problem is likely systemic and cannot be fixed with a simple injection. There are products on the market that claim to fix hollow tiles by drilling a hole in the grout and injecting a liquid adhesive. While this can work for a single tile that was poorly back-buttered, it will not fix a floor that is failing due to deflection or moisture. If the subfloor is bouncing, no amount of glue will hold that tile forever. You are just putting a bandage on a broken bone. You have to be honest about the state of the carpet install or old vinyl that was there before. If the previous installer left old adhesive residue on the floor, the new thin-set will never bond. I have walked into many kitchens where I could lift the tiles up with a putty knife because they were stuck to old yellow carpet glue instead of the concrete. In those cases, the only solution is to tear it back to the studs and start over. It is a bitter pill to swallow, but it is better than living with a floor that clicks and groans every time you go to the fridge for a glass of water. A master knows when to repair and when to rebuild. In the world of flooring, the subfloor always tells the truth eventually.