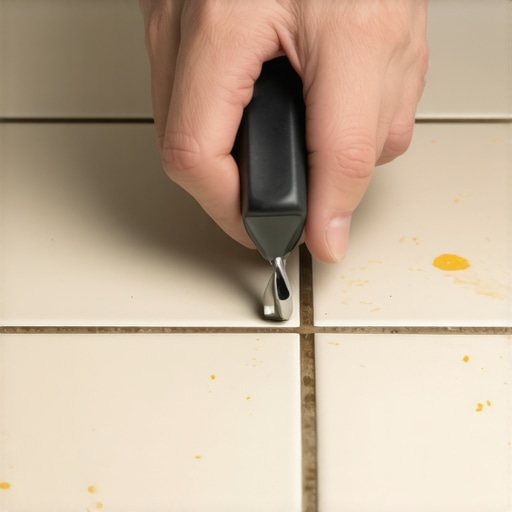
The ‘Tap Test’ for Detecting Hollow Spots in Thinset
Most guys skip the leveling compound. They think the underlayment will hide the dip. It won’t. I spent three days grinding concrete on a job last month just so the floor wouldn’t click like a castanet. That job was a nightmare because the previous contractor thought he could compensate for a half-inch variance using nothing but extra thinset. He was wrong. The mortar shrunk as it cured. The tiles lost their bond. When I walked across that kitchen, it sounded like I was stepping on empty eggshells. I had to rip out four hundred square feet of Italian porcelain because someone was too lazy to use a straightedge and a grinder. My knees still hurt from that one. You cannot hide a bad subfloor. It will find you. It will haunt you. And eventually, it will cost you your reputation. I have spent twenty-five years listening to the sounds of floors. I can tell you if a tile is going to pop just by the way my boots hit the surface. If you want to survive in this trade, you have to stop thinking about what the floor looks like and start thinking about how it vibrates. A floor is a structural assembly. If there is air where there should be stone, you have a failure in progress.
The hollow sound of failure
Detecting hollow spots in thinset requires a systematic acoustic survey of the tile surface to identify voids or bonding failures between the substrate and the finish material. This diagnostic process uses sound waves to locate air pockets that indicate insufficient mortar coverage or delamination. When a tile is properly bonded, the impact energy of a tap is absorbed by the mass of the subfloor. When a void exists, the energy reflects back, creating a high-pitched, resonant chime that every pro learns to dread. This is the foundation of the tap test. I use a specific heavy-duty nylon rod or sometimes just a golf ball. You move across the grid. You listen for the change in frequency. A solid bond sounds like a thud. A failure sounds like a bell. If you are working on showers, this is even more vital. Water finds those voids. It sits there. It grows things. Then the thinset breaks down further. You cannot skip this.
“A floor is only as good as the subfloor beneath it; deflection is the enemy of every joint.” – Master Flooring Axiom
The physics of mortar bonding and coverage
Mortar coverage must reach at least eighty percent in dry areas and ninety-five percent in wet environments like showers to prevent structural failure. These percentages are not suggestions. They are the laws of the TCNA. When you spread thinset, you are creating a chemical bridge. If that bridge is missing its middle supports, the tile will crack under the first heavy load it encounters. I see this a lot with laminate and carpet install too, where people ignore the flat requirements. They think a pad will fix a valley. It will not. In tile work, the mortar must be combed in straight lines. No swirls. Swirls trap air. Air creates the hollow spot. When you drop that tile, you shift it perpendicular to the ridges. This collapses the valleys and ensures total wetting of the tile back. If you lift a tile and see ridges that are still standing, you failed. You have air. You have a future callback. I have seen guys try to spot-bond tiles, putting a glob in the corners and one in the middle. That is a crime in the flooring world. It creates a hollow chamber that will shatter like glass when a refrigerator rolls over it. You need a flat, continuous bed of hydrated Portland cement and polymers. The chemistry of the bond depends on moisture retention. If the substrate is too thirsty, it sucks the water out of the thinset before it can crystallize. This leads to a soft bond that sounds hollow within a month.
The specific tools for diagnostic tapping
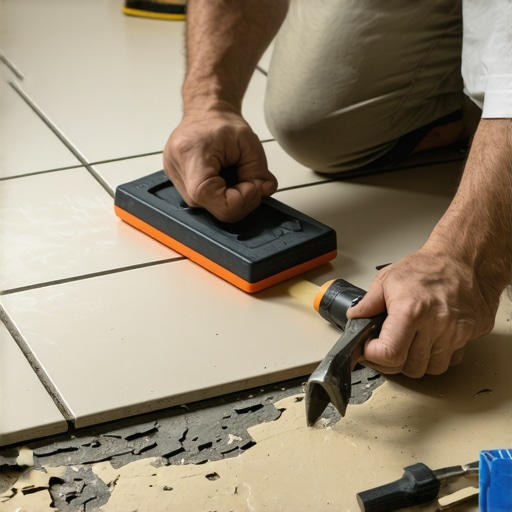
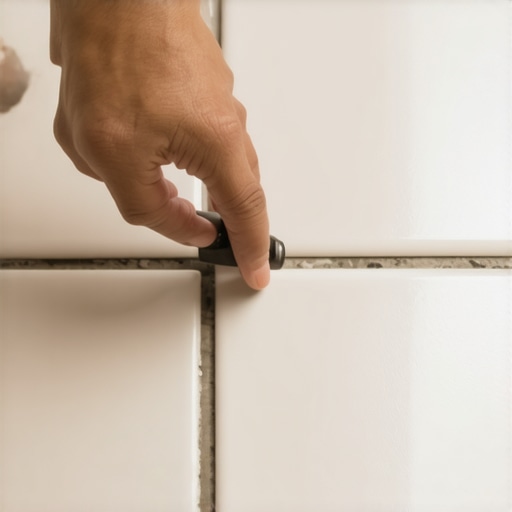
Professional flooring diagnostics rely on specialized tapping tools including telescopic sounding rods, heavy steel ball bearings, or weighted plastic mallets to locate subfloor inconsistencies. I prefer a simple golf ball for large areas of polished stone. I bounce it across the floor. The rebound tells the story. A solid floor sends the ball back to my hand with a sharp, quick snap. A hollow floor swallows the energy. The ball dies on the surface. For vertical surfaces in showers, I use the handle of a screwdriver or a specialized sounding stick. You must be methodical. You tap the center. You tap all four corners. You follow the grout lines. If you find a spot, you mark it with a piece of blue tape. Do not trust your eyes. The tile might look perfect. The grout might look clean. But underneath, there is a gap that will eventually lead to a cracked grout joint or a loose stone. I have seen people use hammers, but that is a mistake for beginners. You can chip the glaze. You need something hard enough to resonate but soft enough to protect the finish. This is about ears, not force. You are listening for the echo of a void. It is a sharp, metallic ring that stands out from the dull thud of the surrounding floor. If the subfloor leveling was done right, the sound will be uniform across the entire room. If the floor leveling was skipped, the sound will change every few inches.
The danger of voids in wet environments
Voids in shower installations create reservoirs for stagnant water which leads to mold growth, efflorescence, and the eventual degradation of the waterproofing membrane. When you have a hollow spot under a shower floor tile, you have a pond. Every time someone bathes, water migrates through the grout. It fills the void. Because there is no airflow, that water stays there for weeks. This is why some showers always smell like a swamp no matter how much you scrub the surface. The tap test in a shower is your last line of defense before you hand the keys to the owner. If I hear a hollow spot near a drain, I rip it out immediately. I do not care if it takes an extra day. The cost of a leak or a mold claim is ten times the cost of a bag of mortar and a few hours of labor. This is the same reason floor leveling is vital in bathrooms. If the floor slopes the wrong way, the water stays in the voids. I once saw a job where the laminate was installed right up to a tub. The subfloor was a mess. Every time they stepped near the tub, you could hear the air moving underneath. It was a ticking time bomb. You must ensure the bond is total.
“Complete mortar coverage is the only insurance against the mechanical stresses of point loading and moisture migration.” – TCNA Technical Manual
Comparing coverage and bond requirements
The following table outlines the minimum requirements for mortar coverage based on the installation environment and tile type to ensure a solid bond.
| Application Type | Minimum Coverage | Tool Requirement | Risk of Failure |
|---|---|---|---|
| Interior Dry Area | 80 Percent | 1/2 Inch Notch Trowel | Low if stable |
| Showers and Wet Areas | 95 Percent | U-Notch Trowel | Extremely High |
| Natural Stone Panels | 95 Percent | Back-buttering mandatory | High due to fragility |
| Exterior Patios | 95 Percent | Large Format Trowel | High due to freeze-thaw |
The 1/8 inch rule that ruins everything
Subfloor flatness must be within one-eighth of an inch over a ten-foot radius to prevent hollow spots and mechanical stress on the floor locking systems. If your concrete slab has a hump, your tile will bridge over it. That creates a void on either side of the hump. When you walk on those sides, the tile flexes. Since ceramic does not like to bend, it snaps. Or the thinset breaks its bond. This is also why carpet install fails prematurely. The padding gets crushed in high spots and the carpet stretches into the low spots, creating ripples. If you are doing a laminate install, a dip in the floor will cause the tongue and groove joints to rub together. That is that annoying clicking sound you hear in cheap apartments. I spent a week on a job in a high-rise once just leveling the floors with a self-leveling underlayment because the structural slab was like the surface of the moon. We poured forty bags of compound. It was expensive. The client complained. But when we finished, that floor was as flat as a pool table. We did the tap test on the finished stone and every single square inch sounded like solid rock. That is the difference between a pro and a handyman. A pro knows that the finish is just the skin. The subfloor is the skeleton.
Checklist for a successful floor installation
- Verify subfloor moisture levels using a calcium chloride test or a pinless meter.
- Check flatness across the entire room using a ten-foot straightedge.
- Grind down all high spots and fill low spots with a high-strength leveling compound.
- Vacuum the substrate twice to remove all dust that could act as a bond breaker.
- Apply a primer if using a self-leveling underlayment or a high-suction substrate.
- Use the correct trowel size for the tile to ensure proper mortar ridge height.
- Back-butter every tile larger than fifteen inches on any side.
- Perform the tap test on every tile twenty-four hours after installation.
The chemistry of thinset and why it fails
Thinset failure is often a result of improper hydration or the use of expired polymers that prevent the mortar from forming a structural matrix. When you mix your mud, you have to let it slake. That means you mix it, let it sit for ten minutes, and then mix it again. This allows the dry chemicals to fully saturate. If you skip the slake, the bond will be weak. It will sound hollow because the mortar is brittle. Also, watch your water. Too much water makes the thinset easy to spread but it ruins the strength. It shrinks more as it dries. As it shrinks, it pulls away from the tile. Now you have a hollow spot. I see this a lot with guys who are in a hurry. They want it soupy so they can fly through the job. Then they wonder why the floor sounds like a drum two weeks later. You want a consistency like peanut butter. It should hold its shape when you comb it. If the ridges sag, your mix is too thin. This is the technical reality of the trade. It is not about being pretty. It is about the molecular bond between the silicate in the mortar and the underside of the tile. If that bond is interrupted by air or excess water, you have nothing but a loose piece of rock on a bed of sand.