How to Repair Grout Pinholes in Your Shower Without Re-Grouting
The hidden physics of grout failure
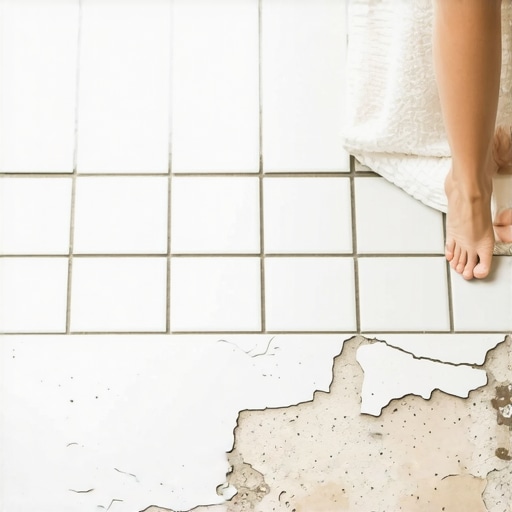
Grout pinholes are small voids caused by air bubbles or excess water during the mixing process that compromise the structural integrity of your shower. These tiny craters represent a failure in the cementitious matrix of the grout. I once walked into a job where a shower pan was leaking so bad it rotted the floor leveling compound in the adjacent room. The homeowner thought it was a plumbing leak. It wasn’t. It was hundreds of microscopic pinholes acting like a series of straws, sucking water directly into the subfloor. I spent three days grinding concrete on a job last month just so the floor wouldn’t click like a castanet, and that experience taught me one thing. If you ignore the small holes, you eventually replace the whole floor. These holes occur when water evaporates too quickly or when a bucket-jockey mixes the grout at 1,000 RPMs with a drill, whipping air into the paste. When that air tries to escape as the grout sets, it leaves a tunnel. These tunnels are not just cosmetic. They are gateways for moisture to attack your backer board.
The science of air entrapment in Portland cement
Entrapped air is the primary cause of grout pinholes because it creates voids as the mixture cures and gases escape. When we talk about the chemistry of grout, we are talking about the formation of Calcium Silicate Hydrate crystals. This process requires a specific water-to-cement ratio. If you add too much water to make the grout easier to spread, you are essentially creating a soup where the solid particles settle at the bottom and the excess water rises. As that water evaporates, it leaves behind a network of capillaries and surface pinholes. This is why a professional installer never uses a high-speed drill to mix grout. We mix it by hand or at very low speeds to prevent the vortex from pulling in oxygen. You also have to let the grout slake. Slaking is the process where the water fully permeates the dry polymers and pigments. If you skip the ten-minute slake, you are asking for pinholes. I have seen guys rush a carpet install and then try to finish a shower the same day. That kind of haste is what leads to 1/8 inch gaps that ruin a twenty thousand dollar bathroom. The structural reality is that your grout should be a solid, monolithic mass, not a piece of Swiss cheese.
“A floor is only as good as the subfloor beneath it; deflection is the enemy of every joint.” – Master Flooring Axiom
The myth of the waterproof shower
Tile and grout are not waterproof systems on their own because grout is naturally porous and prone to moisture absorption. Most people assume that because they have porcelain tile, their shower is a sealed box. That is a dangerous lie. Water goes through grout like it is a sponge. The real waterproofing happens behind the tile with a liquid-applied membrane or a felt-backed sheet. If your grout has pinholes, the volume of water reaching that membrane increases by ten times. This constant moisture can lead to the growth of mold behind the tile, even if the surface looks clean. When I see pinholes, I see a ticking clock. I have worked on laminate floors that buckled because of moisture migration through a shared wall with a pinholed shower. The physics of hydrostatic pressure means that water will find every single one of those holes. You cannot just slap more grout on top and call it a day. You have to understand the bond at a molecular level.
Tools for a surgical grout repair
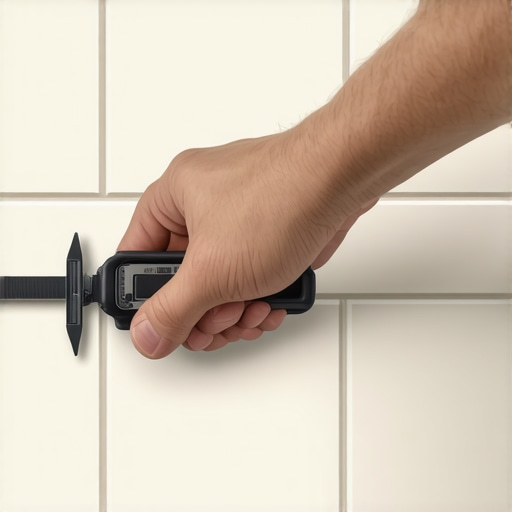
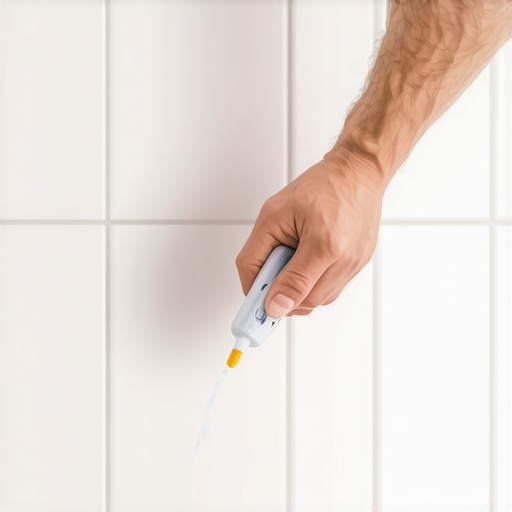
Repairing grout pinholes requires a set of precision tools including a diamond-tipped scribe, a vacuum with a HEPA filter, and a high-polymer grout slurry. You cannot just rub dry grout into the holes with your finger. That is a hack move. To fix these holes permanently, you need to open them up slightly so the new material has somewhere to bite. I use a small dental pick or a scribe to gently clear any loose debris or soap scum from the pinhole. If there is body oil or shampoo residue inside that hole, the new grout will not stick. It will just pop out the first time you hit it with hot water. After cleaning, you need to vacuum the holes. Do not blow into them. Your breath contains moisture and oils that will contaminate the bond. We are looking for a mechanical bond where the new grout crystals interlock with the existing grout structure.
| Grout Type | Water Ratio | Pinhole Risk | Cure Time |
|---|---|---|---|
| Standard Sanded | High | Moderate | 72 Hours |
| Unsanded Polymer | Low | High | 48 Hours |
| Epoxy Grout | None | Zero | 24 Hours |
| High-Performance Cement | Medium | Low | 24 Hours |
The slurry technique for pinhole eradication
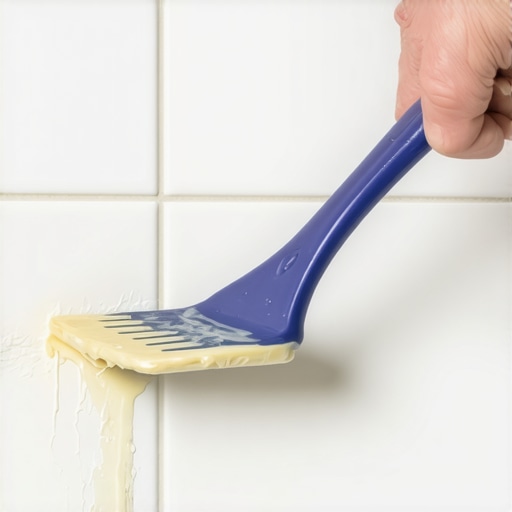
The slurry technique involves mixing a small, concentrated batch of grout to a peanut butter consistency and forcing it into the cleaned voids. This is the only way to ensure the hole is filled from the bottom up. If you just skin the top, you leave an air pocket underneath. That air pocket will expand and contract with the temperature of your shower water, eventually cracking the thin layer of grout you just applied. I mix my slurry using distilled water. City water often has minerals or chlorine that can shift the color of the grout as it dries. You want a perfect match, especially on light-colored grout where a slight shift looks like a stain. You apply the slurry with a small margin trowel or even a stiff putty knife, pressing at a forty-five-degree angle. This angle is vital because it packs the material into the hole rather than just wiping it across the surface. You have to be aggressive with the pack. Once it is packed, let it sit for about fifteen to twenty minutes before you even think about touching it with a sponge.
Why your subfloor is lying to you
Subfloor movement is a silent contributor to grout failure because even minor deflections can cause the brittle grout to snap and form micro-voids. People think grout pinholes only happen when you first build the shower. That is not true. I have seen pinholes appear three years later because the subfloor under the shower pan was not stiff enough. If you have a 3/4 inch plywood subfloor with too much span between the joists, the whole shower flexes every time you step in it. This flexing creates stress fractures in the grout. These fractures often look like pinholes or hairline cracks. If you are fixing pinholes every six months, you do not have a grout problem. You have a structural deflection problem. I have seen this in many a carpet install where the installer ignored a soft spot in the wood. In a bedroom, it is a squeak. In a shower, it is a catastrophic leak. You have to ensure that your joist span meets the L/360 or L/720 requirements for tile installation.
“Grout is the sacrificial lamb of the tile industry; it is designed to fail before the tile does, but it must be maintained to protect the structure.” – TCNA Handbook Logic
The 1/8 inch that ruins everything
Incorrect joint width and depth are the primary structural reasons grout fails to hold its shape and develops pinholes. If a joint is too narrow, the grout cannot properly fill the space, leading to a weak bond. If it is too deep, the drying process is uneven. I always tell people that the grout joint should be at least two-thirds the depth of the tile. If the installer left a bunch of thin-set in the joints, the grout is too thin. Thin grout dries too fast. Fast drying leads to shrinkage, and shrinkage leads to pinholes. This is the same reason floor leveling must be done perfectly before any tile or laminate goes down. If the surface is not flat, the tile will have varying depths of grout, which means it will cure at different rates. That uneven cure is a recipe for aesthetic and structural disaster. You need a uniform bed for a uniform cure.
A checklist for a permanent grout fix
- Inspect the shower with a high-lumen LED light to identify every single void.
- Clean each pinhole using a non-acidic cleaner and a stiff nylon brush.
- Rinse the area with distilled water to remove all chemical residue.
- Dry the joints completely using a hair dryer or heat gun on a low setting.
- Mix a small batch of grout using a polymer additive instead of just water for maximum adhesion.
- Force the grout into the holes using a rubber float or a gloved finger, applying significant pressure.
- Wipe the excess using a microfiber cloth slightly dampened with distilled water.
- Avoid using the shower for at least 48 hours to allow the chemical bond to reach full strength.
The regional humidity factor in grout curing
Regional climate conditions such as the high humidity in Florida or the dry air in Nevada drastically change how grout must be applied and cured. In a place like Houston, the humidity is so high that grout can take twice as long to reach its initial set. If you sponge it too early in a humid environment, you are just washing the cement out of the joint and creating more pinholes. Conversely, in the desert heat of Phoenix, the grout will dry so fast that it does not have time to hydrate properly. In those dry climates, I often suggest a light misting of the grout joints with water to keep them hydrated. This is a trick from the old-school masons. If you don’t control the evaporation, you lose the strength. I have seen laminate floors shrink an entire inch in the desert because the installer didn’t account for the moisture equilibrium. Grout is no different. It is a living, breathing material until it reaches full cure.
Contrarian wisdom on grout sealers
Most people believe that sealing grout immediately after repair is best, but sealing too early actually traps moisture and prevents the grout from reaching its full Janka-equivalent hardness. You have to let the grout breathe. If you seal it while there is still internal moisture, you can cause a condition called efflorescence. This is where minerals are pulled to the surface, leaving a white, chalky film that is nearly impossible to remove without acid. I wait at least seven days before applying a sealer to a repair. And even then, I use a penetrating sealer, not a topical one. Topical sealers are like plastic wrap. They peel. Penetrating sealers go into the pores and stay there. This is similar to how we treat high-end hardwood. You don’t just paint it. You want the protection to be part of the material. If you seal a pinhole repair too early, you are just trapping the problem for next year.
The last seal and maintenance
Maintaining your grout repair involves using pH-neutral cleaners and avoiding the abrasive scrubbing that creates new pinholes over time. If you use harsh acids or bleach on your grout, you are eating away the cement. You are literally creating pinholes with your cleaning routine. I always tell my clients to throw away the stiff wire brushes. Use a soft cloth and a neutral cleaner. If you take care of the grout, it will take care of your subfloor. The structural integrity of your home depends on these small details. It is not just about the tile. It is about the layers of engineering beneath it. From the floor leveling to the final bead of silicone in the corners, every step matters. When you fix a pinhole, you are not just doing a cosmetic touch-up. You are performing a surgical repair on your home’s moisture barrier. Do it right, or you will be calling someone like me to tear the whole thing out in five years. It will buckle. It will rot. Unless you respect the chemistry.