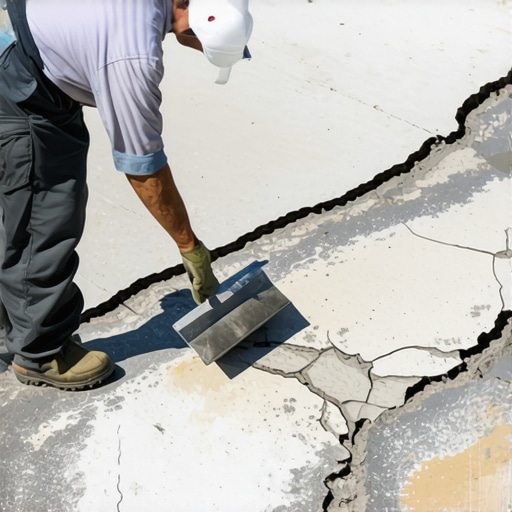
Why Your Self-Leveler is Turning Into Dust Under the Trowel
Most guys skip the leveling compound. They think the underlayment will hide the dip. It won’t. I spent three days grinding concrete on a job last month just so the floor wouldn’t click like a castanet. I have spent twenty-five years on my knees with a moisture meter and a level, and I can tell you that a floor is not a decoration. It is a structural engineering challenge. If your self-leveler is turning into a chalky, dusty mess that you can scratch away with a fingernail, you have a chemistry problem, not a bad batch of product. You are likely treating a high-performance polymer-modified compound like it is just thick water and mud. It is not. It is a precise chemical reaction that requires a specific environment to reach its compressive strength.
The physics of a thirsty slab
Self-leveler turns to dust when the substrate absorbs water from the mix too quickly, preventing proper hydration of the cementitious particles. This happens because concrete is essentially a hard sponge with millions of microscopic pores. If you do not seal those pores with a high-quality primer, the slab will suck the moisture out of the leveler before the chemical bond can form. This leaves the leveler without enough water to complete the crystallization process, resulting in a brittle, weak surface that turns to powder under the slightest pressure. I have seen fifteen-thousand-dollar wide-plank walnut floors ruined because the installer thought a quick sweep was enough prep. It never is. You need to understand the concept of laitance and surface profile before you even think about opening a bag of leveler. Laitance is that weak, milky layer on top of new concrete that has no structural integrity. If you pour leveler over it, the leveler will bond to the laitance, and then the laitance will pull away from the slab. You end up with a floating sheet of dust.
“A floor is only as good as the subfloor beneath it; deflection is the enemy of every joint.” – Master Flooring Axiom
The chemical marriage of primer and powder
Primer is the most vital component of a self-leveling installation because it regulates the absorption rate of the substrate and ensures a mechanical bond. Without primer, the water in your leveler escapes into the subfloor, and the polymer chains within the mix cannot link together. This is why your leveler looks good for an hour and then starts to craze and crack like a dry lakebed. In places like Phoenix where the air is dry, this process happens even faster. The slab is so thirsty that it acts like a vacuum. You need a dedicated acrylic or epoxy primer that is designed for the specific leveler you are using. Do not use a generic pva glue or a cheap substitute. I always tell my apprentices that if they skip the primer, they might as well just throw the money out the window. You also need to pay attention to the Concrete Surface Profile or CSP. For most self-leveling jobs, you want a CSP of 2 or 3. This means the concrete should feel like 60-grit sandpaper. If it is as smooth as a garage floor, the leveler has nothing to grab onto. You need to mechanicaly abrade that surface with a grinder or a shot-blaster.
Why the bucket matters more than the bag
Incorrect water-to-powder ratios and improper mixing speeds introduce air bubbles and weaken the structural integrity of the final floor. If you use too much water to make the product flow better, you are washing away the polymers that give the leveler its strength. The heavy aggregates will sink to the bottom, and the light, weak fines will float to the top. This creates a soft, dusty surface that will never support a carpet install or a heavy laminate plank. On the other hand, if you do not use enough water, the product will not level, and you will be left with trowel marks that are as hard as rock. You must use a calibrated measuring bucket. Do not eyeball it. I have seen guys use a garden hose to fill their buckets, and then they wonder why the floor is failing. You also need a high-torque, low-speed drill. If you mix at 1000 RPM, you are whipping air into the mix like a meringue. Those air bubbles will rise to the surface and pop, leaving thousands of tiny pinholes that turn into dust. Use a paddle designed specifically for levelers to keep the vortex stable and the air out.
| Material Type | Typical Water Ratio | Cure Time for Foot Traffic | Janka Rating Support |
|---|---|---|---|
| Standard Cementitious | 5.5 to 6 Quarts | 4 Hours | Excellent |
| High-Flow Gypsum | 6 to 7 Quarts | 12 Hours | Moderate |
| Rapid-Setting Polymer | 5 Quarts | 90 Minutes | Superior |
| Fiber-Reinforced | 5.5 Quarts | 4 Hours | Excellent |
The ghost in the expansion gap
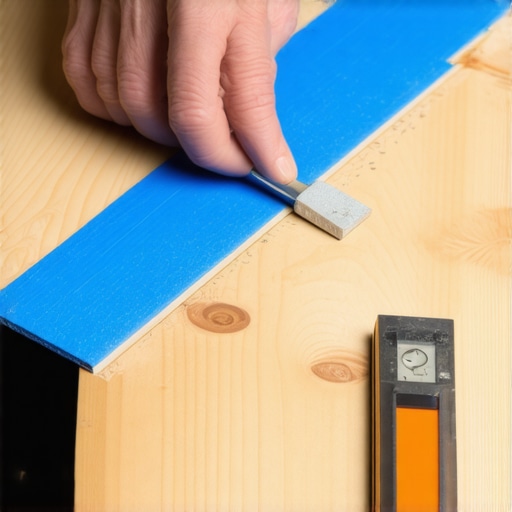
Failure to provide perimeter expansion gaps causes self-leveler to pinch against walls and crumble under the pressure of thermal movement. Even though it looks like stone, a floor is a living thing. It expands and contracts with the temperature and humidity. If you pour leveler tight against the drywall or the sill plate, it has nowhere to go when it expands. The internal pressure will cause the leveler to buckle or turn to dust at the edges. This is a massive issue when you are preparing for showers or wet areas where the temperature swings are frequent. You must install foam expansion strips around the entire perimeter of the room. This 1/8 inch gap is what saves the floor from self-destructing. I have walked into jobs where the leveler was literally popping off the floor because the installer didn’t leave room for the building to breathe. It is a rookie mistake that costs thousands to fix.
“Subfloor preparation is not a suggestion; it is the fundamental requirement for all surface longevity.” – TCNA Handbook Standards
How failure ruins your laminate and carpet
A dusty or uneven leveler will cause laminate locking mechanisms to snap and carpet pads to wear out prematurely through friction. If you install a floating laminate floor over a dusty leveler, that dust acts like an abrasive. Every time you walk on the floor, the planks move slightly. That movement grinds the dust against the bottom of the plank and into the locking joints. Eventually, the joints will fail, and you will have gaps in your floor. For carpet, the dust gets trapped under the pad and acts like sandpaper, slowly eating away at the backing of the carpet. This is why you see “traffic patterns” in carpet that won’t come out; it is often the subfloor dust destroying the fibers from the bottom up. You need a substrate that is flat to within 3/16 of an inch over a 10-foot radius. Anything less is a failure waiting to happen.
The Master Installer Checklist for a Dust-Free Pour
- Check the moisture vapor emission rate with a calcium chloride test.
- Vacuum the slab twice with a HEPA filter to remove all fine particulates.
- Apply two coats of primer if the slab is exceptionally porous.
- Use a spiked roller immediately after pouring to release trapped air.
- Maintain a consistent room temperature between 65 and 75 degrees Fahrenheit.
- Seal the windows to prevent