The ‘Straight Edge’ test for checking subfloor dips
Most guys skip the leveling compound. They think the underlayment will hide the dip. It won’t. I spent three days grinding concrete on a job last month just so the floor wouldn’t click like a castanet. I once walked into a house where a homeowner had spent eight thousand dollars on premium laminate, only to have the joints snap within six months because the installer ignored a half inch valley in the plywood subfloor. The dust of ground concrete still lingers in my lungs from that remediation. You cannot cheat physics. If the foundation is crooked, the finish will fail. A subfloor is a structural performance surface. It is not just a platform for your aesthetic choices. When you lay a 10-foot straight edge across a room, you are looking for the truth that the naked eye refuses to see. Professionals do not guess. We measure. We mark. We correct.
The hidden cost of ignoring subfloor flatness
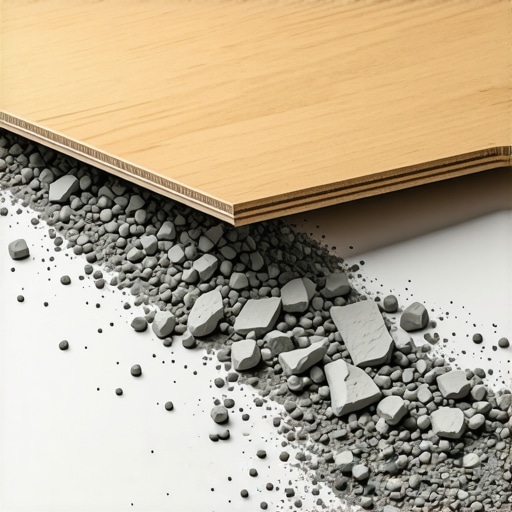
Subfloor flatness is the most critical factor in flooring longevity because it prevents mechanical stress on locking systems and ensures a solid feel underfoot. A dip larger than 3/16 of an inch over a 10-foot span will cause floating floors to bridge over voids, leading to eventual joint failure and annoying vertical movement. When a person walks across a floor that has a void beneath it, the plank deflects. That deflection puts thousands of pounds of pressure on a tiny piece of milled wood or plastic. Over time, the material fatigues. The clicking sound you hear is the sound of your investment breaking. It is the sound of a contractor who was too lazy to pull out a level. [IMAGE_PLACEHOLDER_1]
How the straight edge reveals the truth
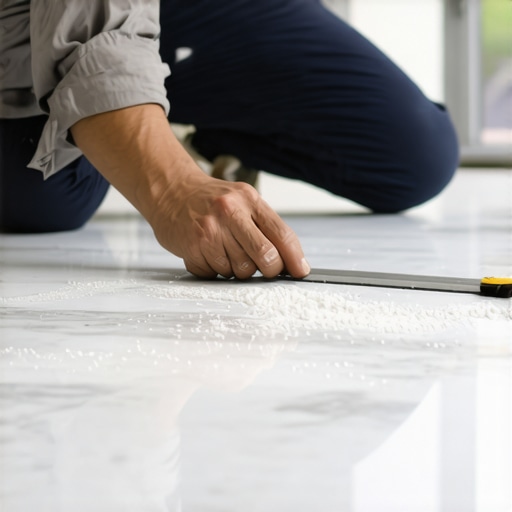
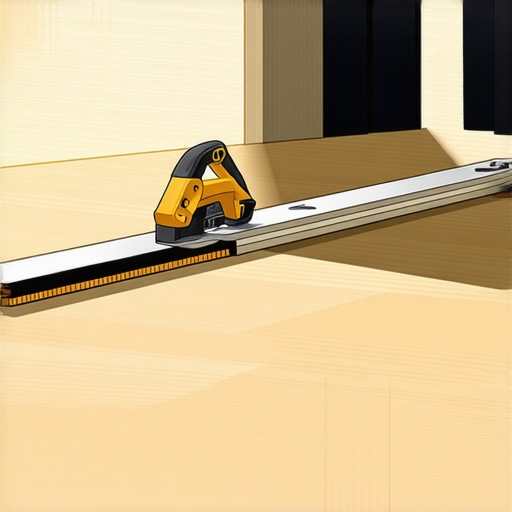
The straight edge test involves placing a 10-foot aluminum tool across the subfloor and using feeler gauges to identify gaps that exceed the manufacturer specifications. This process must be repeated in a starburst pattern across the entire room to map the topography of the wood or concrete surface. A 10-foot edge is the industry standard for a reason. Smaller levels, like a 4-foot carpenter level, can easily ride inside a large dip, giving you a false sense of security. You need the length to bridge the high spots. When you find a gap, you do not just ignore it. You mark the perimeter with a pencil. These areas are colloquially known as bird baths. They are where the self-leveling compound will eventually live. If you find a high spot, that is where the grinder or the sander comes into play. You cannot have one without the other. You are aiming for a surface that is dead flat, not necessarily level. A floor can be slightly sloped and still be a perfect installation surface, but it must be flat.
“A floor is only as good as the subfloor beneath it; deflection is the enemy of every joint.” – Master Flooring Axiom
The physics of floating floor failure
Floating floors like laminate and LVP rely on the structural integrity of the tongue and groove locking mechanism to maintain a cohesive surface. When these floors are installed over a dip, the planks are forced to bend into the void under the weight of furniture or foot traffic, which eventually shears the locking profile. Think about the chemistry of a high-density fiberboard core. It is compressed wood fibers held together by resin. It has a high compressive strength but relatively low tensile strength when subjected to repeated bending. Every time you step on that spot, the resin bonds weaken. Eventually, you get a gap. Once a gap appears, moisture from cleaning or humidity enters the core. The core swells. The floor is ruined. This is why the straight edge test is not optional. It is a protective measure for the molecular structure of your flooring.
| Flooring Type | Flatness Tolerance (10 ft) | Primary Failure Mode |
|---|---|---|
| Solid Hardwood | 3/16 inch | Squeaking and rubbing |
| Laminate Flooring | 1/8 inch | Locking joint breakage |
| LVP (Vinyl Plank) | 3/16 inch | Separation and telegraphing |
| Ceramic Tile | 1/8 inch | Grout and tile cracking |
Grinding concrete for a perfect bond
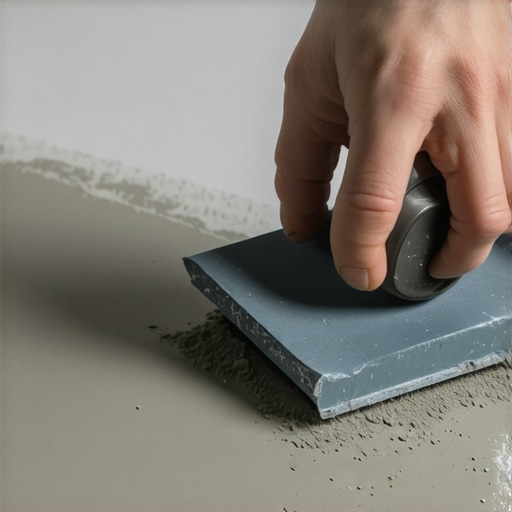
Grinding concrete high spots is a dusty and essential process that uses diamond-cup wheels to remove excess material and create a porous surface for adhesives. High spots are often found at the seams of concrete pours or where the slab has curled during the curing process over the first year of a building life. When you hit a high spot with a grinder, you are looking for more than just flatness. You are looking for an open capillary structure. If you are gluing down hardwood, that adhesive needs to bite into the concrete. A smooth, power-troweled slab is often too slick. The straight edge identifies where you need to take off 1/8 of an inch, but your eyes and hands tell you when the texture is right. I always wear a respirator. Silica dust is no joke. I have seen guys do this dry with no vacuum. That is a fast track to a hospital bed. Use a shrouded grinder with a HEPA vacuum. Keep the straight edge nearby. Grind a little. Check often. It is a slow dance with a heavy machine.
Leveling compounds and their chemical properties
Self-leveling underlayment is a high-flow, cementitious material designed to fill low spots and create a smooth, level surface with high compressive strength. These products are not just wet concrete. They are sophisticated chemical mixtures containing polymers that allow the material to flow like water while maintaining structural integrity at thin transitions. You must use a primer. This is the step everyone skips. Without a primer, the dry subfloor will suck the water out of the leveling compound too fast. The chemical reaction stops. The leveler becomes brittle and dusty. It will eventually delaminate. I prefer a high-quality acrylic primer that turns clear when it is dry. Once the primer is tacky, you mix the bags. You need two people. One to mix and one to pour. If you stop to mix the next bag, the first pour starts to skin over. You get a cold joint. A cold joint is just another bump for the straight edge to find later.
“Subfloor flatness must be within 3/16 inch in 10 feet or 1/8 inch in 6 feet for most hardwood installations.” – NWFA Technical Guidelines
The myth of the thick underlayment
Using a thicker foam underlayment to fix a subfloor dip is a common mistake that actually increases the risk of joint failure by allowing too much vertical movement. While a thick pad might feel softer, it acts like a trampoline for the floor planks, causing the locking mechanisms to work against each other every time the floor is walked upon. I have seen people double up on underlayment. This is a disaster. The flooring manufacturer will deny your warranty the second they see that. Most LVP has a pre-attached pad that is precisely engineered for the weight of the plank. Adding more cushion reduces the stability. If you have a dip, you fix it with patch or leveler. You do not fix it with foam. Foam is for sound dampening and moisture protection. It is not a structural filler. The straight edge does not lie. If the edge shows a gap, the foam will only hide it until the check clears and the installer is gone.
Showers and the slope requirements
In wet areas, the straight edge is used to verify the pre-slope of the shower pan, ensuring that water migrates toward the weep holes of the drain. A common failure in shower construction is a dip in the mortar bed that allows water to pool under the tile, leading to foul odors and mold growth within the thin-set layer. When I build a shower, I check the slope every six inches. You need a 1/4 inch drop per linear foot. If you have a bird bath in your shower pan, your waterproof membrane will be sitting in a puddle forever. That water becomes stagnant. It smells like rotten eggs. This is why even tile guys need a dedicated straight edge kit. You are not just looking for flat. You are looking for a perfectly consistent plane that directs every drop of water to the plumbing. Anything less is a liability.
Professional checklist for subfloor preparation
- Purchase a 10-foot aluminum straight edge with a machined surface.
- Identify all high spots and mark them with a red carpenter pencil.
- Identify all low spots and mark them with a blue carpenter pencil.
- Vacuum the entire surface to remove all loose debris and dust.
- Apply the manufacturer-recommended primer for all leveling compounds.
- Use a feeler gauge to verify the final flatness after the patch has dried.
- Check the moisture content of the subfloor before installing the final material.
The final word on flatness
A floor is the most used surface in any building. It takes the brunt of our lives. If you treat it like a cosmetic skin, it will fail you. If you treat it like an engineering challenge, it will last a lifetime. The straight edge test is the boundary between a hack job and a professional installation. It takes time. It takes effort. It takes a willingness to get back on your knees and fix a problem before it becomes a catastrophe. Don’t let a 1/8 inch dip ruin your home. Buy the level. Grind the concrete. Pour the patch. Do it right the first time. Your feet will thank you ten years from now.