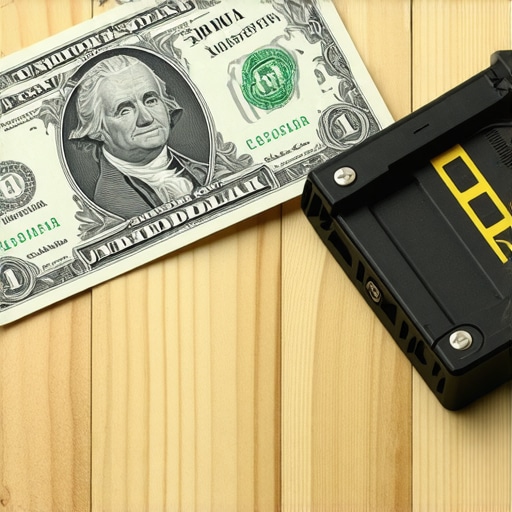
The ‘Dollar Bill’ check for floor leveler thickness
The physics of the subfloor and why your floor fails
Floor leveling requires a substrate that is flat within 3/16 of an inch over a 10 foot radius to ensure that laminate, carpet install, or tile in showers does not fail under structural load. Most guys skip the leveling compound. They think the underlayment will hide the dip. It won’t. I spent three days grinding concrete on a job last month just so the floor wouldn’t click like a castanet. I once walked into a house where a expensive wide-plank walnut floor was cupping so bad it looked like a potato chip because the installer didn’t check the crawlspace humidity. A floor is a performance surface. It is not a decoration. If the concrete slab beneath your feet has a dip deeper than the thickness of a few stacked dollar bills, your clicking laminate joints will eventually snap. This is the reality of floor physics. You cannot ignore the substrate. You cannot hide a valley with a piece of foam. The bond between the leveling compound and the concrete is a chemical marriage that requires perfect surface profile and moisture control. If you ignore the ASTM F710 standards for preparing concrete floors, you are just waiting for a catastrophic failure.
“A floor is only as good as the subfloor beneath it; deflection is the enemy of every joint.” – Master Flooring Axiom
The dollar bill check for subfloor flatness
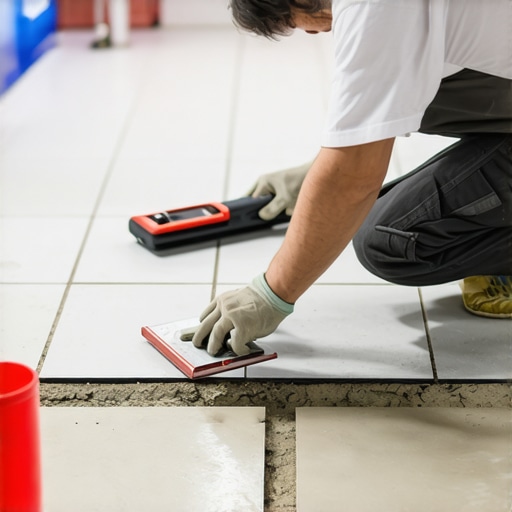
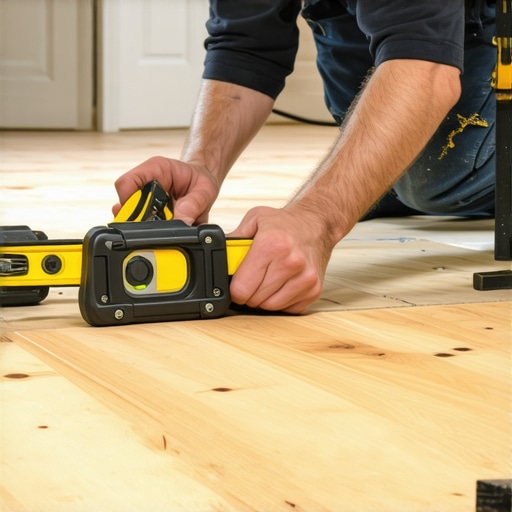
Subfloor flatness is measured using a 10 foot straight edge where a dollar bill serves as a precision gauge to identify low spots that require floor leveling before a laminate or carpet install. A standard US dollar bill is approximately 0.0043 inches thick. In the world of high-end flooring, we are fighting a war against 1/8 inch variations. If you lay a professional straight edge across your floor and you can slide a stack of three dollar bills under it, you are bordering on the edge of the NWFA tolerance limits. If you can slide a whole wallet under there, you have a structural problem. This test is the simplest way to see if your self-leveling pour was successful. We look for a surface that is flat, not necessarily level. A floor can be sloped like a ramp but still be flat enough for laminate. However, a floor that waves like the ocean will destroy the tongue and groove joints of any floating floor within six months. The mechanical stress of walking over a void causes the planks to flex. This friction creates heat and eventually shears the locking mechanism off the plank. You will hear it before you see it. The clicking sound is the sound of your money breaking.
The chemistry of calcium aluminate in self-leveling compounds
Self-leveling underlayment utilizes calcium aluminate cement to provide high early strength and rapid hydration which is vital for laminate and carpet install over concrete. Unlike standard Portland cement which takes 28 days to fully cure, high-performance levelers use complex polymers and aluminate chemistry to reach 3000 PSI within hours. When you mix that bag, you are triggering a specific exothermic reaction. If you add too much water, you drown the polymers. This results in a chalky surface that will delaminate. I have seen guys dump five quarts of water into a four quart mix because they wanted it to flow better. That is a recipe for a callback. The water to powder ratio is the most important number on the job site. Too much water leads to shrinkage cracks. These cracks are not just cosmetic. They represent a break in the structural integrity of the subfloor. When you are prepping for a shower install, the leveler must be waterproof and compatible with your liquid membranes. If the leveler is gypsum-based, and it gets wet, it turns back into mush. You must know the chemistry of the bag you are holding.
| Material Type | Janka Hardness / PSI | Typical Acclimation | Thickness Tolerance |
|---|---|---|---|
| Solid White Oak | 1360 lbf | 7 to 14 Days | 1/8 inch over 10 ft |
| Engineered Core | 1200 to 2500 PSI | 48 Hours | 3/16 inch over 10 ft |
| SPC Rigid Core | Over 5000 PSI | Not Required | 3/16 inch over 10 ft |
| Self-Leveler | 3500 to 5000 PSI | 4 to 24 Hours | Zero tolerance |
The 1/8 inch that ruins everything
Floor flatness tolerances of 1/8 inch are the standard for laminate and showers to prevent hydrostatic pressure and joint failure during the life of the floor. When we talk about 1/8 of an inch, we are talking about the difference between a floor that lasts 30 years and one that fails in 30 days. In a shower, that 1/8 inch can cause a birdbath. A birdbath is a small pool of standing water that never drains. It grows mold. It rots the thin-set. It eventually works its way through the grout and into the subfloor. For a carpet install, a 1/8 inch dip might not seem like much, but over time, the tack strip will pull and the carpet will develop ripples. You cannot fix a ripple in a carpet if the floor underneath it is shaped like a bowl. You have to pull the whole thing up and start over. I always tell my apprentices that the floor is a mirror of the subfloor. If the subfloor is ugly, the finished floor will be ugly. There is no magic underlayment that fixes poor craftsmanship. You have to get on your knees and grind the high spots. You have to fill the low spots. There are no shortcuts in the physics of flooring.
“Deflection in the subfloor is the primary cause of grout line cracking and wood floor squeaks.” – TCNA Handbook Summary
The checklist for a perfect subfloor prep
- Check moisture content using a calcium chloride test or an in-situ RH probe.
- Grind down all high spots and remove any paint, oil, or drywall mud.
- Apply a high-quality primer to the substrate to prevent pinholes in the leveler.
- Measure the floor with a 10 foot straight edge using the dollar bill method.
- Mix self-leveling compound with a high-shear mixer to ensure no clumps.
- Allow the compound to cure fully before checking for flatness again.
Why you should fear the floating floor hype
Floating floors like laminate are often sold as DIY friendly but they are actually the most sensitive to floor leveling issues and subfloor irregularities. Marketing departments love to use the word waterproof. They want you to believe you can install this stuff over a dirt path. They are lying to you. A floating floor is a giant sheet of plastic or wood that moves as one unit. It expands and contracts with the temperature. If you lock that floor under a kitchen island, it cannot move. When it tries to expand, it has nowhere to go. It buckles. It peaks. It looks like a mountain range in your kitchen. I have seen $20,000 kitchens ruined because the installer didn’t leave a 1/2 inch expansion gap at the perimeter. They covered the gap with baseboard and nailed the baseboard through the flooring. That is a rookie mistake. You have to let the floor breathe. If you don’t, the floor will fight back. It will pull apart at the seams. It will create gaps that collect dirt and water. The floor is alive in a way. You have to respect its need for movement. If you treat it like a static object, you will lose every time.