Why Your Floor Leveler Is Taking Forever to Dry
The hidden physics of why your self-leveling underlayment refuses to dry
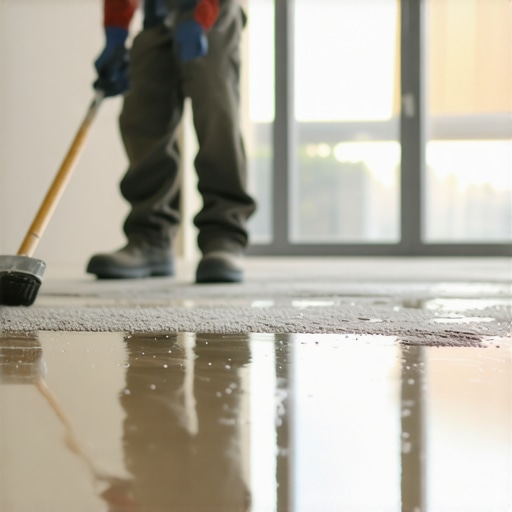
Most guys skip the leveling compound. They think the underlayment will hide the dip. It won’t. I spent three days grinding concrete on a job last month just so the floor wouldn’t click like a castanet. That job was a nightmare because the previous contractor poured two inches of self-leveler over a damp slab without a primer and then wondered why it was still soft enough to leave footprints in forty-eight hours later. If you are staring at a gray pool of sludge that should have been rock hard hours ago, you are likely fighting a battle against ambient physics and chemistry that you didn’t even know you were recruited for. Floor leveling is not just pouring liquid; it is managing a complex hydration reaction that requires specific environmental triggers to succeed.
The moisture trap within your concrete substrate
Floor leveler takes forever to dry when the substrate has a high moisture vapor emission rate or when the concrete is not properly primed. If the slab below is pushing water upward, the leveler cannot release its own internal moisture. This creates a saturated zone at the bond line that prevents the chemical crystals from interlocking. When I walk onto a job site and see leveler that looks like dark wet sand after a day, I know immediately the installer didn’t run a calcium chloride test. You cannot expect a polymer-modified cement to cure if it is sitting on a sponge. The water has nowhere to go. It is trapped between the surface tension of the leveler and the hydrostatic pressure of the slab. This is especially true in basement scenarios where a lack of a vapor barrier under the original pour creates a permanent state of dampness. You are essentially trying to dry a towel by laying it on a wet dock.
“A floor is only as good as the subfloor beneath it; deflection is the enemy of every joint.” – Master Flooring Axiom
The chemistry of the water to powder ratio
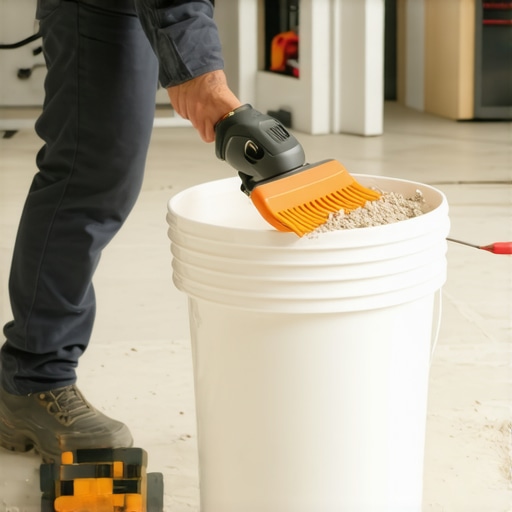
Excessive water during the mixing phase is the most common reason for extended drying times and structural failure in self-leveling compounds. When you add even a half-quart of extra water to get a ‘better flow,’ you destroy the crystalline matrix of the cement. The chemistry of floor leveling relies on a precise amount of water to trigger the hydration of calcium aluminate. Any water beyond that specific ratio must evaporate out of the system. This ‘water of convenience’ creates microscopic channels as it leaves, which not only slows down the drying process but also leaves the finished floor brittle and prone to chalking. I have seen guys treat leveler like pancake batter, but this is a structural engineering task. If you overwater, the heavy aggregates sink to the bottom while the polymers and water rise to the top, creating a white, dusty film that will never support a floor. You might wait a week and it will still feel damp because the surface has ‘sealed’ while the middle remains a soup of unreacted minerals.
How ambient humidity halts the evaporation cycle
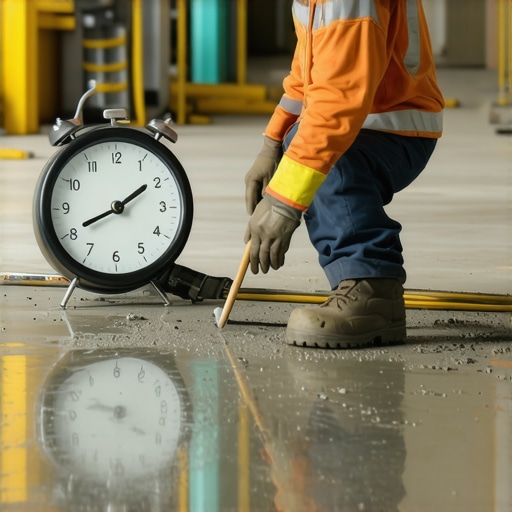
High relative humidity in the room prevents the moisture within the leveler from escaping into the air, effectively pausing the drying clock. For a floor to dry, the air above it must be capable of absorbing the moisture. In a humid environment, the air is already saturated. This is a massive issue in new construction where the HVAC system isn’t running yet. Without active dehumidification or airflow, the leveler sits in its own microclimate of dampness. I’ve seen this happen in shower installations where the small, enclosed space traps the steam of the curing process. You need a consistent temperature of around 70 degrees Fahrenheit and a relative humidity below 50 percent to meet the manufacturer’s timelines. If you are in a swampy region like Houston or a damp coastal area, you can double the expected wait time if you don’t have fans moving the air. Moving air replaces the saturated boundary layer directly above the floor with drier air, which pulls the moisture out through capillary action.
| Condition | Estimated Dry Time (1/4 inch) | Structural Integrity |
|---|---|---|
| 70F / 45% Humidity | 4 to 12 Hours | Optimal |
| 50F / 80% Humidity | 24 to 72 Hours | Risk of Soft Spots |
| 90F / 20% Humidity | 2 to 4 Hours | Risk of Surface Cracking |
| Overwatered Mix | Indefinite | Compromised |
The role of primers in drying and bonding
Primer is not just an adhesive; it is a pore sealer that prevents the substrate from sucking the water out of the leveler too fast or pushing air bubbles up. If you don’t prime, the dry concrete beneath can actually pull the water out of the leveler so quickly that it doesn’t have time to chemically cure. Paradoxically, this can lead to a surface that looks dry but is actually a ‘flash set’ that will crumble under the weight of a carpet install or laminate planks. On the flip side, if the primer is applied too thick and not allowed to dry, it can trap moisture underneath, leading to the leveler staying ‘gummy’ for days. You need that primer to be a translucent, tacky film. I’ve seen installers pour leveler over wet primer and it turns the whole thing into a chemical sludge that never reaches full PSI. It is about creating a controlled environment where the only water leaving the leveler is going into the air, not into the ground.
“The maximum allowable moisture vapor emission rate shall not exceed 3 lbs per 1,000 square feet in 24 hours for most standard floor coverings.” – National Wood Flooring Association Standard
Critical checklist for a successful leveler pour
- Verify substrate moisture using an ASTM F1869 calcium chloride test before starting.
- Ensure the ambient room temperature is between 65 and 75 degrees Fahrenheit.
- Use a mixing barrel and a high-speed drill to ensure no dry clumps remain.
- Measure water with a dedicated graduated cylinder, never ‘eye-ball’ the volume.
- Check for drafts but avoid direct high-heat sources like space heaters which cause cracking.
- Confirm the primer is completely dry and has turned from a milky color to clear.
Why your choice of finished flooring matters
The type of floor you are installing dictates how dry the leveler actually needs to be before you proceed. For a carpet install, you have a bit more wiggle room because the material is breathable. However, if you are laying laminate or luxury vinyl plank, you are essentially putting a plastic lid on a wet pot. If that leveler is even slightly damp, the moisture will collect under the planks and cause mold or cause the locking mechanisms to swell and fail. In showers, the leveling must be absolutely perfect and fully cured before the waterproofing membrane is applied. If you trap moisture under a topical membrane like Kerdi, you are asking for a bond failure that will rot your subfloor. I tell my clients that the leveler is the foundation. You wouldn’t build a house on wet mud, so don’t put a thousand-dollar floor on a leveler that hasn’t finished its chemical journey. The wait might be frustrating, but the sound of a hollow, clicking floor is a ghost that will haunt you for years.
The physics of thickness and the 1/8 inch rule
Every additional 1/8 inch of depth can exponentially increase the drying time because the moisture has a longer path to the surface. Most manufacturers’ ‘walk-on’ times are based on a thin 1/8 inch pour. If you have a deep birdbath in your slab that requires an inch of material, you are looking at days, not hours. The bottom of that deep pour is insulated from the air. It stays cool and wet while the surface looks ready. You have to use a pin-style moisture meter to check the deep spots. If you rush it and the core is still soft, the weight of your furniture will eventually cause the leveler to compress and crack. It is a slow-motion disaster. I’ve seen beautiful wide-plank floors ruined because the installer didn’t account for the thermal mass of a thick pour. Take your time. Leveling is a game of patience and precision, and the chemistry won’t be rushed by your project schedule.