Why Your Curbless Shower Is Splashing Water Everywhere
The Hidden Physics of Why Your Curbless Shower Is Splashing Water Everywhere
I spent three days grinding concrete on a job last month just so the floor wouldn’t click like a castanet. Most guys skip the leveling compound. They think the underlayment will hide the dip. It won’t. I once walked into a house where a custom curbless shower was flooding the hallway because the installer thought a level was just a suggestion. My knees are shot and I smell like oak dust, but I know one thing for certain. A floor is a performance surface, not a decoration. If your bathroom floor is wet, it is because someone ignored the structural engineering and treated a technical wet room like a basic carpet install. Your floor is failing because of a lack of respect for the 1/8 inch rule.
The structural reality of the open floor plan
Curbless shower splashing is caused by improper floor leveling, inadequate slope to the drain, and the failure to account for water surface tension at the threshold. To fix this, you must analyze the subfloor deflection and ensure a minimum 1/4 inch per foot pitch toward the primary drain assembly. Most homeowners want that clean, open look they see in magazines. They do not realize that the subfloor beneath those tiles has to be carved out or the rest of the house has to be built up. When you remove the curb, you remove the physical barrier that compensates for poor plumbing. I have seen guys try to install laminate right up to a wet zone without a proper transition. That is a disaster waiting to happen. Laminate is essentially pressed sawdust. When the splashing hits it, the edges swell like a sponge. You need to understand the physics of water migration before you even pick up a trowel.
“A floor is only as good as the subfloor beneath it; deflection is the enemy of every joint.” – Master Flooring Axiom
Why floor leveling determines your splash radius
Floor leveling is the most important step in a curbless installation because any high spot in the concrete or plywood will redirect water away from the drain. A perfectly flat subfloor allows for a controlled slope, whereas a wavy subfloor creates unpredictable water paths that lead to puddles. I use a 10-foot straightedge on every job. If I see a gap larger than 1/8 of an inch, the grinder comes out. In a curbless setup, the entire room is technically part of the drainage system. If your installer didn’t use a self-leveling underlayment (SLU) across the entire footprint, your water is going to find the low spots. Those low spots are usually near your vanity or your carpet install in the master bedroom. I have seen moisture wick through a carpet pad and rot the tack strips three feet away from the shower opening. This is not about aesthetics. This is about the molecular bond of the waterproof membrane and the structural integrity of your joists.
The physics of capillary action and water surface tension
Water travels across tile surfaces through capillary action and surface tension, meaning it will cling to the grout lines and move horizontally if a capillary break is not installed. Without a recessed floor or a trench drain, gravity is not enough to overcome the cohesive forces of the water. This is why your shower splashes. The water hits the tile, builds up speed, and then hits a flat spot. Instead of going down, it goes out. It is like a car hydroplaning on the highway. We use linear drains to create a wider catchment area, but if the flow rate of your shower head exceeds the GPM (gallons per minute) capacity of the drain, you are basically creating a slow-motion flood. You need to look at the mil-thickness of your wear layer on nearby flooring to see if it can even handle the humidity. Most people choose a floor because it looks pretty in a showroom. I choose a floor based on how it handles a flooded subfloor.
| Feature | Required Specification | The Mechanic Advice |
|---|---|---|
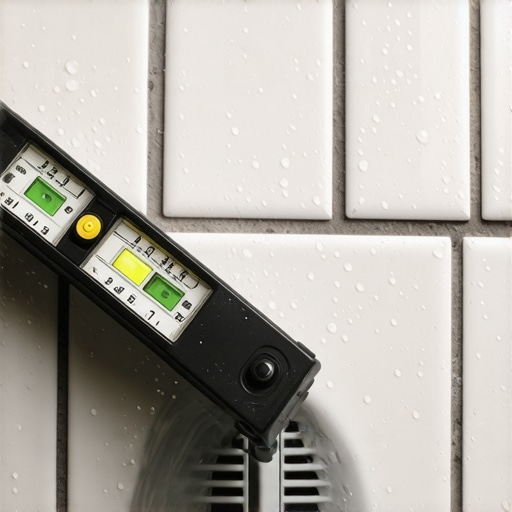
| Floor Pitch | 1/4 inch per foot | Do not eyeball this. Use a laser. |
| Drain Flow Rate | 9 to 12 GPM | Check your shower head output first. |
| Subfloor Tolerance | 1/8 inch over 10 feet | Grind the high spots, do not fill with thinset. |
| Moisture Barrier | ANSI A118.10 | Apply two coats, no holidays allowed. |
The drainage math you probably ignored
Calculating the drainage math requires matching the GPM of your plumbing fixtures to the evacuation capacity of your floor drain while accounting for the friction of the tile surface. A textured stone tile will slow water down, while a polished porcelain tile will allow it to accelerate toward your hallway. I have seen people install rain heads that put out 10 gallons a minute with a drain that can only handle 6. That extra 4 gallons has to go somewhere. It goes into your subfloor. It goes under your baseboards. It ruins your carpet install. I always tell people to test their slope before they set the tile. Throw a bucket of water on the mud bed. If it doesn’t disappear in seconds, you have a problem. The chemistry of the modified thin-set we use today is incredible, but it cannot fight physics. You need a mechanical bond and a structural slope.
- Check subfloor deflection with a calculated load test.
- Install a capillary break at the threshold using a metal profile.
- Verify that the waterproofing membrane extends 6 feet outside the splash zone.
- Ensure the floor leveling compound is fully cured before applying a vapor barrier.
- Avoid using laminate in any room adjacent to a curbless shower without a transition strip.
Why laminate and carpet install proximity is a risk
Proximity to a curbless shower increases the risk of catastrophic failure for laminate and carpet because these materials act as moisture sinks. When water splashes past the threshold, it is absorbed into the fibers or the core of the floor, leading to mold growth and structural rot. I once did a repair where the carpet was so wet it felt like a marsh. The homeowner didn’t even know. The moisture was traveling under the transition strip. If you are doing a carpet install next to a wet room, you need a synthetic pad and a high-quality sealant on the subfloor. For laminate, you better make sure it is a truly waterproof product, not just water-resistant. Most of that stuff is marketing hype. If you leave water on a laminate joint for more than four hours, it is game over. The edges will peak and the floor will look like a washboard. It will buckle. There is no fixing it. You have to rip it out and start over. That is why the floor leveling in the bathroom is the most important part of the entire house.
“The National Wood Flooring Association (NWFA) states that subfloor moisture must be within 2% to 4% of the flooring material’s moisture content before installation begins.” – NWFA Technical Guide
The chemistry of the bond between thinset and substrate
The chemical bond of modified thin-set depends on a clean, level, and porous surface to achieve maximum shear strength. If your subfloor is contaminated with dust from a previous carpet install, the thin-set will skin over and fail to bond to the tile or the waterproofing membrane. I spend more time cleaning than I do tiling. I use a HEPA vacuum to get every speck of sawdust. If you have a bond failure in a curbless shower, the water will get under the tile and start to sit. It will rot the subfloor from the top down. You will smell it before you see it. It smells like a locker room. That is the smell of a failed floor. You need to use a high-polymer thin-set that can handle the slight movement of a floor. Every house moves. If your floor leveling wasn’t done right, the tile will crack as the house settles. Then you have a direct path for water to hit the joists. It is a chain reaction of failure that starts with a single 1/8 inch dip.