The ‘Ping Pong Ball’ Test for Checking Shower Floor High Spots
Most guys skip the leveling compound. They think the underlayment will hide the dip. It won’t. I spent three days grinding concrete on a job last month just so the floor wouldn’t click like a castanet. That is the secret the big box stores will not tell you. They want to sell you a box of planks and a dream. I sell you a foundation that will not rot or crack. I have been on my knees for twenty five years with a moisture meter and a levels. I smell like WD-40 and oak dust most days. When you have seen as many failed laminate and tile jobs as I have, you stop caring about the color of the grout and start obsessing over the physics of the subfloor. A shower is not a decoration. It is a hydraulic system. If your floor leveling is off by even a sixteenth of an inch, gravity will find that mistake. Water does not care about your aesthetic choices. It only cares about the path of least resistance. If that path leads to a corner instead of the drain, you are looking at a mold factory. I once walked into a house where a custom shower was so poorly sloped that the homeowner had to use a squeegee after every single use just to push the water toward the grate. That is a failure of craftsmanship.
The silent killer of shower drainage
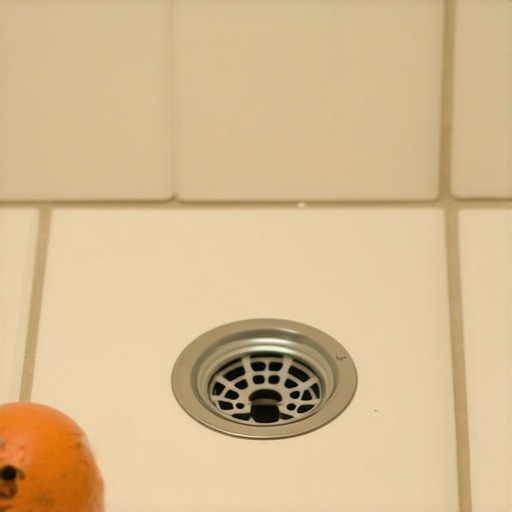
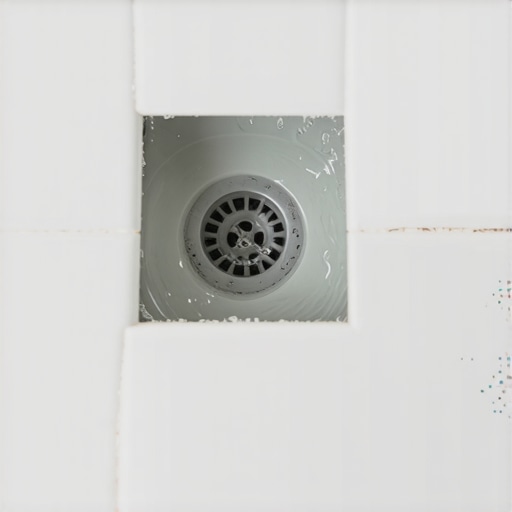
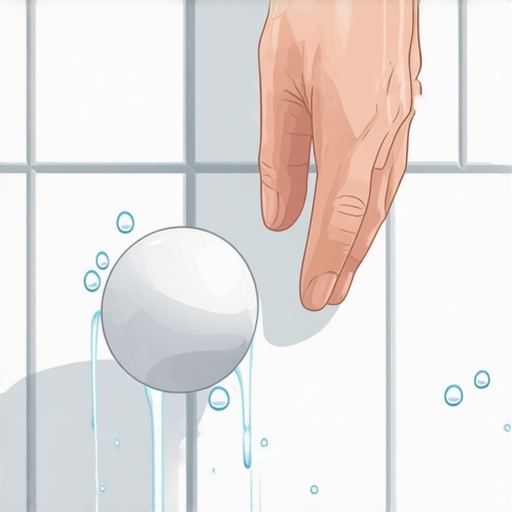
The ping pong ball test identifies high spots in a shower pan by utilizing basic gravitational pull on a lightweight spherical object. A standard celluloid ball will roll away from crests and settle in troughs or stagnant areas where water would otherwise pool and cause microbial growth or tile failure. You place the ball on the perimeter. It should roll directly to the drain. If it stops or wanders, your slope is a lie. Most installers think a level is enough. It is not. A bubble can be fooled by a slight tilt of the tool or a piece of grit under the edge. The ball does not lie. It is a pure instrument of physics. If the ball stays still, you have a flat spot. If it rolls toward the wall, you have a reverse pitch. This is where the chemistry of your mortar comes into play. You cannot just slap more thin-set on a high spot and hope for the best. You have to grind it down or build the surrounding area up. The chemical bond of modified thin-set requires a specific thickness to maintain its crystalline integrity. If it is too thin, it will shear. If it is too thick, it will shrink during the curing process, pulling the tile with it and creating a lip.
“A floor is only as good as the subfloor beneath it; deflection is the enemy of every joint.” – Master Flooring Axiom
Why your subfloor is lying to you
Subfloor integrity is determined by the L/360 or L/720 deflection standard which measures how much a floor system bends under a specific load. A wood subfloor might feel solid when you walk on it, but the minute you add the weight of a mortar bed, it can sag and create high spots. I have seen guys try to do a carpet install over a subfloor that was wavy as the Atlantic. You can get away with that with carpet. The pad hides the sins. But with showers and laminate, there is no hiding. When you are dealing with showers, the subfloor needs to be rigid. Any movement will break the waterproof membrane. When the membrane breaks, the wood starts to rot. When the wood rots, it expands. That expansion creates a high spot that pushes your tile up. It is a vicious cycle. You need to understand the molecular reality of the materials. Portland cement based products expand and contract at different rates than plywood. This is why we use uncoupling membranes. But even the best membrane will not fix a floor that is not level. You need to use a high quality floor leveling compound that has a high compression strength. I prefer the stuff that hits 5000 PSI because I know it will not crush under the weight of a cast iron tub or a heavy glass shower door.
The physics of water movement and surface tension
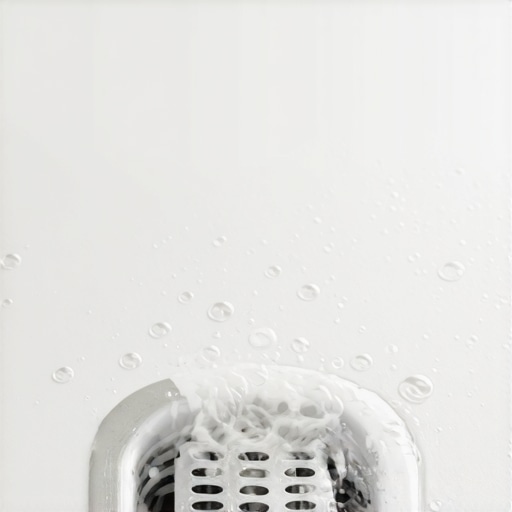
Water movement in a shower is governed by the coefficient of friction of the tile surface and the degree of slope toward the drainage point. A standard requirement is a quarter inch of fall per linear foot, which ensures that surface tension does not cause water to linger in the grout lines. If you have high spots, the water will pool. This pooling leads to calcium buildup. It leads to the degradation of the sealant. If you are installing laminate in an adjacent bathroom area, the moisture vapor from a poorly drained shower will migrate through the air and under the baseboards. It will cause the edges of your laminate to swell. This is why floor leveling is not just about the tile. It is about protecting the entire home. I have seen laminate floors three rooms away bucking because of a leaking shower pan. The moisture travels through the subfloor like a ghost. You have to be a detective. You have to look at the concrete slab. Is it sweating? Is there hydrostatic pressure pushing water up through the pores of the concrete? If you do not test for moisture, you are just guessing. And guessing is how you end up back on the job site six months later doing a tear out on your own dime.
| Material Type | Cure Time | Compression Strength | Primary Use |
|---|---|---|---|
| Modified Thin-set | 24 Hours | 2500 PSI | Small localized repairs |
| Mud Bed Mix | 72 Hours | 3000 PSI | Structural shower sloping |
| Self-Leveling Underlayment | 4 Hours | 5000 PSI | Large scale floor flattening |
| Epoxy Grout | 12 Hours | 8000 PSI | High moisture areas |
The ghost in the expansion gap
Expansion gaps are required at the perimeter of every hard surface installation to accommodate the natural movement of the building envelope. Without these gaps, the flooring material will have nowhere to go when it expands, leading to tenting or high spots in the center of the room. This is especially true with laminate and LVP. People think because it is plastic, it does not move. They are wrong. It moves with temperature changes. If you lock that floor under a heavy kitchen island or tight against a shower curb, it will buckle. It will create a high spot that feels like a bubble under the floor. You can use the ping pong ball test here too. If the ball rolls away from the center of the room toward the walls, your floor is tenting. You have to pull up the baseboards and cut back the material. It is a tedious job. It is why I tell people to do it right the first time. I spent a whole day last week trimming expansion gaps for a guy who thought he knew better than the manufacturer instructions. He used a hammer and a pry bar to wedge the planks in. Now his floor sounds like a drum every time he walks on it.
“The TCNA Handbook specifies that for tile installations, the subfloor must be within 1/8 inch over 10 feet.” – Tile Industry Standard
How to execute a professional floor assessment
- Verify the subfloor deflection ratings match the material requirements.
- Clean all dust and debris from the substrate to ensure a chemical bond.
- Apply the appropriate primer for the leveling agent to prevent pinholes.
- Use a laser level to mark the high spots across the entire room.
- Perform the ping pong ball roll test specifically in the shower pan area.
- Document moisture readings at five different points in the slab.
- Check for flatness every twelve inches using a machined straight edge.
The chemical bond of high performance thin set
Modified thin-set mortars contain polymers that increase the shear strength and flexibility of the bond between the substrate and the tile. These polymers allow the installation to withstand minor vibrations and thermal expansion without losing adhesion or creating new high spots. When you are mixing this stuff, you have to follow the water ratios exactly. If you add too much water, you weaken the crystalline structure. You end up with a chalky mess that will not hold. I see young guys doing this all the time. They want it soupy so it is easier to spread. That is a mistake. It needs to hold a ridge. If the ridges collapse, you do not have full coverage. If you do not have full coverage, you have air pockets. Those air pockets are where the tile will crack. It is pure chemistry. The calcium silicate hydrate gel forms during the hydration process. It grows into the pores of the tile and the subfloor. It locks them together in a microscopic embrace. If that bond is interrupted by dust or too much water, the floor will fail. I have seen 12×24 tiles pop right off the floor because the installer did not back-butter them. They just laid them into the thin-set and walked away. That is not craftsmanship. That is laziness.
The 1/8 inch that ruins everything
A deviation of one eighth of an inch over a ten foot span is the maximum allowable tolerance for most modern large format tile installations. Exceeding this limit creates lippage, where the edge of one tile sits higher than the adjacent one, creating a trip hazard and an eyesore. You might think an eighth of an inch is nothing. But when you are sliding a chair or a vacuum over it, it feels like a mountain. In a shower, that eighth of an inch is the difference between water flowing into the drain and water sitting in a puddle. I use a system of leveling clips now to prevent this, but clips are not a substitute for a level floor. They are a tool to help fine tune the surface. If your subfloor is a mess, clips will not save you. You will just end up with a floor that is tilted. I have seen guys try to use carpet install techniques on tile. They think they can just stretch and pull. You cannot stretch tile. You have to respect the material. You have to respect the prep work. The prep is 80 percent of the job. The actual laying of the tile is the easy part. If you do not spend the time grinding the high spots and filling the low spots, you are wasting your time and the customer’s money. It is a simple as that. The ping pong ball will tell you the truth every single time. Listen to it.