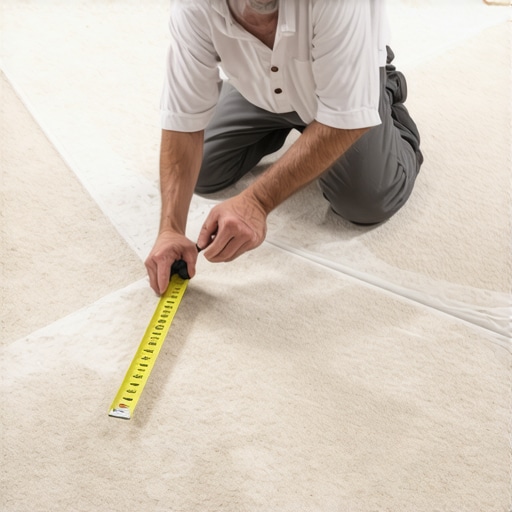
The ‘Tape Mark’ Secret for Aligning Carpet Patterns
I spent three days grinding concrete on a job last month just so the floor wouldn’t click like a castanet. Most guys skip the leveling compound. They think the underlayment will hide the dip. It won’t. I have seen the same laziness in carpet installers who think a pattern will just fall into place. It never does. A floor is a structural performance surface. If you treat it like a cheap rug, it will fail you within eighteen months. You walk into a house where a custom-patterned broadloom has been installed, and your eyes immediately go to the crooked lines at the wall. That is not a carpet defect. That is an installer who failed the physics of the stretch. Flooring is a science of tension and resistance. Whether it is a shower transition or a laminate layout, the subfloor dictates the reality of the finish. If the slab is not flat to within one eighth of an inch over a ten foot radius, your carpet pattern will skew. I have seen fifteen thousand dollar installs ruined because a guy did not want to pick up a grinder. Real flooring work happens on your knees with a straightedge long before the carpet ever leaves the warehouse.
The mechanics of the pattern repeat
Carpet pattern alignment requires understanding pattern repeat, bow, and skew in the textile manufacturing process. A carpet install involving patterns is more about structural engineering than aesthetics. You must calculate the elongation percentage of the synthetic backing to ensure that every geometric design aligns perfectly across seam lines and thresholds. Most installers ignore the factory tolerance levels which leads to a crooked installation that cannot be corrected once the tack strips are engaged.
When we talk about the mechanics of the repeat, we are looking at the way the secondary backing interacts with the primary tufting. In a patterned carpet, the manufacturing process allows for a certain amount of variance. A straight match means the pattern repeats across the width of the roll in a direct line. A drop match means the pattern shifts vertically as it moves across the width. If you do not understand the math of the drop, you will waste thirty percent of your material. I once saw a guy try to install a large scale damask without checking the drop. He ran out of carpet halfway through the living room because his waste calculation was based on a straight match. It is a rookie mistake that costs thousands.
“A floor is only as good as the subfloor beneath it; deflection is the enemy of every joint.” – Master Flooring Axiom
The concrete grind that saved the day
Floor leveling is the foundation of flooring and must be completed with Portland cement based self-leveling underlayment to reach ASTM F710 standards. Without a flat substrate, any carpet install or laminate project will suffer from visual distortion. Concrete moisture testing using calcium chloride or relative humidity probes is non-negotiable for a professional finish and warranty compliance.
I remember a job in a high-rise where the subfloor looked like a mountain range. The client wanted a high-end patterned Wilton. If we had laid that carpet over the existing slab, the patterns would have looked like they were melting. The hills and valleys of the concrete create uneven tension on the carpet backing. As you stretch the carpet toward the wall, the low spots pull more material, causing the pattern to bow. We spent seventy-two hours with a planetary grinder and six hundred pounds of leveling compound. We turned that floor into a sheet of glass. Only then did the pattern sit straight. Most guys think the pad will hide the bumps. The pad is just a cushion, not a structural fix. If your subfloor is garbage, your floor is garbage. This applies to everything from showers to sunrooms. You cannot build a masterpiece on a swamp.
The tape mark secret for perfect alignment
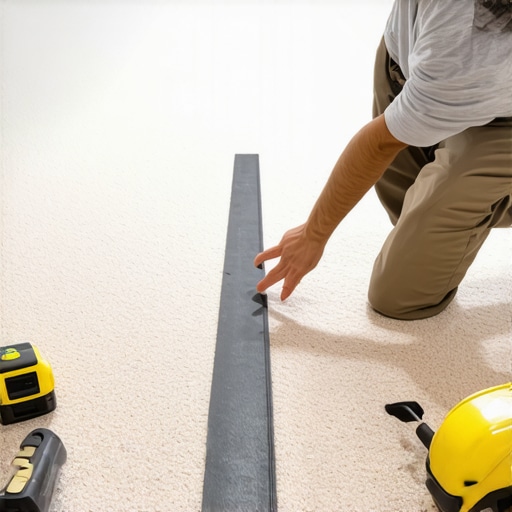
Pattern alignment secrets involve using low-tack painter’s tape to create visual registration points on the baseboards or tack strips. By marking the exact repeat interval of the carpet pattern, the installer can monitor bowing and skewing in real time. This technical workflow ensures the power stretcher applies even tension across the latex backing without distorting the woven fibers.
The secret is simple but tedious. You take a roll of blue tape. You measure the pattern repeat exactly. Let us say it is a four inch repeat. You place a piece of tape every four inches along the perimeter of the room. When you start your stretch, the edge of the pattern must hit the edge of the tape. If you are a quarter inch off, you know it immediately. You do not wait until the whole room is tucked to realize you are crooked. You adjust the tension on your power stretcher as you go. This is how you handle a fifty foot run without the pattern drifting. It is about constant verification. It is about the discipline of the mark. If you do not have tape marks, you are just guessing. And guessing is how you end up with a floor that looks like a funhouse mirror.
| Feature | Straight Match | Drop Match | Random Match |
|---|---|---|---|
| Waste Factor | Low (5-10%) | High (15-30%) | Minimal (2-3%) |
| Alignment Difficulty | Moderate | Extreme | Very Low |
| Best For | Small Rooms | Large Open Areas | Commercial Halls |
| Tension Requirement | Uniform | Variable | Standard |
The physics of the power stretcher
Power stretching carpet is a mechanical requirement according to CRI 104 standards for commercial and residential installation. A knee kicker is only for positioning and should never be used for the primary stretch of a patterned carpet. Using structural tension prevents delamination and wrinkling while maintaining the geometric integrity of the tufted face yarns.
A power stretcher is a long pole with a head that grips the carpet and a foot that pushes against the opposite wall. It can exert hundreds of pounds of pressure. When you are dealing with a pattern, you have to be careful. Too much pressure in one spot will elongate the backing more than the surrounding areas. This creates a bow. You have to work the carpet like a drumhead. You stretch from the center out. You watch those tape marks. If the pattern starts to curve, you shift the angle of the stretcher. It is a dance between the installer and the material. The carpet wants to fight you. The latex in the backing is stiff. If it is cold, it is even stiffer. You need to acclimate the carpet to the room for at least forty-eight hours so the fibers relax. Trying to stretch a cold carpet is a recipe for a snapped seam or a broken backing.
“Patterned carpets require a precision of stretch that exceeds the standard 1 to 1.5 percent elongation found in solid colors.” – Master Flooring Axiom
The specific chemistry of seam sealing
Seam sealing is the molecular bond that prevents fiber loss and delamination at the carpet joints. Using a thermoplastic adhesive or a liquid seam sealer is a technical necessity for any patterned installation. Failure to seal the edges results in fraying and the structural failure of the seam assembly under heavy foot traffic.
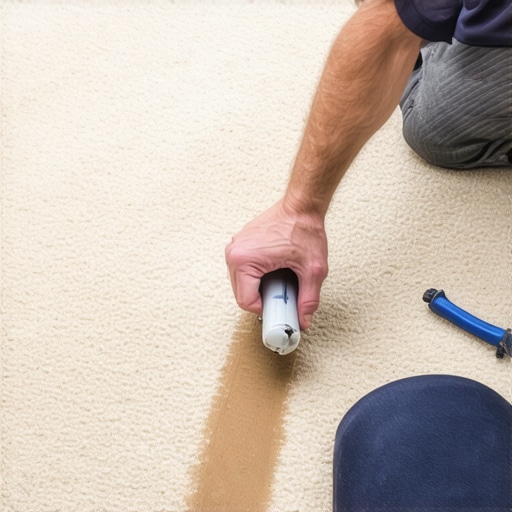
The seam is the weakest point of any floor. In a patterned carpet, the seam must be invisible. This means you have to cut the carpet from the back, following the row of tufts exactly. You cannot use a wall trimmer for this. You need a row spreader and a sharp blade. Once the edges are cut, you apply a bead of sealer. This sealer is a chemical weld. It bonds the primary and secondary backings together so they do not separate. If you skip the sealer, the carpet will eventually pull away from the seam, leaving a gap that looks like a scar. I use a high-grade latex sealer that dries clear and flexible. Cheap sealers get brittle and crack. When the sealer cracks, the seam opens. It is a chain reaction of failure that starts with a five dollar bottle of glue.
- Verify subfloor flatness using a ten foot straightedge.
- Acclimate carpet to site temperature for 48 hours.
- Check the pattern match and repeat size before cutting.
- Apply tape marks to the perimeter for alignment tracking.
- Use a power stretcher for all primary tensioning.
- Seal all seams with a professional grade chemical sealer.
- Vacuum the finished floor to inspect for tuft loss.
The threshold between carpet and wet zones
Transitions to showers and wet areas require moisture resistant thresholds and silicone caulking to prevent subfloor rot. When carpet meets tile, the tack strip must be placed one quarter inch from the transition edge to allow for a flush tuck. This architectural detail ensures a zero-threshold appearance while protecting the structural integrity of both flooring types.
The transition is where most installers get lazy. They slap down a piece of metal trim and call it a day. That is ugly. A real pro does a turn-and-tack or uses a slim-profile Z-bar. When you are moving from a soft carpet to a hard shower tile, the height difference must be managed. I often use a shim under the carpet to bring it up to the level of the tile. This creates a smooth walk-over. If there is a dip at the transition, you will feel it every time you step. It also creates a trip hazard. In the world of high-end flooring, we aim for a seamless look. We want the transition to be felt, not seen. This requires precise cutting and a deep understanding of how different materials expand and contract at different rates. While most people want the thickest underlayment, too much cushion actually causes the locking mechanisms on laminate or the seams on carpet to snap under pressure. You need a firm base, not a pillow. The stability of the floor depends on the density of the support.