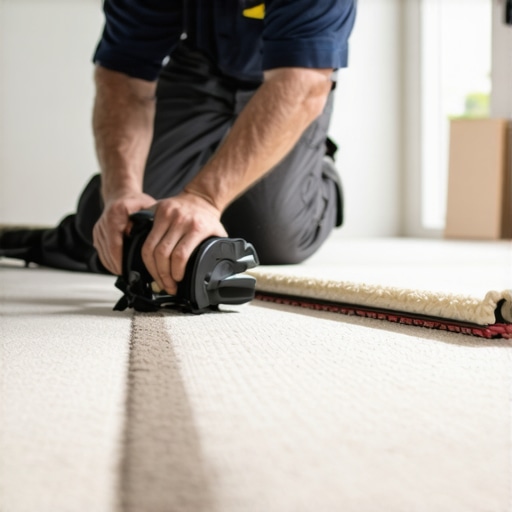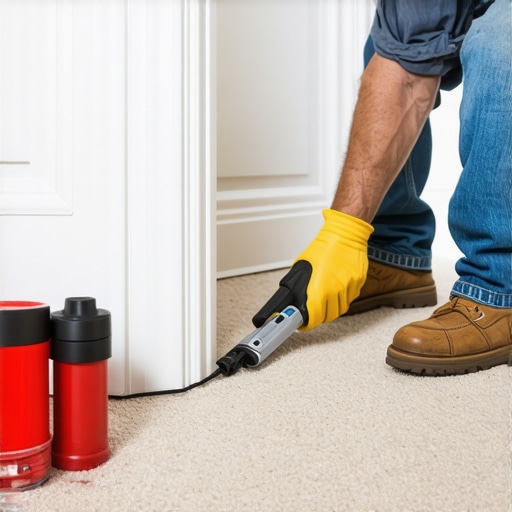
How to fix a loose carpet seam in a doorway
The subfloor secret that destroys doorway transitions
Most guys skip the leveling compound. They think the underlayment will hide the dip. It won’t. I spent three days grinding concrete on a job last month just so the floor wouldn’t click like a castanet. When it comes to carpet install practices in a doorway, that same neglect of the foundation leads directly to the fraying, peaking, and splitting of seams. A carpet seam is not just a line where two pieces meet. It is a high-stress structural joint that must withstand lateral shear and vertical compression every time someone walks through that frame. Most homeowners notice the loose threads first. By then, the thermoplastic bond has already failed. You are looking at a mechanical breakdown of the latex secondary backing and the heat-activated adhesive. Fixing it requires more than a bottle of craft glue. You need to understand the physics of the stretch and the chemistry of the seam tape itself. If the subfloor has a 1/8 inch dip right under the transition, no amount of tape will hold that seam forever. The carpet will flex, the glue will crack, and the seam will open up like a wound. Fix the floor first, then fix the fabric.
The anatomy of a doorway seam failure
Fixing a loose carpet seam in a doorway requires identifying whether the failure is due to poor adhesive penetration, improper stretching, or subfloor irregularities. You must first trim the frayed edges with a sharp row cutter to expose fresh primary backing before applying a new bead of seam sealer. This ensures a clean bond. Doorways are high-traffic zones where the carpet is often under tension from two different directions. In a standard carpet install, the installer might have used a knee kicker instead of a power stretcher. This leaves the carpet loose. As people walk through the door, their feet push the carpet forward. This creates a ripple. That ripple hits the seam and pulls at the adhesive. Over time, the heat-melt glue on the seam tape becomes brittle. It loses its grip on the secondary backing. You end up with a gap. If you ignore this gap, the edges will start to unravel. This is known as delamination. Once the primary and secondary backings separate, the carpet is effectively trash. You have to catch it before it reaches that point.
The chemical reality of thermoplastic seam tape
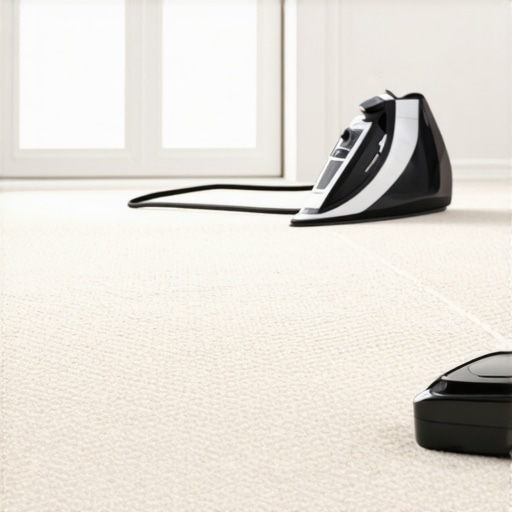
Thermoplastic adhesive is the silent hero of the flooring world. It is a polymer-based glue that remains solid at room temperature but liquefies under the intense heat of a seaming iron, usually between 150 and 200 degrees Fahrenheit. When you are fixing a loose carpet seam, you are essentially trying to re-melt or replace this polymer. Not all tapes are equal. A cheap, wide-grid tape might work for a bedroom corner, but for a doorway, you need a high-tensile, premium-grade tape with a heavy adhesive load. The fiberglass mesh inside the tape provides the structural reinforcement. Without it, the glue would just stretch and snap. When the iron passes over the tape, the glue must wick up into the carpet backing. If the iron is too cold, you get a cold bond. If it is too hot, you scorch the fibers. It is a delicate balance of thermodynamics and timing. You also have to worry about the ‘open time’ of the glue. Once the iron moves, you have a very short window to compress the carpet into the molten pool of adhesive using a seam roller or a heavy toolbox.
“A floor is only as good as the subfloor beneath it; deflection is the enemy of every joint.” – Master Flooring Axiom
The necessary kit for a permanent doorway fix
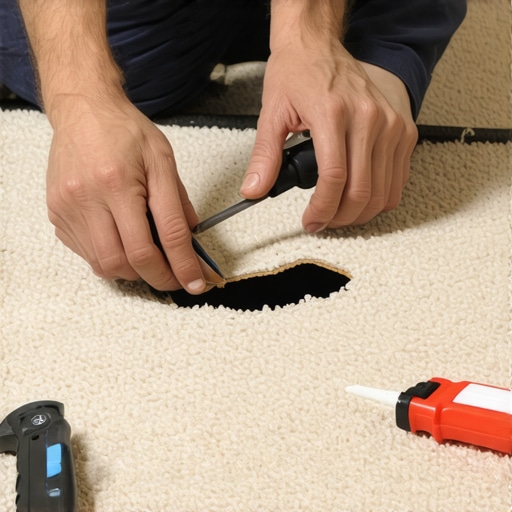
Professional carpet repair tools include a seaming iron, high-quality heat-melt tape, a row cutter, and a seam sealer to prevent future fraying of the edges. Using a star roller helps integrate the carpet fibers across the seam line for a nearly invisible finish. You cannot do this job with a hair dryer and a glue gun. You need the right weight. I always keep a specialized seam weight or a smooth piece of marble handy. After the iron passes, you need to trap the heat and apply even pressure. This forces the glue into the nooks and crannies of the backing. If you are dealing with laminate or tile transitions on the other side of the doorway, the stakes are even higher. You might need a transition strip or a Z-bar to lock the carpet edge down. This prevents the seam from being the sole point of failure. A good floor leveling compound should be used if you find a hollow spot under the doorway during the repair. Even a small dip causes the carpet to ‘bridge’ the gap, which creates a trampoline effect that kills seams.
| Material Property | Standard Grade | Architectural Grade | Performance Impact |
|---|---|---|---|
| Adhesive Weight | 22g per linear ft | 38g per linear ft | Higher bond strength in traffic |
| Mesh Material | Paper/Plastic | Fiberglass Scrim | Prevents lateral stretching |
| Melting Point | 135 F | 165 F | Resists heat-related softening |
| Width | 3 inches | 4 or 6 inches | Distributes tension over more area |
The 1/8 inch that ruins everything
Subfloor preparation and levelness are the most overlooked factors when addressing a loose carpet seam because even a 1/8 inch deviation can cause the seam tape to lose contact with the backing. You must ensure the transition area is perfectly flat to prevent the mechanical stress that leads to adhesive failure. People think carpet is forgiving. It is not. It is a textile under tension. If the subfloor is uneven, the tension is uneven. One side of the seam will be pulled tighter than the other. This creates a ‘shear’ force. Imagine trying to tape two pieces of paper together while pulling them apart. That is what a doorway does. If you are also dealing with showers nearby, humidity becomes a factor. High moisture levels in the air can cause the carpet backing to expand and contract. This constant movement eventually breaks the bond of the seam tape. I have seen seams pop in bathrooms just because the installer did not use a moisture-resistant adhesive. You have to think about the environment, the traffic, and the chemistry all at once.
“Correct tensioning via power stretching is mandatory for seam longevity; a loose floor is a failing floor.” – Master Flooring Axiom
The step by step restoration of the doorway bond
- Inspect the subfloor for dips and apply leveling compound if the surface is not within 1/8 inch of flat.
- Trim back the damaged carpet edges using a row cutter to ensure you are bonding to structural backing, not loose fuzz.
- Slide a new piece of premium fiberglass-reinforced seam tape under the joint, centering it perfectly.
- Set the seaming iron to the correct temperature for the carpet type, usually around three or four on the dial.
- Slowly move the iron along the tape, followed immediately by a seam roller to marry the backing to the adhesive.
- Apply a seam weight for at least thirty seconds to ensure the glue cools while under compression.
- Verify the transition to the laminate or adjacent flooring is secure using a tack strip or transition bar.
The physics of the power stretch
Power stretching the carpet toward the doorway is the only way to ensure the seam repair lasts because it removes the slack that causes the carpet to bunch and pull against the adhesive bond. A knee kicker is for positioning, but only a power stretcher can provide the 150 to 200 pounds of tension required for a stable floor. When I go into a house to fix a ‘loose’ seam, the first thing I do is check the tension. If I can pick the carpet up with my thumb and middle finger, it was never stretched right. You have to hook the head of the stretcher on one wall and push the carpet toward the doorway. This puts the tension on the tack strips, not the seam. If the seam is taking the load of the stretch, it will fail. Period. It is like a guitar string. If it is not tuned right, it does not perform. A properly stretched carpet will actually help hold the seam together because the force is distributed across the entire room. This is why carpet install is a trade of increments. You are managing tension and friction.
The long term maintenance of the transition
Maintaining a carpet seam involves keeping the area dry and avoiding heavy steam cleaning which can occasionally re-liquefy the thermoplastic glues used in the original installation. You should also ensure that any adjacent showers or wet areas have proper thresholds to prevent wick-back moisture from reaching the carpet’s primary backing. If you see a single thread pop up, do not pull it. Use a pair of duckbill shears to snip it flush. Pulling it can start a run that unzips the entire seam. Think of your floor as a machine. It has parts that move and parts that stay still. The doorway is where those two realities collide. By using the right chemistry in your tape and the right physics in your stretch, you can make that seam last twenty years. It is about doing the hard work on the subfloor so the pretty work on top has a chance to survive. Don’t be the guy who thinks a bit of tape solves a structural problem. Get on your knees, check the level, and build it to last. “, “image”: {“imagePrompt”: “A close-up, high-angle photo of a professional flooring installer using a silver seaming iron on a piece of beige carpet in a doorway. A roll of blue-backed seam tape is visible beneath the carpet edges. The installer’s hands are rugged, showing years of work. Beside them is a heavy metal seam roller and a professional power stretcher tool. The lighting is bright and industrial, highlighting the texture of the carpet fibers and the precision of the work.”, “imageTitle”: “Professional carpet seam repair in a doorway”, “imageAlt”: “A master floor installer using a seaming iron and roller to repair a loose carpet seam in a doorway.”}, “categoryId”: 0, “postTime”: “”}