How to Stop Carpet Fraying Where It Meets the Bathroom Tile
Fix the Fraying Disaster at Your Bathroom Door
Most guys skip the leveling compound. They think the underlayment will hide the dip. It won’t. I spent three days grinding concrete on a job last month just so the floor wouldn’t click like a castanet. That same disregard for the subfloor is why your carpet is currently falling apart where it meets the bathroom tile. It is a structural failure disguised as an aesthetic one. When I walk into a house and see raw carpet fibers poking out like a bad haircut at the threshold, I know exactly what happened. The installer didn’t respect the physics of the transition. They relied on a cheap tack strip and a prayer instead of sealing the edge. Most homeowners think carpet fraying is just bad luck. It is not. It is the result of mechanical friction, improper height calibration, and a total lack of edge encapsulation.
The invisible forces destroying your carpet edge
Nylon fibers, polyester yarns, and primary backing fail because of mechanical friction and moisture exposure. When the carpet is not properly tucked or anchored against the tile, every footstep creates a micro-shear force. This force pulls the individual yarns away from the latex adhesive that holds the backing together. Once the first row of loops or tufts comes loose, the entire weave begins to unravel. This is accelerated by the humidity coming from showers and sinks. Water vapor penetrates the secondary backing, softening the glue and making it easier for fibers to migrate. If your subfloor has even a 1/8 inch dip, the carpet will flex every time someone steps on the transition, acting like a saw against the sharp edge of the tile.
“A floor is only as good as the subfloor beneath it; deflection is the enemy of every joint.” – Master Flooring Axiom
Why your tack strip is an active enemy
Tack strips and aluminum binders often fail because they are placed too far from the tile edge. If the gap between the strip and the tile is larger than the thickness of the carpet, the material has room to move. That movement is the death knell for the installation. In a standard carpet install, the strip should be exactly one-half the thickness of the carpet away from the tile. If it is too far, the carpet creates a ‘bridge’ that collapses under weight. If it is too close, you cannot tuck the material into the gully. This creates a raw, exposed edge that catches on socks and vacuum cleaners. I have seen hundreds of laminate and tile transitions where the installer didn’t even bother to use a Z-bar. They just stapled the carpet down. That is a hack-job, plain and simple.
The chemistry of heat-melt tape and latex
Thermoplastic adhesives and synthetic latex sealers are the only things that stop a carpet from shedding its skin. When we talk about floor leveling and transitions, we have to talk about the molecular bond of the carpet backing. A professional will use a latex seam sealer along the cut edge of the carpet before it is tucked. This liquid rubber coats the warp and weft of the backing, effectively vulcanizing the edge. It prevents the polypropylene yarns from sliding out of the grid. Without this chemical bond, you are relying on the mechanical grip of the tack strip alone. In high-traffic areas like a bathroom door, mechanical grip is never enough. The constant change in temperature and humidity in showers causes the carpet to expand and contract, which slowly works the fibers loose from a dry-cut edge.
| Method | Longevity | Visual Profile | Difficulty |
|---|---|---|---|
| Z-Bar Tuck | High | Flush | Advanced |
| Binder Bar | Medium | Raised | Beginner |
| Latex Sealing | High | Invisible | Moderate |
| Transition Strip | Medium | Visible | Easy |
Transition strips that actually work
Schluter profiles, reducer strips, and T-moldings provide the necessary mechanical protection for the carpet edge. The most common mistake is using a generic ‘one size fits all’ transition from a big-box store. Those strips are usually made of cheap anodized aluminum that bends under the weight of a foot. You need a solid brass or heavy-duty vinyl transition that actually clamps the carpet edge down. A Z-bar is the gold standard because it allows the carpet to be hooked on a tack strip and then folded over a metal lip that is hidden under the tile or tucked tightly against it. This creates a protected, rolled edge that is physically impossible to fray because the raw cut is buried beneath the surface.
Managing moisture migration from the shower
Vapor emissions and relative humidity are the silent killers of carpet transitions near showers. When you take a hot shower, the air reaches a high saturation point. This moisture settles into the carpet fibers at the door. If the carpet is a wool blend, it absorbs this moisture and swells. Synthetic fibers like triexta are more resistant, but the backing is still vulnerable. A non-negotiable step is ensuring the tile grout at the transition is sealed with a penetrating sealer. If the grout is porous, it will wick water from the bathroom floor directly into the carpet backing. This leads to delamination, where the primary and secondary backings separate. Once delamination starts, the carpet will bubble and the edge will fray regardless of how well it was tucked.
“The Tile Council of North America (TCNA) requires that subfloor deflection not exceed L/360 for ceramic tile and L/720 for natural stone to prevent bond failure.” – TCNA Handbook Standards
The subfloor height disparity problem
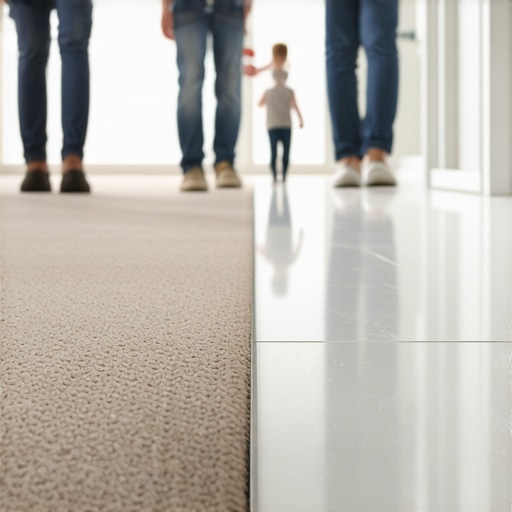
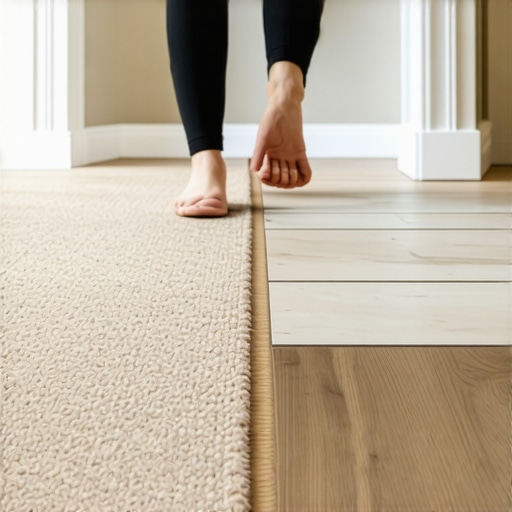
Self-leveling underlayment and cementitious backer units often create a height difference between the bathroom tile and the bedroom carpet. If the tile is 1/2 inch higher than the subfloor, the carpet has to climb a steep hill. This creates a ‘trip hazard’ and an exposed vertical face of carpet. You cannot just stretch the carpet to the tile and hope for the best. You must use a ramp or shim made of plywood or a feather-finish compound to create a gentle slope. This ensures the carpet meets the tile at a flush elevation. If the carpet is lower than the tile, the edge of the tile will act like a knife, cutting into the carpet backing every time someone steps on the transition.
A checklist for the permanent fix
- Verify the subfloor is flat within 3/16 inch over a 10-foot radius.
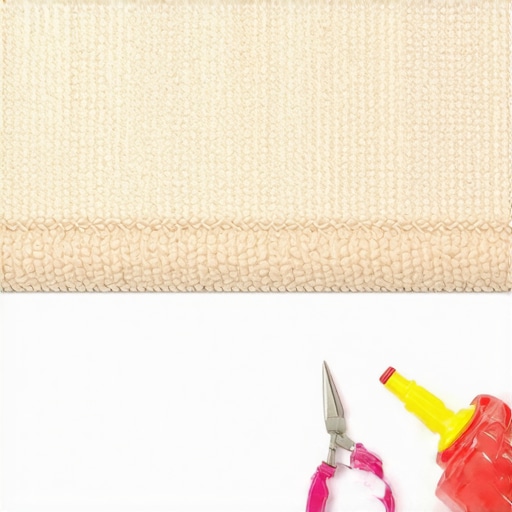
- Apply a bead of latex seam sealer to the raw cut edge of the carpet.
- Install a commercial-grade tack strip 1/4 inch away from the tile edge.
- Use a power stretcher to ensure the carpet is under proper tension.
- Tuck the sealed edge into the gully using a professional carpet bolster.
- Ensure the tile edge is smooth and free of sharp thin-set burrs.
- Seal the transition with a silicone-based caulk if moisture is a major concern.
The equipment required for the job
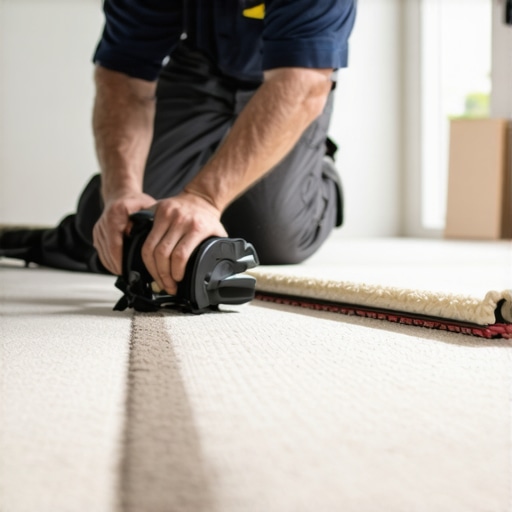
Power stretchers, knee kickers, and carpet bolsters are not optional. Most DIY attempts fail because they try to ‘stretch’ the carpet by hand. A carpet that is not under tension will move. Movement causes friction. Friction causes fraying. You need to pull the carpet tight enough that it has a drum-like tension across the room. Only then can you properly hook it onto the tack strip and tuck the edge. I also recommend a row-cutter rather than a standard utility knife. A row-cutter follows the nap of the carpet, ensuring you don’t cut through the individual tufts. Cutting through the tufts is the fastest way to start a fraying chain reaction that will ruin a $4,000 carpet install in a matter of weeks.
The final word on floor longevity
Treating the transition as a structural engineering challenge is the only way to prevent failure. If you ignore the chemistry of the adhesives or the physics of the subfloor, you are just waiting for the fibers to pull apart. Spend the time to grind the concrete. Spend the money on a quality Z-bar. Use the seam sealer. A floor is a performance surface. It takes more abuse than any other part of the home. If you treat it with the respect the NWFA and TCNA demand, it will last for decades. If you take shortcuts, you will be back on your knees in six months, staring at a frayed mess and wondering where it all went wrong. Fix the subfloor, seal the edge, and the carpet will stay where you put it.