The Spiked Roller Secret for Getting Glass-Smooth Leveling Results
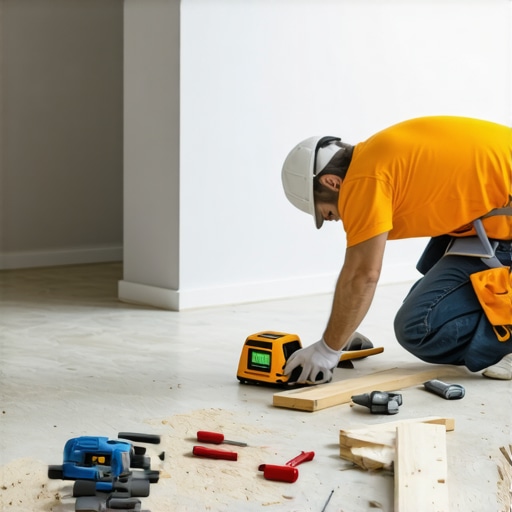
Most guys skip the leveling compound. They think the underlayment will hide the dip. It won’t. I spent three days grinding concrete on a job last month just so the floor wouldn’t click like a castanet. That job was in a high-rise where the wind whipped through the vents, drying the slab too fast. My hands smelled like WD-40 from fixing the grinder, and my lungs were full of oak dust from the previous demo. If you want a floor that doesn’t sound like a bowl of Rice Krispies, you listen to the subfloor first. You can buy the most expensive wide-plank white oak in the world, but if the substrate is wavy, that wood will eventually fail. I have seen fifteen-thousand dollar walnut floors cup and crown because the installer was too lazy to pull a string line. I have seen homeowners cry over buckling laminate because the installer ignored a three-eighths inch hump in the middle of the kitchen. The spiked roller is not a suggestion. It is the tool that separates a hack job from a master installation.
The physics of the spiked roller
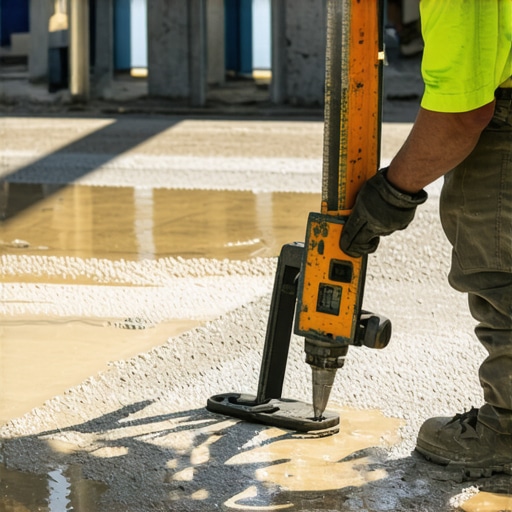
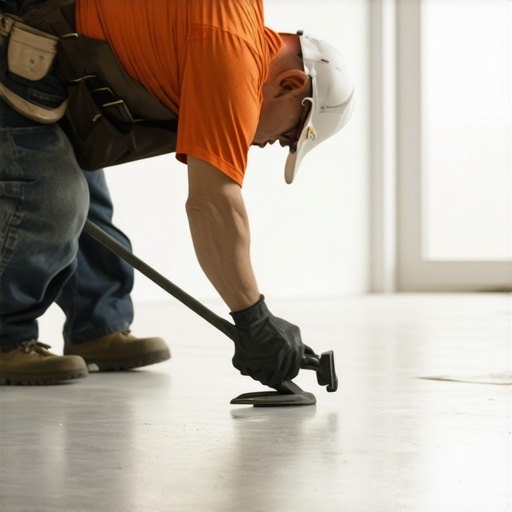
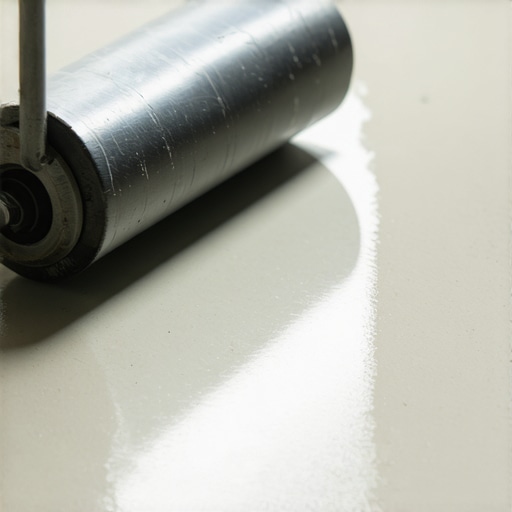
Spiked rollers are essential for self-leveling underlayment to achieve a glass-smooth finish by breaking surface tension and releasing entrapped air bubbles that cause pitting and weak points in the cured substrate. This mechanical agitation ensures the cementitious flow reaches its lowest point while maintaining a consistent aggregate distribution across the entire floor surface. When you pour self-leveling underlayment, the chemistry is working against you from the second the water hits the powder. The material starts to hydrate. It becomes more viscous. The surface tension of the liquid creates a skin. Without a spiked roller, that skin prevents the material from actually finding a true level. You end up with ridges. You end up with a floor that looks like a calm ocean from a distance but feels like a washboard under a straightedge. The tines of the roller penetrate the surface, allowing the entrapped air from the mixing process to escape. If those bubbles stay inside, they create voids. A void is a pocket of air. When you put a heavy kitchen island over a void, the leveling compound cracks. Then the floor moves. Then the customer calls me to fix it.
“A floor is only as good as the subfloor beneath it; deflection is the enemy of every joint.” – Master Flooring Axiom
The 1/8 inch that ruins everything
Floor flatness tolerances require no more than a one-eighth inch deviation over a ten-foot radius to ensure the structural integrity of click-lock laminate and engineered hardwood. If your subfloor exceeds this tolerance, the locking mechanisms will undergo fatigue failure, leading to gapping and audible clicking during foot traffic. Most people think a little dip is fine. It is not fine. Think about the physics of a tongue-and-groove joint. It is a small piece of milled wood or plastic. When it sits over a dip, it acts like a bridge. When you step on that bridge, it flexes. Wood is not meant to flex like a spring. Over time, that constant movement wears down the fibers. The joint loosens. Eventually, the tongue snaps off. Now you have a floating floor that is actually floating, but not in the way the manufacturer intended. You have a tripping hazard and an eyesore. This is especially true for large format tile in showers. If the substrate is not flat, you will have lippage. Lippage is when the edge of one tile is higher than the next. It looks terrible under LED lighting and it feels worse on your bare feet. You must grind the high spots and fill the low spots. There is no middle ground.
Why your subfloor is lying to you
Subfloor moisture testing reveals the relative humidity and moisture vapor emission rate that can cause adhesive failure or wood swelling. Using a calcium chloride test or an in-situ probe is the only way to verify if a concrete slab is dry enough for flooring installation. Concrete looks dry on top. It is a lie. Concrete is a sponge. It holds water deep in its pores for months, sometimes years. If you seal that moisture in with a layer of vinyl or a non-breathable underlayment, that water has nowhere to go. It builds up pressure. It turns into vapor. This vapor destroys the bond of your leveler or your glue. I have pulled up floors where the leveling compound was just a grey soup underneath because the installer didn’t check the MVER. You need to know the numbers. If the slab is emitting more than three pounds of moisture per one thousand square feet, you are in trouble. You need a moisture barrier. You need a primer that is rated for high-moisture environments. Don’t trust your eyes. Trust the meter.
| Material Type | Max Deviation (10ft) | Acclimation Time | Moisture Limit (RH) |
|---|---|---|---|
| Solid Hardwood | 1/8 inch | 7-14 Days | 6% – 9% |
| Engineered Wood | 3/16 inch | 3-5 Days | under 12% |
| Laminate / LVP | 3/16 inch | 48 Hours | under 75% |
| Ceramic Tile | 1/8 inch | None | under 85% |
The chemistry of the mechanical bond
Priming the substrate is the most fundamental step in floor leveling because it prevents the porous concrete from sucking the hydration water out of the leveling compound. A high-solids acrylic primer creates a mechanical key that ensures the leveler sticks to the substrate instead of delaminating under shear stress. If you pour leveler on dry, unprimed concrete, the concrete acts like a desert. it drinks the water from the leveler instantly. The leveler then dries too fast. It doesn’t have time to form its crystalline structure. It becomes brittle. You can literally scrape it off with a putty knife. That is a failed bond. I always use a spiked roller during the primer application too if I am using a thick epoxy primer. You want that primer pushed into every pore of the concrete. You want it to become part of the slab. When the leveler goes on top, it bonds chemically to the primer. This creates a monolithic slab that can handle the weight of a refrigerator or a grand piano without flinching.
The ghost in the expansion gap
Expansion gaps at the perimeter of a room allow flooring materials to expand and contract with seasonal changes in temperature and humidity. Without a quarter-inch gap, the floor will buckle or tent as it presses against the drywall or baseboards. This is the most common mistake in the industry. People want the floor to look tight against the wall. They forget that wood and even vinyl are living materials in a sense. They react to the air. In the summer, the humidity rises and the floor grows. If it hits the wall, it has nowhere to go but up. That is how you get a mountain in the middle of your living room. You must leave the gap. You cover the gap with baseboard or shoe molding. The floor must be allowed to breathe. If you pin it down with heavy cabinetry, you are asking for a failure. I once saw a beautiful laminate floor destroyed because the homeowner installed a heavy granite island right on top of the floating floor. The floor tried to expand, couldn’t move under the island, and snapped every joint in the kitchen. It was a total loss.
“Wood is hygroscopic. It moves. If you don’t account for the relative humidity of the slab, your investment is a ticking time bomb.” – NWFA Technical Guidelines
A checklist for the perfect pour
- Verify the substrate is structurally sound and free of deflection.
- Clean the concrete of all oils, waxes, and dust using a HEPA vacuum.
- Apply the correct primer based on the porosity of the slab.
- Measure the water for the mix using a graduated cylinder for 100% accuracy.
- Mix the compound for exactly three minutes to ensure polymer activation.
- Pour the material and immediately use the spiked roller to break tension.
- Maintain a wet edge to avoid cold joints between different pours.
- Check the ambient temperature to ensure it is between 50 and 85 degrees.
Why your subfloor prep determines your career
Professional reputation is built on the longevity of the installation rather than the speed of the initial pour. Masters of the craft know that substrate preparation represents eighty percent of the labor but one hundred percent of the success. If you are known for floors that never squeak, you will never lack work. If you are known for speed, you will spend half your life doing warranty repairs. I chose the former. I chose to spend the extra time with the spiked roller. I chose to spend the extra money on the high-end leveler. I chose to educate the customer on why their subfloor needs work. Most people are reasonable if you explain the physics. Tell them about the bridge. Tell them about the air bubbles. Show them the straightedge. When they see the light under the bar, they understand. They realize that a floor is not a rug. It is an engineered surface. Treat it like one. Use the roller. Check the moisture. Leave the gap. Do it right the first time, or don’t do it at all.