How to Level a Floor That Slopes in Two Directions
Mastering the Geometry of a Compound Slope to Level Your Subfloor
I spent three days grinding concrete on a job last month just so the floor wouldn’t click like a castanet. Most guys skip the leveling compound. They think the underlayment will hide the dip. It won’t. I have seen too many installers try to float a high-end laminate over a subfloor that looks like a topographical map of the Ozarks. When a floor slopes in two directions, you are not just dealing with a simple incline. You are dealing with a compound pitch that creates a torsional strain on every locking joint in your floor. If you ignore the physics of that slope, your expensive planks will separate, and your warranty will be worth less than the sawdust on my boots.
The geometry of the compound slope
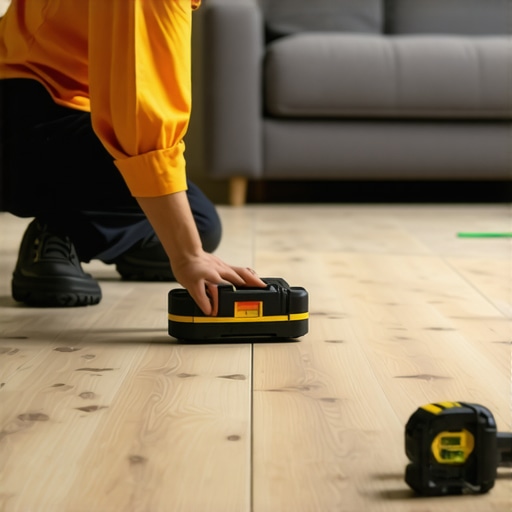
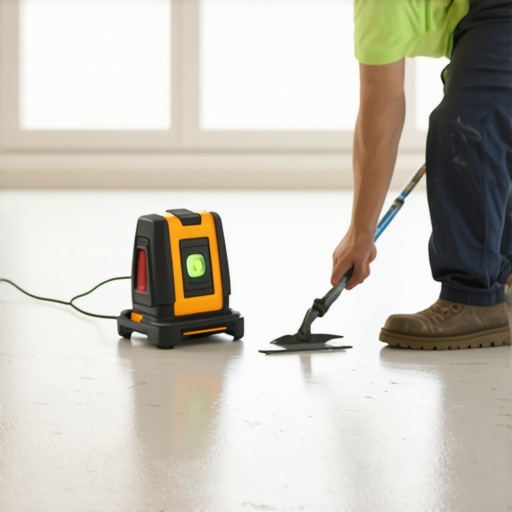
A floor that slopes in two directions requires a strategic pour of self leveling underlayment or the mechanical grinding of high spots to create a flat plane. You must identify the highest point of the room using a rotary laser level and establish a benchmark that accounts for the cumulative pitch in both directions. This process involves mapping the substrate with a grid and calculating the volume of material needed to fill the low points while maintaining a thickness that does not exceed the structural capacity of the joists. A compound slope is effectively a diagonal descent across the room, meaning your leveling strategy must address the deepest corner without creating a height transition issue at the doorway.
The 1/8 inch that ruins everything
The industry standard for floor flatness is 1/8 inch of variation over a 10 foot radius to ensure that laminate or hardwood locking systems do not fail. If your floor slopes more than this, the air gaps beneath the planks create a trampoline effect that eventually snaps the tongue and groove mechanisms. I have seen installers try to use double layers of underlayment to pad out a dip. This is a massive mistake. Too much cushion under a laminate floor causes the joints to flex beyond their design limit. You need a rock hard surface, not a sponge. When we talk about level, we are often actually talking about flat. A floor can be slightly out of level and still function if it is perfectly flat, but a compound slope usually introduces waves and dips that destroy the integrity of the install.
“A floor is only as good as the subfloor beneath it, deflection is the enemy of every joint.” – Master Flooring Axiom
Why your subfloor is lying to you
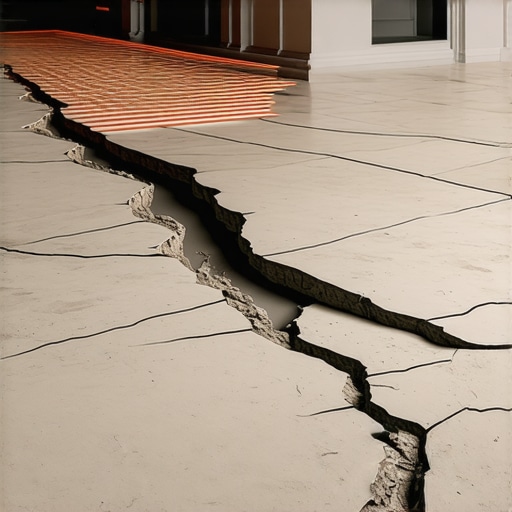
Subfloors often hide structural issues like settled piers or undersized joists that manifest as a slope in two directions over time. Simply pouring leveler over a moving subfloor is like putting a band-aid on a broken leg because the new surface will eventually crack along the same stress lines. You have to get down on the ground with a 10 foot straightedge. Mark the high spots with a wax pencil and the low spots with the depth of the void. If you are dealing with a concrete slab, the slope is likely a result of poor finishing during the initial pour. If it is wood, you are looking at gravity and time. Before you even think about a carpet install or laying laminate, you must stabilize the movement. A carpet install is more forgiving of a slope, but even then, a significant dip will cause the carpet to bunch and wear unevenly over the years.
Molecular mechanics of self leveling compounds
The chemistry of a self leveling underlayment, or SLU, is a marvel of modern engineering. These materials are often calcium aluminate based rather than standard Portland cement. This is because calcium aluminate provides a rapid hydration reaction that allows the material to reach high compressive strengths in a matter of hours. When you mix the powder with water, you are initiating an exothermic reaction where crystals grow and interlock at a microscopic level. The water to powder ratio is the most vital variable in the room. If you add too much water to make it flow better, you are diluting the polymer density. This leads to a chalky finish that will delaminate under the pressure of foot traffic. You need a heavy duty mixing drill with a high torque motor to ensure the polymers are fully activated without entraining too much air into the slurry.
| Material Type | Max Allowable Deflection | Typical Prep Time | Suitability for Slopes |
|---|---|---|---|
| Laminate Flooring | 1/8 inch over 10 feet | 48 Hours | Low Tolerance |
| Plush Carpet | 1/2 inch over 10 feet | 4 Hours | High Tolerance |
| Ceramic Tile | 1/16 inch over 10 feet | 72 Hours | Zero Tolerance |
| Engineered Hardwood | 1/8 inch over 10 feet | 72 Hours | Moderate Tolerance |
The ghost in the expansion gap
Every floating floor needs an expansion gap at the perimeter to allow for the natural expansion and contraction of the material due to humidity changes. In a room with a compound slope, this gap becomes even more important because the floor will naturally want to slide toward the lowest point during the installation process. If you do not lock the floor in place with spacers, the entire field can shift, closing the gap on one side and opening a massive void on the other. This is especially true in regions with high humidity. Wood is a hygroscopic material. It breathes. If you pin a floor against a wall because the slope pushed it there, the planks will buckle upward in the center of the room. This is the nightmare scenario for any installer.
The physics of the wet edge
When pouring leveler over a floor that slopes in two directions, you must maintain a wet edge to avoid cold joints. A cold joint occurs when a new batch of leveler is poured against a batch that has already begun to set. In a complex slope, the material will naturally flow toward the lowest corner. You have to work from the lowest point upward or from the back of the room toward the exit, depending on the volume. Using a gauge rake is essential. This tool allows you to set the depth of the pour mechanically. If you rely on the material to level itself perfectly without help, you will end up with ridges. The surface tension of the liquid can sometimes fight against the gravity of the slope, especially at the edges where the product feathers out to nothing.
“Standard subfloor tolerances for ceramic tile require that the substrate not vary more than 1/8 inch in 10 feet for large format tiles.” – TCNA Handbook
Step by step checklist for a flat subfloor
- Identify the highest point of the room using a laser or a long level.
- Vacuum all dust and debris as even a grain of sand can ruin the bond.
- Apply the manufacturer recommended primer to prevent the subfloor from sucking the moisture out of the leveler.
- Set level pins across the floor at 2 foot intervals to mark the required height.
- Mix the leveling compound in 5 gallon buckets using a high speed mixer for exactly the time specified on the bag.
- Pour the material starting at the deepest point of the slope.
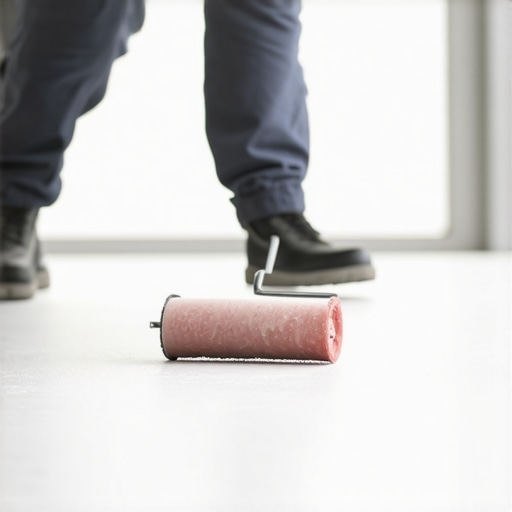
- Use a spiked roller to release air bubbles and help the material blend.
- Wait at least 24 hours before checking the flatness again with a straightedge.
Complex slopes in showers and bathrooms
Managing a double slope in a bathroom is a different beast because you often have to coordinate with a shower drain. The floor must be flat for the main area but then transition into a specific pitch for the shower pan to ensure water drainage. This is where floor leveling becomes a form of sculpture. You are essentially creating two different planes that meet at a transition line. If you are installing laminate in a bathroom, which I generally advise against unless it is a high quality waterproof version, the transition must be perfectly flush. Any height difference will cause the T molding to sit at an angle, creating a trip hazard and a point where water can seep into the subfloor. Showers require a dedicated slope of 1/4 inch per foot toward the drain, which is the exact opposite of what you want for the rest of your flooring. Balancing these two requirements takes a steady hand and a lot of patience.
When to walk away from a DIY level
Not every floor can be saved with a bag of leveler and a dream. If the slope in two directions is caused by a foundation that is actively sinking, no amount of compound will fix the problem. You will just be adding thousands of pounds of weight to a failing structure. I have seen guys try to level a floor in an old Victorian house where the center beam had rotted out. They poured three inches of concrete on the second floor and the whole thing nearly collapsed into the kitchen below. You have to know when to call a structural engineer. If the floor feels bouncy or if you see large cracks in the drywall above the slope, you are dealing with a framing issue, not a flooring issue. Fix the bones first, then worry about the skin.