Why Your Floor Leveler Is Bubbling Like a Science Experiment
Most guys skip the leveling compound. They think the underlayment will hide the dip. It won’t. I spent three days grinding concrete on a job last month just so the floor wouldn’t click like a castanet. I have seen thousand-dollar laminate jobs ruined because an installer thought they could eyeball the subfloor prep. You pour that expensive bag of self-leveling underlayment and suddenly it looks like a volcanic field. Those bubbles are not just an eyesore. They are structural failures in the making. If you want a floor that actually stays flat and quiet, you have to understand the physics of what is happening under your boots. I smell like sawdust and WD-40 most days, and I have learned that the subfloor is the only part of the job that actually matters. If the foundation is junk, the finish is junk.
The hidden air inside your concrete
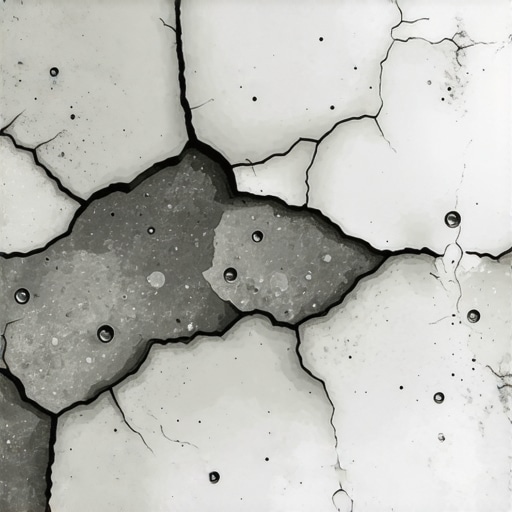
Floor leveler bubbles because of outgassing, where air from a porous subfloor escapes into the wet compound. This occurs when the concrete is not properly primed, allowing air pockets to rise through the liquid leveler and create pinholes or craters that compromise the structural integrity of the surface. Concrete is a sponge. Even if it feels rock solid, it is full of microscopic capillaries and pores. When you pour a heavy, wet liquid like self-leveling underlayment over it, that liquid wants to sink. As it sinks, it displaces the air that was sitting in those pores. That air has nowhere to go but up. Because the leveler is thick, the air gets trapped. It forms a bubble. Sometimes the bubble pops and leaves a crater, which we call a pinhole. Sometimes it stays trapped, creating a hollow dome. Neither is good for your laminate or carpet install. If you are working in a humid region like the Gulf Coast or even a damp basement in the Pacific Northwest, this vapor pressure is even more aggressive. You are fighting the moisture vapor transmission rate of the slab itself.
“A floor is only as good as the subfloor beneath it; deflection is the enemy of every joint.” – Master Flooring Axiom
Why primer is not optional
Primer acts as a sealant that plugs the pores of the concrete to prevent air from escaping. It also creates a chemical bridge between the old substrate and the new leveling compound, ensuring a mechanical bond that prevents the leveler from delaminating or cracking under the weight of furniture. Think of primer as the glue that keeps the science experiment from failing. If you skip the primer, the concrete will suck the water out of your leveler too fast. This is called dehydration. When the leveler loses its water to the thirsty slab, it stops flowing. It won’t level. It just sits there like thick oatmeal. You need that primer to stay wet long enough for the air to stay down and the leveler to find its own height. In my twenty five years of doing this, I have never seen a successful pour on raw, unprimed concrete. It is a recipe for a callback.
The chemistry of the mix
The water to powder ratio in self-leveling underlayment is a precise chemical requirement that dictates the compressive strength and flowability of the cured floor. Adding too much water leads to separation and a weak, chalky surface, while too little water causes rapid setting and poor leveling. You see guys on the job site all the time just sticking a hose in a bucket and guessing. That is how you end up with a floor that turns to dust in two years. Most levelers use calcium aluminate cement. This stuff is not like the bag of concrete you buy at the big box store. It is engineered to be high-flow. If you add an extra quart of water, you break the polymer chains. You will see a white film on top of the floor once it dries. That is the polymer separating from the aggregate. It means your floor has no strength. If you are putting heavy kitchen islands over this, the leveler will crush.
| Leveler Type | Typical Set Time | Min Thickness | Compressive Strength |
|---|---|---|---|
| Standard Cementitious | 4 hours | 1/8 inch | 3500 PSI |
| High-Flow Polymer | 2 hours | 1/16 inch | 5000 PSI |
| Fiber Reinforced | 3 hours | 1/4 inch | 4500 PSI |
Shower floors and the leveling myth
Leveling a shower subfloor requires a different approach than a standard room because you must maintain a functional slope toward the drain while ensuring a flat surface for tile. Using self-leveler in a shower without a dam or a pre-slope plan will result in drainage failure and water pooling. People think they can just pour leveler in a shower and it will fix everything. It won’t. In a shower, you need a slope of 1/4 inch per foot. If you use a self-leveler, it will try to go flat. That is what it is designed to do. For showers, you usually want a dry pack mud bed or a specialized floor leveling compound that is thick enough to be shaped. If you have bubbles in your shower leveler, that is a major problem. Those pinholes can become paths for water to get under your waterproofing membrane.
“Subfloor flatness is more important than being perfectly level; a flat floor prevents the movement that destroys click-lock systems.” – Master Flooring Axiom
Laminate failure starts in the dip
Laminate flooring requires a subfloor flatness of 1/8 inch over a 10 foot radius to prevent the tongue and groove joints from snapping. When a floor leveler bubbles or pits, it creates an uneven surface that causes the laminate planks to bounce and eventually separate. I have walked into homes where the $15,000 wide-plank walnut floor was cupping so bad it looked like a potato chip because the installer didn’t check the humidity and the subfloor wasn’t flat. With laminate, if there is a dip, the floor flexes every time you step on it. That flex puts stress on the locking mechanism. Over time, that plastic or wood fiber lock will snap. Then you get gaps. Then you get dirt in the gaps. Then the floor is ruined. You need to use a straight edge to find those dips before you even think about opening a box of flooring.
The spike roller and surface tension
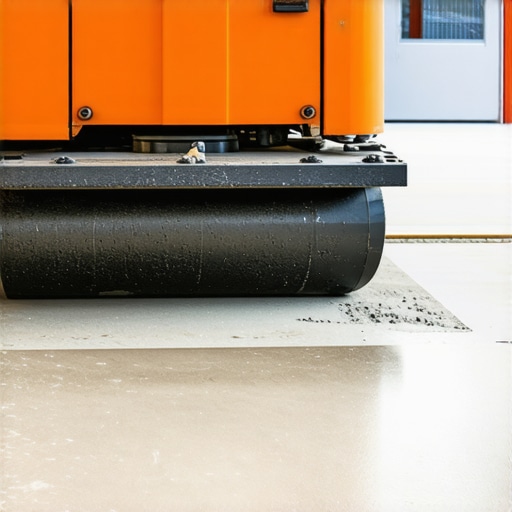
A spike roller is a specialized tool used to break the surface tension of wet leveler and release trapped air bubbles before the material begins to set. Using this tool is the most effective way to eliminate the science experiment look and achieve a smooth, professional finish. When you pour the leveler, it has a skin on it. The spike roller goes through that skin and lets the air out. It also helps the different pours blend together. If you don’t use one, you will see the lines where one bucket ended and the next began. It is a simple tool, but it is the difference between a pro job and a DIY disaster.
- Always vacuum the slab three times before priming.
- Use a mixing paddle that doesn’t whip air into the bucket.
- Measure your water with a dedicated measuring tool, not a guess.
- Check the temperature of the room because heat makes leveler set too fast.
- Seal all perimeter gaps to prevent the leveler from leaking into the walls.
Final word on subfloor preparation
The reality is that a floor is only as good as what you cannot see. If you take the time to prime, mix correctly, and use the right tools, you won’t have a science experiment on your hands. You will have a flat, solid surface that will last for decades. Carpet install is easier, laminate stays locked, and showers stay waterproof. Don’t be the guy who tries to save an hour by skipping the prep. You will spend ten times that amount of time fixing the failure later. Keep your tools clean, keep your ratios tight, and respect the chemistry of the build.