The ‘Blue Tape’ Secret for Scribing Laminate Around Curved Toilet Bases
The Blue Tape Secret for Scribing Laminate Around Curved Toilet Bases
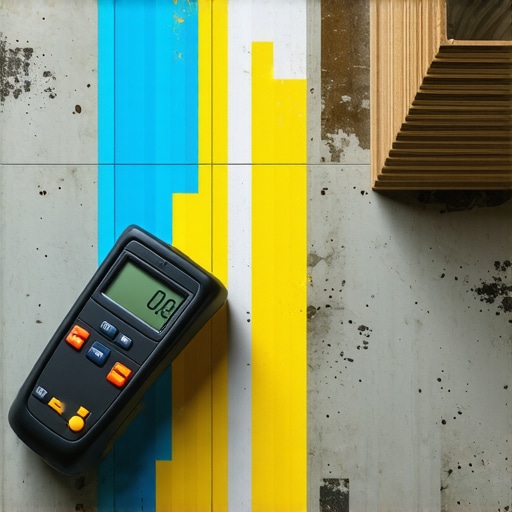
Most guys skip the leveling compound. They think the underlayment will hide the dip. It won’t. I spent three days grinding concrete on a job last month just so the floor wouldn’t click like a castanet. That job was a masterclass in frustration because the previous installer thought a thick foam pad could compensate for a slab that looked like the rolling hills of Kentucky. It cannot. When you are laying laminate near wet areas like showers or toilets, the margin for error is zero. You are not just laying a floor. You are engineering a moisture management system that must withstand the physical stresses of a household. If the subfloor is not flat, the locking mechanisms on your planks will snap within six months. I have seen it a thousand times. The homeowner blames the product. The store blames the installer. The installer is usually long gone. My name is on my work, and my work starts with a grinder and a moisture meter.
The foundation of a successful bathroom installation
A successful bathroom floor installation requires a subfloor flat to within 3/16 inch over a 10 foot radius. Using self leveling compound to eliminate dips and grinding down high spots prevents the locking joints from flexing and breaking. This preparation ensures the laminate planks remain stable near plumbing fixtures. You have to understand the physics of deflection. When you step on a laminate plank that spans a hollow spot, the tongue and groove joint acts as a fulcrum. The weight of a grown adult creates hundreds of pounds of pressure on a piece of HDF (High-Density Fiberboard) that is barely a few millimeters thick. Eventually, the friction causes the joint to squeak. Then it delaminates. Then the moisture from a nearby shower seeps into the broken seal. You are left with a sponge. I always use a 10 foot straightedge. I do not guess. If I see daylight under that bar, I reach for the bags of cementitious leveler. This is the part of the job that smells like wet stone and hard work. It is not glamorous, but it is the only way to ensure the blue tape trick actually works later on.
The secret of blue tape and precise scribing
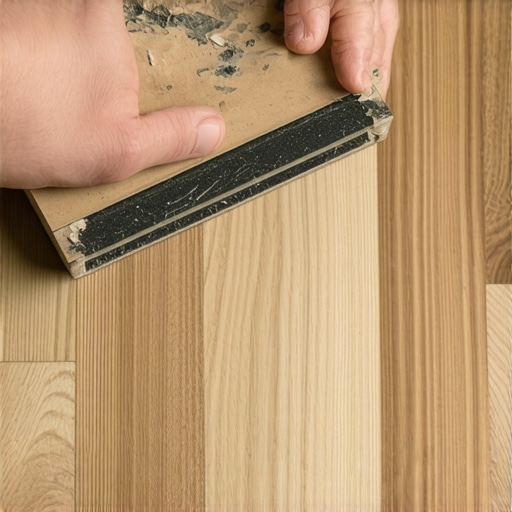
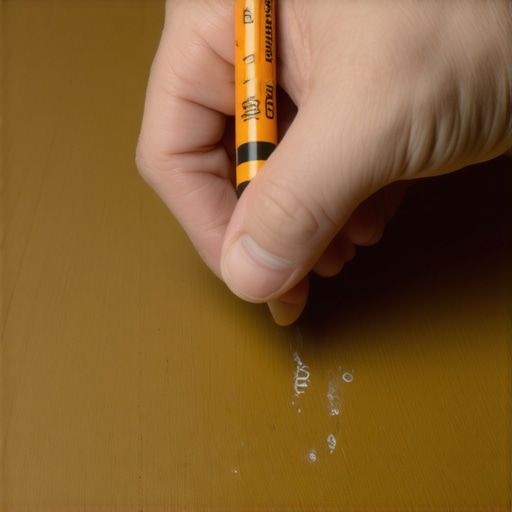
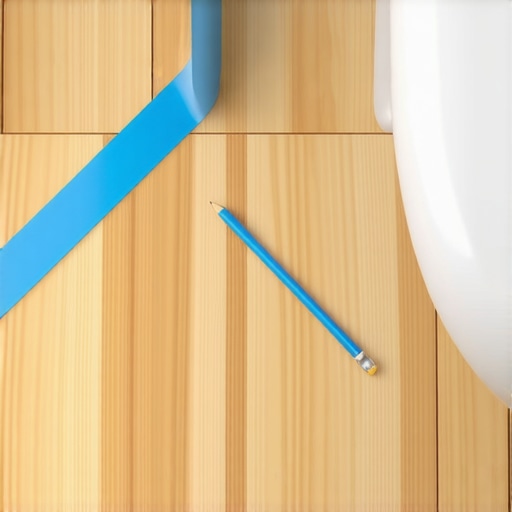
Scribing laminate around a curved toilet base involves applying painter tape to the floor and the fixture to create a clear guide for cutting. By using a compass or a simple wooden block, you can transfer the exact radius of the porcelain onto your planks for a perfect fit. This method eliminates the ugly, wide gaps that most people try to hide with a mountain of caulk. Caulking is for sealing, not for structural repair. First, you lay your planks up to the front of the toilet, leaving them long. You apply blue painter tape to the top surface of the laminate where the cut will be. Then, you apply tape to the base of the toilet itself. This protects the porcelain and gives you a high-contrast surface to mark. You take a small scrap of wood, maybe an inch wide, and hold it against the toilet base. You place a pencil on the other side of the block. As you slide the block along the curve of the toilet, the pencil traces that exact path onto the taped laminate. It is a primitive tool, but it is more accurate than any digital scanner I have ever tested. It accounts for the slight imperfections in the porcelain casting that a template would miss. You must be steady. You must be patient. One slip and you have wasted a four foot plank.
The physics of the jigsaw blade
Cutting curved lines in laminate requires a fine tooth jigsaw blade designed specifically for laminate to prevent chipping the wear layer. Cutting from the back of the plank or using a reverse tooth blade ensures that the decorative surface remains crisp and professional. Most DIYers use a standard wood blade. That is a mistake that leads to jagged edges and ruined aesthetics. Laminate is essentially a photograph glued to sawdust and topped with aluminum oxide. That aluminum oxide is what makes it scratch resistant, but it is also what makes it brittle during a cut. I prefer a T-shank blade with at least 20 teeth per inch. When you follow the line you traced with your blue tape, you need to move slow. Let the blade do the work. If you force it, the heat will melt the resin in the HDF and you will get a ragged edge that moisture can easily penetrate. I often use a file after the cut to smooth out the transition. It is the difference between a floor that looks like it was thrown in and a floor that was crafted. You want that plank to slide under the edge of the toilet base if possible, but with laminate, you usually have to butt it up close and leave a 1/8 inch gap for expansion. That gap is your insurance policy against the floor buckling when the humidity hits 80 percent in the summer.
“A floor is only as good as the subfloor beneath it; deflection is the enemy of every joint.” – Master Flooring Axiom
The expansion gap is non negotiable
Laminate floors are floating systems that expand and contract with changes in temperature and humidity, requiring a 1/4 inch to 3/8 inch gap at all vertical surfaces. In bathrooms, this gap must be maintained around toilet bases and then sealed with 100 percent silicone. People think waterproof laminate means the floor is a static object. It is not. The core is still wood based. It will grow. It will shrink. If you wedge that floor tight against a toilet or a wall, the floor has nowhere to go but up. I have seen floors tent three inches off the subfloor because some guy didn’t leave a gap at the door casing. In a bathroom, you have the added challenge of water. You leave your 1/8 inch gap around the toilet, and then you fill that gap with a high quality silicone. The silicone is flexible. It allows the floor to move while preventing water from a leaky wax ring or a splashing shower from getting under the planks. Do not use acrylic caulk. It will crack. It will fail. Use the good stuff. It smells like vinegar and sticks to everything, but it will keep that subfloor dry for a decade.
| Material Type | Janka Hardness (lbf) | Acclimation Time | Moisture Tolerance |
|---|---|---|---|
| Solid White Oak | 1360 | 7-14 Days | Low |
| Engineered Maple | 1450 | 3-5 Days | Moderate |
| Premium Laminate | N/A (Wear Layer Class) | 48-72 Hours | High (Surface Only) |
| Stone Polymer Composite | N/A (Indentation Resist) | 0-24 Hours | Extreme |
The myth of the universal underlayment
Selecting the correct underlayment is essential for sound dampening and moisture protection, but using a pad that is too thick can destroy laminate locking systems. A high density 2mm to 3mm underlayment provides the best support for the click lock joints. While most people want the thickest underlayment, too much cushion actually causes the locking mechanisms on LVP or laminate to snap under pressure. It creates a trampoline effect. Every time you walk, the joints flex. Eventually, the plastic or fiberboard fatigue and break. I prefer a high density rubber or felt underlayment. It feels solid underfoot. It doesn’t have that hollow, clicky sound that makes laminate feel cheap. If you are installing over concrete, your underlayment must have an integrated 6 mil vapor barrier. Concrete is a sponge. It pulls moisture from the earth and releases it into your home. Without a barrier, that moisture will rot your laminate from the inside out. I always tape my seams with moisture resistant tape. I don’t care if the manufacturer says it is not required. I do it because I don’t want a callback. A callback is a profit killer. I do it right the first time so I never have to see that house again unless I am there for the next room.
The critical bathroom installation checklist
- Test subfloor moisture levels using a pinless meter to ensure concrete is below 4.5 percent or wood is within 2 percent of the flooring.
- Verify subfloor flatness using a 10 foot straightedge, marking all dips deeper than 3/16 inch.
- Acclimate the laminate planks in the bathroom or adjacent room for at least 48 hours to stabilize the core.
- Remove the toilet entirely rather than trying to cut around it; this is the only way to get a professional seal.
- Apply a 100 percent silicone bead to the expansion gap around the entire perimeter of the bathroom to prevent water ingress.
- Install transition strips at the doorway that allow the floor to float independently from the hallway flooring.
The chemistry of adhesives and sealants in wet zones
Using 100 percent silicone sealant in bathroom expansion gaps provides a flexible, waterproof barrier that accommodates the natural movement of a floating laminate floor. Silicone maintains its elasticity over time, unlike water based caulks that harden and shrink. When you are finishing the area around the shower or the toilet, you are looking for a chemical bond that won’t fail when the floor shifts. I have seen people use wood filler. I have seen them use grout. Both are mistakes. Grout is rigid. The first time the floor expands, the grout will crumble into dust. Silicone is the only answer. You want to look for a product that contains mildewcides. Bathrooms are breeding grounds for mold. If you seal a gap and trap moisture, you want that sealant to fight back. I also recommend using a seam sealer on the planks themselves within three feet of the shower. It is a liquid that you apply to the tongue before clicking the planks together. It creates a secondary internal seal. It is extra work. It is messy. But it makes the floor nearly bulletproof. I have installed floors this way in high traffic rentals, and they are still holding up five years later. That is the power of over engineering. Most installers want to get in and out. I want to build something that lasts.
“In a wet environment, the quality of your perimeter seal is the only thing standing between a beautiful floor and a moldy subfloor.” – TCNA Guide Snippet
The transition from carpet to laminate
Transitioning from a carpeted hallway to a laminate bathroom requires a T-molding or a reducer strip that allows for a 1/2 inch expansion gap between the two different flooring types. Properly anchoring the track to the subfloor ensures the transition remains stable. A lot of guys try to tuck the carpet right against the laminate. That is a recipe for a trip hazard. The height difference is usually significant. You need a transition strip. I prefer the metal tracks that screw into the subfloor. The decorative cap then snaps into the track. This allows the laminate to slide back and forth under the cap as it breathes. If you glue the transition to the laminate, you have just locked the floor. It will buckle at the other side of the room. I hate T-moldings because they are bulky, but they are a necessary evil in the world of floating floors. I try to find low profile versions that match the wood grain as closely as possible. If the subfloor is wood, I use 1 1/4 inch screws. If it is concrete, I drill and use plastic anchors. It has to be solid. If that strip wiggles, it will eventually pop off, and then you are looking at a jagged edge of laminate just waiting to cut someone’s toe.
The final inspection and maintenance reality
Maintaining a laminate floor in a bathroom requires immediate cleanup of standing water and the use of specialized cleaners that do not leave a waxy residue. Never use a steam mop on laminate as the heat and pressure can force moisture into the core. I tell every homeowner the same thing. This floor is waterproof from the top, not from the bottom. If the toilet overflows, you need to get the shop vac out immediately. If you leave water sitting on the seams for four hours, it might be fine. If you leave it for fourteen hours, the edges will start to swell. Once laminate swells, it never goes back down. You are looking at a replacement. I recommend a microfiber mop and a pH neutral cleaner. Avoid the stuff you find in the grocery store that promises a high shine. That shine is usually a wax or a silicone oil that will build up and attract dirt. It makes the floor look like a greasy mess within a month. Clean it dry as much as possible. If you treat the floor with respect, and the installer treated the subfloor with respect, that floor will outlast the paint on the walls. It is all about the preparation. It is all about the blue tape. It is all about the details that most people are too lazy to handle. But you aren’t most people, or you wouldn’t be reading this. You want it done right.