Why Your Laminate Floor Sounds Hollow in the Middle of the Room
Why Your Laminate Floor Sounds Hollow in the Middle of the Room
I spent three days grinding concrete on a job last month just so the floor would not click like a castanet. Most guys skip the floor leveling compound because it adds time and material costs to the bid. They think the foam underlayment will hide the dip. It won’t. I have walked into too many living rooms where the laminate sounds like a drum because the installer was lazy. I once walked into a house where a expensive wide plank walnut floor was cupping so bad it looked like a potato chip because the installer did not check the crawlspace humidity. The homeowner thought the product was defective. The product was fine. The installation was a disaster. I smell like oak dust and floor wax most days, and I have seen every shortcut in the book. If your floor sounds hollow, you are walking on a void created by poor preparation.
The acoustic physics of subfloor voids
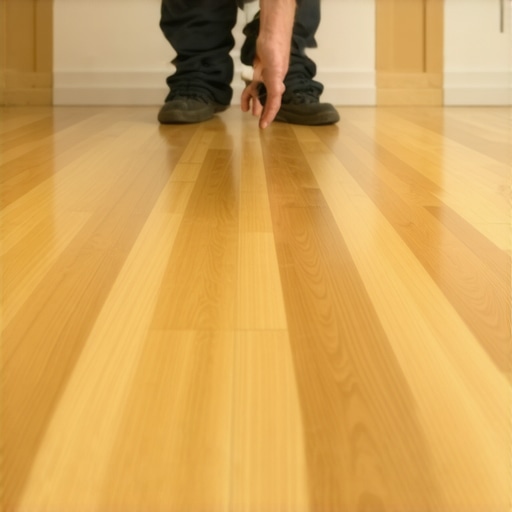
A hollow sound in laminate flooring occurs when there is a vertical gap between the bottom of the plank and the top of the subfloor. This gap creates an echo chamber where sound waves reflect off the hard surfaces of the subfloor and the laminate core. When you step on the plank, it deflects into the void, creating a percussive thud or a high pitched clicking sound depending on the density of your material. Laminate is a floating floor system. It is not nailed or glued down. This means it relies entirely on gravity and the flatness of the surface beneath it to remain silent. If the subfloor has a dip, the laminate will bridge that gap like a tiny wooden bridge. Every time you walk over that bridge, it flexes. Over time, this constant movement will fatigue the locking mechanisms. The tongue and groove joints are made of high density fiberboard. This material is strong but brittle. Repeated deflection causes the fibers to snap. Once the lock is broken, the floor will not just sound hollow, it will start to separate. You will see gaps between the boards that no amount of tapping will fix. This is why floor leveling is not an optional step. It is the foundation of the entire system. I use a ten foot straightedge to check every slab. If I find a dip deeper than one eighth of an inch, the leveler comes out. I do not care if the homeowner is in a hurry. A fast floor is a loud floor. I have seen guys try to shim these spots with extra layers of underlayment. That is a recipe for failure. Too much cushion allows the floor to bounce even more. This leads to the very hollow sound you are trying to avoid.
“A floor is only as good as the subfloor beneath it; deflection is the enemy of every joint.” – Master Flooring Axiom
The deception of thick underlayment
Many homeowners believe that a thicker underlayment will provide a quieter and softer feel underfoot while hiding subfloor imperfections. In reality, using a thick or soft underlayment is one of the most common mistakes in laminate installation because it increases the vertical movement of the planks. High quality laminate requires a high density underlayment with a high compressive strength rating to support the locking joints. If the padding is too soft, the floor sinks into it with every step. This creates a trampoline effect. The physics of this are simple. The laminate needs a solid base to resist the force of your footfall. When the base is mushy, the energy is not absorbed, it is converted into mechanical stress on the joints. I prefer using high density rubber or heavy felt underlayments. These materials have a high Sound Transmission Class or STC rating without being squishy. They dampen the sound of footsteps without compromising the structural integrity of the floor. In a carpet install, you want that thick, cloud like pad. In a laminate or hardwood install, that same pad is a death sentence. I have pulled up hundreds of floors where the locking systems were pulverized into dust because the installer used a cheap, thick foam pad from a big box retailer. The sound of sawdust rubbing against sawdust is a distinct squeak that tells me exactly what is wrong before I even lift a plank. You need to check the technical data sheet for your flooring. Most manufacturers specify a maximum thickness for underlayment, usually around three millimeters. If you go thicker than that without using a high density product, you are voiding your warranty. You are also ensuring that your floor will sound like a hollow plastic toy within six months.
The molecular reality of moisture and acclimation
Laminate flooring is composed of organic wood fibers that expand and contract based on the relative humidity and temperature of the surrounding environment. Failure to acclimate the planks to the specific climate of the room causes the material to reach a state of tension or shrinkage that pulls it away from the subfloor. When the planks are not in equilibrium with the air, they can bow or crown. Bowing creates a literal hump in the middle of the plank that lifts it off the subfloor. This creates the hollow pocket. I tell my clients that the floor needs to sit in the room for at least forty eight to seventy two hours. This is not a suggestion. It is a chemical necessity. The resins and wood fibers need to stabilize. If you take laminate from a cold, damp warehouse and install it immediately in a climate controlled home, it will move. In humid regions like Houston, the moisture vapor transmission rate from a concrete slab can be massive. You must use a six mil poly film moisture barrier. Without it, the underside of the laminate absorbs ground moisture and swells. This swelling causes the edges to rise, a condition known as cupping. A cupped floor is a noisy floor. It creates air pockets that make that dreaded hollow sound. You also have to consider the proximity to wet areas. If you are installing near showers or kitchens, the humidity is higher. I always leave a half inch expansion gap at the perimeter. If the floor hits the wall, it has nowhere to go but up. A buckled floor is just one giant hollow sound waiting to happen. I have seen floors lift three inches off the subfloor because there was no expansion gap. It looked like a tent in the middle of the room. This is why I carry a moisture meter on every job. I test the slab and I test the planks. If the numbers do not match, the tools stay in the truck.
| Subfloor Condition | Acoustic Result | Required Technical Fix |
|---|---|---|
| 3/16 inch dip or greater | Hollow thud and joint flex | Portland based self leveling compound |
| High moisture content in slab | Cupping and edge clicking | 6-mil polyethylene vapor barrier |
| Soft or low density foam pad | Bouncing and joint failure | High density rubber or felt underlayment |
| No expansion gap at walls | Buckling and hollow peaks | 1/2 inch perimeter spacing |
| Inadequate acclimation | Shrinkage or bowing | 72-hour site conditioning |
The science of concrete porosity and leveling
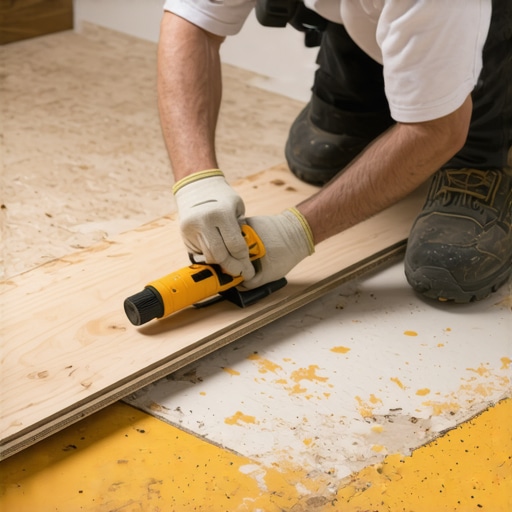
Concrete slabs are rarely flat enough for a direct laminate installation because the curing process naturally creates high spots and low valleys. Most installers ignore these variations because they are hard to see with the naked eye until the light hits the finished floor at an angle. I use a process of mechanical grinding to remove high spots and chemical bonding agents to fill low spots with self leveling underlayment. This ensures a surface that is flat to within one eighth of an inch over a ten foot radius. The chemistry of the leveler matters. I prefer Portland cement based products over gypsum based ones because they have higher compressive strength. You want a product that can withstand at least 3,000 PSI. When you pour the leveler, you are essentially creating a new, perfectly flat subfloor. This eliminates the air pockets that cause hollow sounds. If you are working over a wood subfloor, the problem is often deflection between the joists. If the plywood is too thin, it will sag. I often have to add a layer of 3/8 inch plywood or OSB to stiffen the floor before I even think about the laminate. This prevents the vertical movement that translates into noise. I have spent decades on my knees with a level and I can tell you that the prep work is eighty percent of the job. The actual clicking of the planks together is the easy part. It is the reward for doing the hard work of leveling. If you skip the prep, you are just decorating a disaster. A floor is a structural engineering challenge. Treat it like one.
“Surface preparation is the most critical part of any flooring installation; shortcuts here lead to permanent failure.” – TCNA Installation Handbook
- Check subfloor flatness with a 10-foot straightedge
- Verify concrete moisture levels with a calcium chloride test
- Apply a high-quality primer before using leveling compounds
- Use a spiked roller to remove air bubbles from wet leveler
- Ensure the expansion gap is maintained around all vertical obstructions
- Vacuum every square inch of the subfloor to remove debris
The regional impact of climate on floor stability
The geographic location of your home determines the specific challenges your laminate floor will face regarding sound and stability. In dry climates like Phoenix, the lack of humidity causes the wood fibers to shrink, which can lead to the locking mechanisms becoming loose and rattling. In these areas, I recommend a tighter locking system and perhaps a slightly more forgiving underlayment. In the swampy humidity of the South, the threat is always moisture expansion. You need to be diligent about your vapor barriers. I have seen beautiful floors ruined in a single summer because the crawlspace was not encapsulated. The humidity rises through the subfloor and hits the bottom of the laminate. The top is sealed with a melamine wear layer, but the bottom is raw fiberboard. This creates an imbalance in the plank. One side expands while the other stays the same. The result is a curve. That curve creates a hollow space. No matter how much you paid for the material, it will sound cheap if it is not installed with the local climate in mind. I also see issues with radiant heat systems in northern climates. If you turn the heat up too fast, you can bake the moisture out of the floor and cause it to warp. You have to increase the temperature gradually. This keeps the material stable and the sound profile consistent. I always tell people to buy a hygrometer. If your house stays between thirty and fifty percent humidity, your floor will stay quiet. If it swings wildly, your floor will start talking to you. It will groan and click and pop. That is the sound of a floor that is struggling to stay flat.
The final inspection and maintenance protocol
A quiet floor is the result of a disciplined installation process. If you are already hearing that hollow sound, the fix is usually to pull up the floor and address the subfloor. There are no magic sprays or foams you can inject to fix a dip in the middle of a room. You have to do it right. Check the perimeter. Make sure the baseboards are not pinned too tightly against the floor. The laminate needs to be able to slide slightly under the baseboard as it expands. If the baseboard is nailed through the laminate, you have locked the floor. This causes it to bridge over low spots and sound hollow. I always leave a small gap between the bottom of the molding and the top of the floor. This is a sign of a pro. It allows the floor to breathe. I avoid bulky T-moldings whenever possible, but they are necessary for long spans. Most laminate cannot run more than thirty feet without a break. If you go longer than that, the weight of the floor prevents it from moving as a single unit. It will bind up and lift off the subfloor. That is another source of the hollow drum sound. My goal is always a zero-threshold transition, but I will never sacrifice the floor’s health for a look. I would rather have a T-molding than a floor that sounds like a snare drum every time the cat walks across it. Take your time. Measure twice. Level everything. Your ears will thank you for the next twenty years.