How to Stop Your Floor Leveler from Leaking into the Basement
I spent three days grinding concrete on a job last month just so the floor wouldn’t click like a castanet. Most guys skip the leveling compound. They think the underlayment will hide the dip. It won’t. If you have a hole the size of a pinhead in your subfloor, gravity will pull that expensive slurry right through the floorboards and onto the pool table in the basement below. I have seen it happen. I have seen guys lose their entire profit on a job because they didn’t want to spend twenty dollars on a tube of polyurethane sealant and a roll of foam tape. The reality of professional flooring is that the liquid is a relentless explorer. It searches for every structural weakness, every unsealed plumbing penetration, and every gap in the sill plate. If you are not prepared for the hydrostatic pressure of a three inch pour, you are essentially pouring money down a drain. I have lived through the nightmare of hearing a drip-drip-drip coming from the floor below five minutes after pouring forty bags of high-flow leveler. It is a sinking feeling that no amount of sawdust can fix. This guide is built on the scars of those mistakes, focusing on the structural engineering required to create a watertight tub out of your subfloor before the first bag of cement is ever mixed.
The gravity of the liquid subfloor
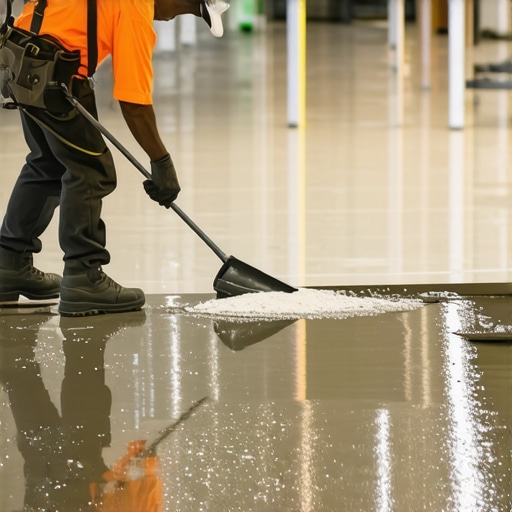
Floor leveling compounds are high-flow liquids designed to seek perfect equilibrium through gravitational pull. Unlike traditional mortar, self-leveling underlayment has a low viscosity that mimics water, meaning unsealed gaps or plywood joints will allow the cementitious slurry to escape into the basement cavity or crawlspace immediately upon application. Controlling this fluid dynamics challenge requires a watertight substrate.
Understanding the physics of the pour is the first step toward a successful installation. When we talk about self-leveling underlayment, we are talking about a material that is engineered to have almost zero internal friction for a period of twenty to thirty minutes. During this window, the material is technically a liquid. It exerts pressure against your walls and your damming materials. If you have a room that is ten feet by ten feet and you pour a half-inch of leveler, you are putting roughly four hundred pounds of wet weight on that subfloor. That weight pushes the liquid into every crack. If your subfloor is older plywood or tongue and groove boards, those cracks are everywhere. Every knot hole is a potential leak point. Every seam where two boards meet is a highway for the leveler to escape. This is why I always tell my apprentices that they aren’t floor installers during the prep phase, they are pool builders. If you couldn’t fill the room with two inches of water and have it stay there, you aren’t ready to pour leveler. The chemical bond of the material is also a factor. Most modern levelers use calcium aluminate cement which reacts quickly with water. This reaction creates heat. If the leveler leaks through a hole, it doesn’t just make a mess, it loses the moisture it needs to hydrate properly, leading to cracks and structural failure in the areas immediately surrounding the leak.
The subfloor secret of the three day grind
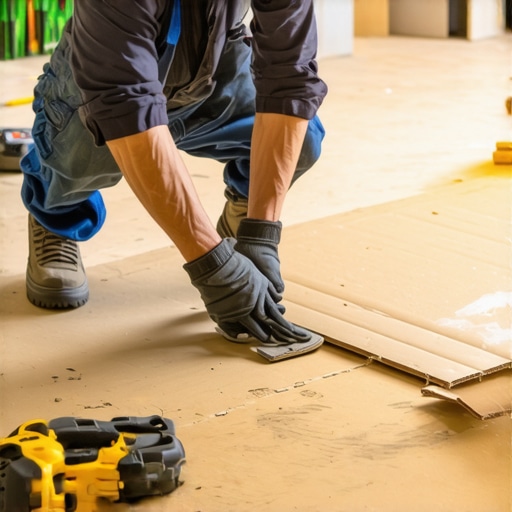
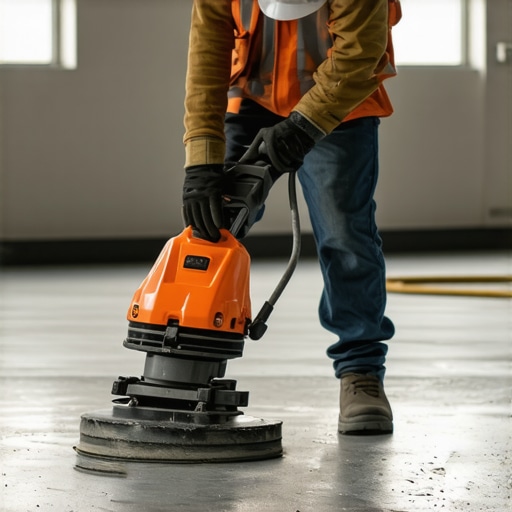
Subfloor preparation requires a mechanical bond achieved through diamond grinding or aggressive sanding to remove contaminants like paint, oil, or adhesive residue. Before sealing leaks, the substrate must be structurally sound and deflection-free, as floor leveler will crack if the subfloor flexes beyond the L/360 industry standard established by the TCNA and NWFA experts. A clean surface ensures primer adhesion and sealant integrity.
“A floor is only as good as the subfloor beneath it; deflection is the enemy of every joint.” – Master Flooring Axiom
The secret that most big box stores won’t tell you is that the leveler is the easy part. The prep is the grind. I remember a job in a 1920s craftsman where the floor had a three-inch sag. The homeowner wanted to just pour leveler over the old spruce planks. I spent two days just sistering joists in the basement to stop the bounce. If that floor moves even a millimeter after the leveler dries, it will crunch under your feet like dry leaves. You have to ensure the subfloor is stiff. Once the stiffness is there, you look for the gaps. I use a high-powered work light placed on the floor of the basement while I walk the floor above. If I see a pinprick of light coming through the subfloor, I know I have a leak. I mark those spots with a red wax pencil. You would be surprised how many light leaks you find in a standard plywood subfloor. Even the seams between the 4×8 sheets are rarely tight enough to hold back a high-flow leveler. You have to treat every one of those seams. Some guys use duct tape. Don’t be that guy. Duct tape adhesive can fail when it hits the high-pH environment of the wet cement. Use a dedicated subfloor sealer or a high-quality polyurethane caulk. The chemistry of the caulk matters because it needs to remain flexible enough to handle the expansion and contraction of the wood while being stiff enough to hold the weight of the wet leveler.
[image-placeholder]
Why your subfloor is lying to you
Wooden subfloors appear solid but contain micro-gaps at tongue-and-groove joints and fastener penetrations that act as conduits for leaks. Using a moisture-resistant sealant or expanding foam is necessary to plug holes where plumbing pipes, electrical wires, or HVAC ducts pass through the floor assembly. Failure to isolate these penetrations results in leveler drainage into basement ceilings or insulated cavities. Every 1/8 inch gap is a liability.
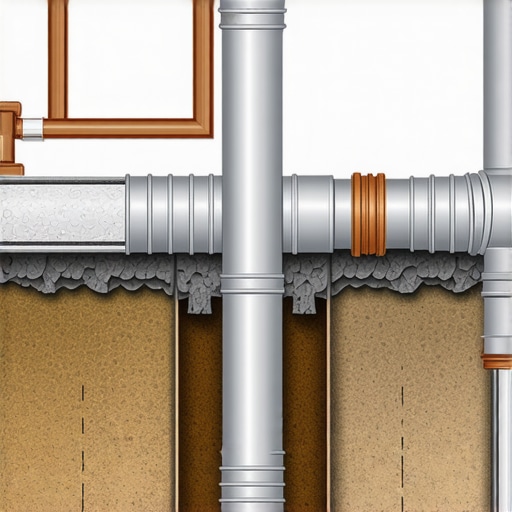
I have seen leveler travel six feet sideways inside a floor joist cavity before finally finding a way out through a light fixture in the kitchen below. It is a disaster. To prevent this, you have to be meticulous. Let’s talk about the perimeter. Most people forget that there is a gap between the bottom of the drywall and the subfloor. If you pour leveler in a room, it will run under the drywall and into the wall cavity. This can rot your sill plates and cause mold issues down the line. I use foam expansion strips around the entire perimeter. These strips serve two purposes. First, they create a watertight dam. Second, they provide an expansion gap for the floor. Floors move. Even a leveler floor moves. If you pour it tight against the studs, it has nowhere to go when the house shifts or the humidity changes. It will hump up in the middle or crack. I use a spray adhesive to tack the foam strips to the wall, then I run a tiny bead of caulk where the foam meets the subfloor. It creates a perfect bathtub. For plumbing, I use PVC sleeves. I cut a piece of pipe slightly larger than the drain, slide it over, and caulk the base. This keeps the leveler away from the pipe and makes it easier to service the plumbing later. If you just pour leveler up to a copper pipe, the chemical reaction can eventually corrode the metal. It is all about isolation and containment.
The physics of the perimeter dam
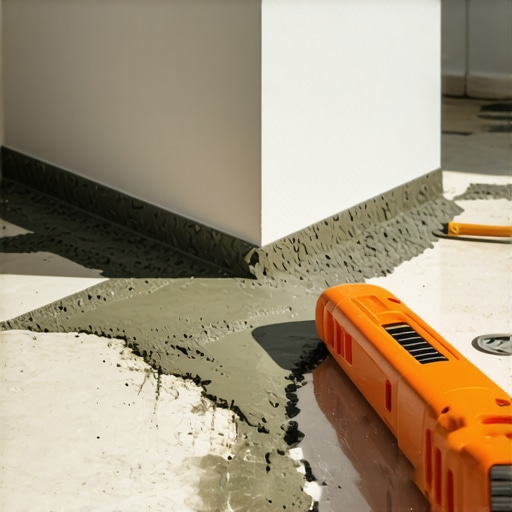
Creating a perimeter dam involves installing foam weatherstripping or specialized expansion strips to contain the liquid within the target area. This barrier system prevents the self-leveling underlayment from seeping into adjacent rooms or wall cavities, ensuring the final height meets the design specifications for laminate, tile, or hardwood transitions. Properly sealed boundaries are the only failsafe against overflow and wasted material costs.
| Material | Seal Type | Cure Time | Success Rate |
|---|---|---|---|
| Polyurethane Caulk | Perimeter | 24 Hours | 99% |
| Spray Foam (Low Exp) | Large Gaps | 1 Hour | 85% |
| Duct Tape | Joints | Immediate | 40% |
| Backer Rod | Expansion Gaps | Immediate | 95% |
| Hot Glue | Small Cracks | 1 Minute | 70% |
While most people want the thickest underlayment, too much cushion actually causes the locking mechanisms on LVP to snap under pressure. This same logic applies to the leveler. You want it to be exactly as thick as needed and no more. To get that accuracy, your dams have to be perfect. I often use hot glue for small cracks. It is fast, it sets in seconds, and it is waterproof. For larger gaps, like where the subfloor meets a masonry chimney, I use backer rod. You stuff that foam rope into the gap and then skim over it with caulk. It is a standard engineering practice that works every time. One thing you have to watch out for is the primer. Most leveler systems require a specific primer. This primer is often very thin. If your subfloor isn’t sealed, the primer will leak through first. This is actually a good test. If you see your primer disappearing into a crack, you know the leveler will follow it. I always do a primer test. I wait an hour. If I see a wet spot on the basement floor, I stop everything and find the leak. It is better to spend another hour sealing than three hours cleaning up a grey stalactite hanging from your floor joists. The chemistry of these primers is usually acrylic-based. They are designed to soak into the wood fibers to create a bridge for the cement. If the wood is too dry, it will suck the water out of the leveler too fast. This causes the leveler to ‘pin-hole’, which looks like tiny bubbles on the surface. Sealing the subfloor also helps prevent this by keeping the moisture in the leveler where it belongs.
The no-leak subfloor checklist
Executing a leak-proof pour requires a systematic inspection of the entire floor plane and all vertical obstructions. Using a checklist ensures that critical failure points like floor vents, thresholds, and stairwell edges are fortified before the slurry is mixed. This preventative protocol is the hallmark of a master installer who values precision over speed in residential flooring projects.
- Inspect every knot hole in the plywood for light penetration.
- Seal all tongue-and-groove joints with high-performance acrylic caulk.
- Install foam expansion strips around the entire perimeter of the room.
- Build dams around HVAC floor registers using scrap lumber and silicone.
- Wrap plumbing pipes with foam insulation or PVC sleeves to prevent direct contact.
- Check the basement for any visible light from the floor above before priming.
- Verify that all fastener heads are flush or slightly countersunk to avoid air pockets.
- Apply a second coat of primer if the first coat disappears into the substrate.
When you are doing a carpet install, you might think you don’t need the floor to be that level. You are wrong. A dip in the floor will eventually cause the carpet to stretch and ripple. If you are doing a shower, the leveler is even more important because it sets the pitch for the waterproofing membrane. The TCNA is very specific about this. If the leveler fails, the whole shower fails. I have seen guys try to level a shower floor without sealing the drain flange. The leveler ran right into the P-trap. That is a three thousand dollar mistake. You have to plug the drain and seal the flange with a non-hardening putty or a professional-grade sealant. The same goes for the threshold. If you are only leveling one room, you need a dam at the door. I usually use a piece of 1×2 lumber wrapped in plastic. I screw it to the subfloor and caulk the bottom. Once the leveler is dry, I pop the wood off and I have a perfect, straight edge for my transition. This is the difference between a pro and a handyman. The pro knows that the liquid is the enemy until it becomes the stone.
“Substrate preparation is the most critical part of the installation; if the foundation is flawed, the finished surface will eventually fail.” – TCNA Handbook Summary
The humidity in your region also plays a role. If you are in a high-humidity area like the South, your subfloor will be more prone to expansion. This means those gaps you sealed might open up slightly as you work. I always do a final walk-through right before the pour. I look for any tape that has lifted or caulk that has pulled away. In drier climates, the wood can be so thirsty that it pulls the moisture out of the leveler almost instantly. In those cases, I sometimes use a spray mister to lightly dampen the subfloor before priming, though you have to be careful not to over-saturate. It is a delicate balance. The goal is a controlled cure. If you can control the cure and you can control the leak, you will have a floor that is flat as a frozen lake and solid as a sidewalk. You won’t hear those clicks and pops when you walk across the room. You won’t see the baseboards looking crooked. You will have a surface that is ready for any finish, from high-end hardwood to the most sensitive laminate. It all comes back to that first tube of caulk and the patience to find every single hole. If you respect the liquid, the liquid will respect your timeline.
The final check before the pour
Final inspection of the sealed subfloor must be comprehensive and deliberate. Once the mixing process begins, the pot life of the underlayment is extremely limited, leaving no room for error or last-minute repairs. A watertight substrate is the sole guarantee of a level result and a clean basement. Precision in the preparatory phase defines the structural integrity of the entire floor system.
Before you crack open that first bag, take one more look at the transitions. Are the dams high enough? If you are pouring a thick layer, the liquid will try to overtop your barriers. I always build my dams at least a half-inch higher than my target level. It is cheap insurance. Also, consider the weight. If you are pouring over a large area, ensure your floor joists can handle the added dead load. Leveler is heavy. It is much heavier than the wood it replaces. If you have any doubt, talk to a structural engineer. But for the leak problem, it is simple. Be obsessed with the gaps. Use your eyes, use your lights, and use your hands to feel for air movement. If air can get through, the leveler can get through. This is the law of the job site. Once you master the art of the seal, you can pour with confidence, knowing that your hard work will stay exactly where you put it, rather than decorating the floor of the basement below. It is the mark of a craftsman to care about the parts of the job that no one will ever see once the carpet is laid or the tile is grouted.