How to Fix a Wobbly Toilet on an Uneven Floor
The physics of the rock and roll toilet
Fixing a wobbly toilet on an uneven floor requires stabilizing the base with non-compressible plastic shims and sealing the perimeter with high-quality silicone caulk to prevent movement. Ignoring a rocking toilet leads to wax ring failure, sewer gas leaks, and subfloor rot. Success depends on identifying the high spots in the subfloor before tightening any bolts.
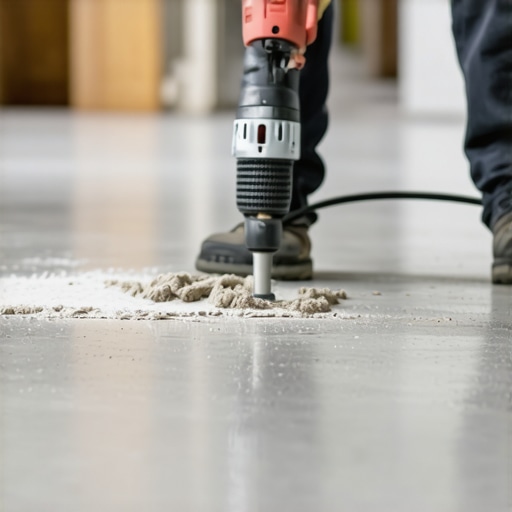
Most guys skip the leveling compound. They think the underlayment will hide the dip. It won’t. I spent three days grinding concrete on a job last month just so the floor wouldn’t click like a castanet. When you are dealing with a toilet, that dip is not just an annoyance. It is a structural hazard. A toilet is a heavy porcelain vessel filled with water. When it sits on an uneven tile or a poorly laid laminate, every time a person sits down, the porcelain acts as a lever. It exerts hundreds of pounds of pressure on the wax seal. Eventually, that seal breaks. You won’t see the leak at first. It will soak into the subfloor, rotting the plywood or saturating the concrete until the smell of sewer gas becomes your new roommate.
Why your subfloor is lying to you
The surface you see is rarely the surface that matters. Whether you have a carpet install or a new laminate floor, the structural integrity of the bathroom fixture relies on the flange. If your floor leveling was done poorly, or if the house has settled, the flange might be sitting too high or too low. In my twenty five years of crawling through crawlspaces, I have seen it all. A floor that looks flat to the naked eye can have a variance of a quarter inch over two feet. That is a mountain in the world of plumbing. When you place a rigid porcelain base on a wavy floor, you create a fulcrum. The toilet will rock. You cannot just tighten the bolts to stop the rock. If you do, you will crack the porcelain. Then you are buying a new toilet and potentially a new floor.
“A floor is only as good as the subfloor beneath it; deflection is the enemy of every joint.” – Master Flooring Axiom
The chemistry of the bond matters here. If you are working in a bathroom where showers are constantly running, the humidity levels are high. Standard wood subfloors like OSB will swell. Plywood is better but still susceptible. If the subfloor has expanded, your toilet flange might no longer be flush with the finished floor. This is where most DIY enthusiasts fail. They don’t check the height. The flange should ideally sit one quarter inch above the finished floor surface. If it is lower, you need a flange extender. If it is higher, you are looking at a major repair or a very thick transition. [image_placeholder_1]
The wax ring death spiral
People love to talk about waterproof LVP as if it solves every problem. It doesn’t. If the toilet rocks, the wax ring is being compressed and decompressed repeatedly. Wax is not a spring. It is a gasket. Once it is compressed, it stays compressed. When the toilet rocks back, a gap is created. Water and gas escape through that gap. I have seen laminate floors buckled three rooms away because a wobbly toilet was leaking slowly into the underlayment. The moisture travels along the vapor barrier like a highway. By the time you see the warp in the hallway, the bathroom floor is a total loss.
The tool kit for a steady throne
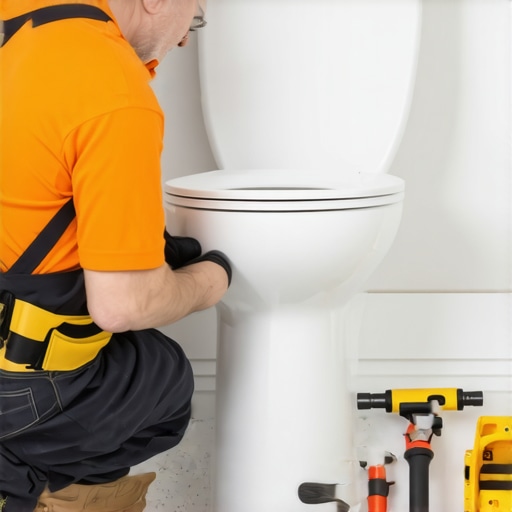
To fix this, you need the right materials. Do not use wood shims. Wood will rot. It will compress. It will fail. You need plastic, non-compressible shims. You also need a high-quality 100 percent silicone caulk. Avoid the cheap latex stuff that turns yellow and cracks after six months in a humid bathroom. You want something that remains flexible and stands up to the cleaning chemicals you will eventually spray on it.
| Material Type | Compression Rating | Moisture Resistance | Best Use Case |
|---|---|---|---|
| Plastic Shims | High | Total | Leveling toilets on tile or stone |
| Wood Shims | Low | Poor | Temporary bracing only |
| Portland Cement Patch | Extreme | High | Correcting subfloor dips before flooring |
| Silicone Caulk | Medium | Total | Sealing the base to the finished floor |
The 1/8 inch that ruins everything
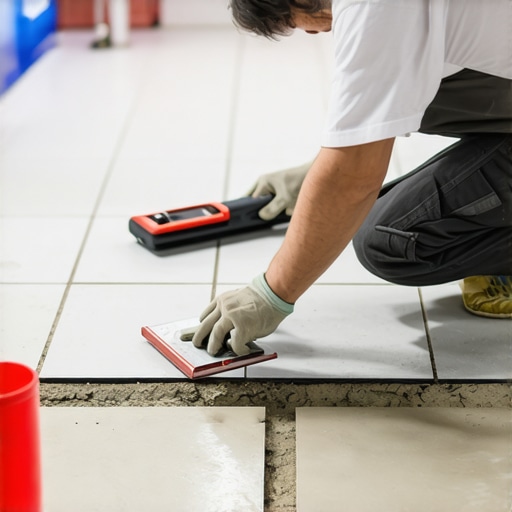
The Tile Council of North America (TCNA) has strict rules for deflection. For ceramic tile, the subfloor cannot bend more than L over 360 of the span. When you add a toilet into the mix, the concentration of weight increases the risk. If your floor leveling compound was applied too thin, it will crack under the pressure of the toilet base. I always tell my apprentices that if they can feel a vibration when they walk near the toilet, the subfloor is failing. You must address the structural bounce before you worry about the cosmetic wobble.
“Failure to provide a flat substrate for large format units results in lippage and structural compromise.” – TCNA Handbook Guidelines
Step by step stabilization protocol
- Turn off the water and drain the tank completely.
- Disconnect the supply line and remove the floor bolts.
- Lift the toilet and scrape away every bit of the old wax ring.
- Check the flange for cracks or height issues.
- Place the toilet back down without a wax ring to find the wobble points.
- Insert plastic shims until the rocking stops completely.
- Mark the shim locations and remove the toilet.
- Install a new wax ring or a foam gasket.
- Lower the toilet, tighten bolts hand-tight, and trim the shims.
- Apply silicone caulk around the base but leave a small gap at the back.
The ghost in the expansion gap
When installing laminate or LVP around a toilet, people often forget the expansion gap. They cut the flooring right up to the flange. This is a mistake. The floor needs to move. If you lock the flooring under the weight of a toilet and then jam it against the flange, the floor will buckle when the temperature changes. The dry heat of a Phoenix summer or the swampy humidity of Houston will cause that floor to expand. Without a gap, the floor has nowhere to go but up. This creates an uneven surface that makes the toilet wobble even if the subfloor was perfectly flat. You need to leave at least a quarter inch of space and cover it with the toilet base or a bead of flexible sealant. It is about physics. Everything moves. If you don’t plan for the movement, the house will make its own plans.
I once saw a guy try to fix a wobbly toilet by just piling up more wax rings. He used three of them. It worked for about a week. Then the middle ring squeezed out like toothpaste because it had no lateral support. The mess was incredible. It ruined the carpet install in the adjacent master bedroom. Don’t be that guy. Use the shims. Respect the level. If the floor is so bad that shims won’t work, you need to pull up the flooring and use a self-leveling underlayment. It is more work, but it is the only way to do it right. A master knows that the finish is only as good as the prep. If you rush the prep, the finish will fail every single time.