The ‘Flashlight Test’ for Finding Hidden Peaks in Your Subfloor
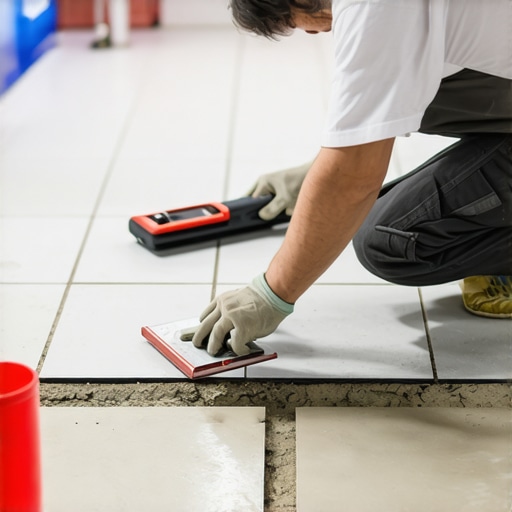
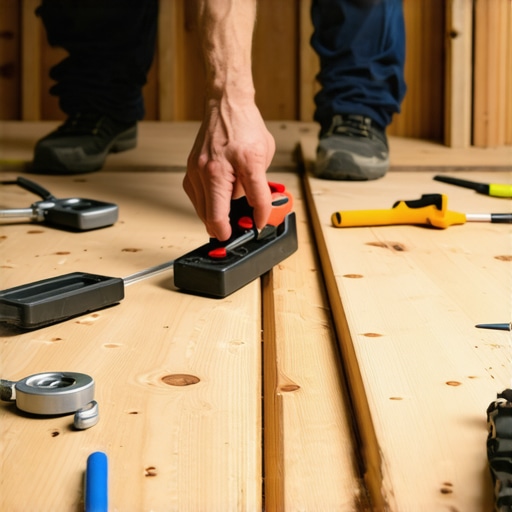
Most guys skip the leveling compound. They think the underlayment will hide the dip. It won’t. I spent three days grinding concrete on a job last month just so the floor wouldn’t click like a castanet. That job was a nightmare in a high-rise where the slab was poured like a mountain range. My knees were screaming and the dust was so thick it felt like I was breathing in the Roman Empire. You see, a floor is not a decoration. It is a structural engineering challenge. If you ignore the peaks and valleys in your slab or your plywood joist system, you are just waiting for the locking mechanisms on your expensive laminate to snap like dry twigs. I have seen fifteen thousand dollar wide-plank installations turn into firewood because the installer was too lazy to pick up a level. I carry a moisture meter and a six foot straightedge like a soldier carries a rifle. If the substrate is not within three sixteenths of an inch over a ten foot radius, the job does not start. It is that simple. You can argue with me all you want about aesthetics, but you cannot argue with the physics of deflection.
The shadows that reveal structural failure
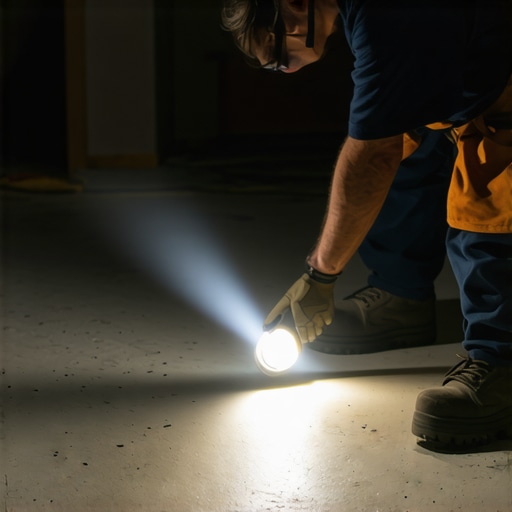
Subfloor flatness is the primary requirement for laminate flooring, vinyl planks, and hardwood. Using the flashlight test allows an installer to identify high spots and low spots by casting long shadows across the substrate surface. This method reveals imperfections that are invisible to the naked eye under standard overhead lighting.
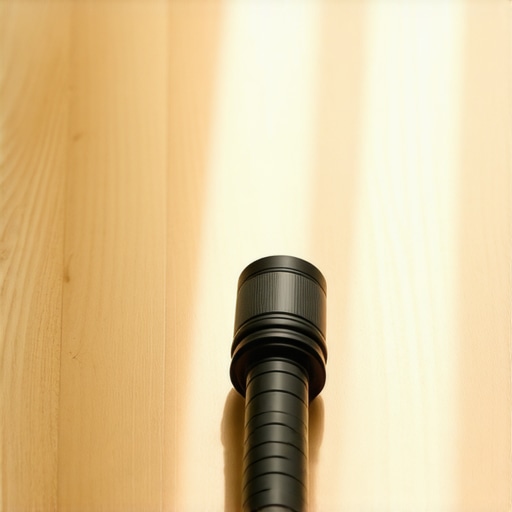
The flashlight test is the most honest tool in my kit. I take a high-lumen LED light and lay it flat against the subfloor. I am looking for the shadows. If a shadow stretches out from a point, that is a peak. If the light disappears into a dark pool, that is a valley. It is a primitive but effective way to map the topography of a room. I have walked into brand new builds where the homeowners are bragging about their custom finishes, and within five minutes of the flashlight test, I have shown them that their floor is a disaster waiting to happen. The concrete finishers often leave high spots near the edges of the pour or around plumbing penetrations. These peaks act as fulcrums. When you lay a rigid floor over a peak, the board balances on it. Every time you walk over that spot, the board bends. Eventually, the tongue and groove joint fatigues and breaks. Once that happens, the floor is junk. There is no fixing a broken joint. You have to tear it out and start over. That is why I spend so much time on my knees with a red lumber crayon, circling every shadow I find.
The structural physics of a flat plane
Floor leveling requires a deep understanding of compression strength and tensile stress. When a flooring material like LVP or laminate is installed over an uneven subfloor, the static load of furniture and the dynamic load of foot traffic cause vertical deflection. This movement eventually destroys the mechanical bond of the locking system.
I have spent twenty five years watching floors fail. Most people think the underlayment is there for comfort. It is not. It is there to provide a slight cushion and sound dampening, but it cannot bridge a gap. If you have a half-inch dip, the best underlayment in the world will just sink into it. The physics of wood and plastic do not care about your budget. They follow the path of least resistance. When you have a peak in the middle of a room, the floorboards are under constant tension. This is why you hear that annoying clicking sound when you walk across a cheap laminate floor. It is the sound of the plastic rubbing against the concrete because the floor is not flat. I tell my clients that if they want a floor that lasts thirty years, they need to pay me to fix the subfloor today. Grinding concrete is miserable work. It requires a diamond cup wheel and a high-powered vacuum system. You are essentially shaving down the earth. But if you do not do it, that peak will haunt you for the rest of your life. I have seen peaks that were so sharp they actually cut through the vapor barrier over time, leading to moisture intrusion and mold.
“A floor is only as good as the subfloor beneath it; deflection is the enemy of every joint.” – Master Flooring Axiom
Why your subfloor is lying to you
Plywood subfloors and OSB panels often hide joist problems such as crowning or settlement. A subfloor may look level under ambient light, but the flashlight test reveals seam peaking and fastener pops. Addressing these structural issues before carpet install or tile work prevents delamination and squeaks.
Wood is a living material. It breathes. It moves. In the humid summers, those plywood sheets expand. If the installer did not leave a gap between the sheets, the edges will push against each other and rise up. This creates a peak at every seam. If you lay laminate over that, you will feel every single joint under your feet. It feels like walking on a series of small hills. I use a floor sander with forty grit paper to knock those seams down. It smells like burnt pine and old glue, but it is the only way. For concrete, the lies are even worse. Slabs settle. They crack. They heave. You might think a slab is flat because it was poured by a professional, but gravity and water have other plans. I have seen slabs in Phoenix that curled at the edges because the top dried faster than the bottom. This is called slab curling, and it creates a massive peak around the perimeter of the room. If you do not grind that down, your baseboards will never sit flush and your floor will bounce like a trampoline.
The moisture factor in subfloor preparation
Moisture vapor emission is the silent killer of finished flooring. Before performing floor leveling, you must check the relative humidity of the concrete slab using an ASTM F2170 probe. High alkalinity and moisture can cause self-leveling underlayment to de-bond from the substrate.
I never trust a slab just because it looks dry. I have seen installers throw down laminate on a slab that had been sitting for six months, only to have the floor buckle three weeks later. Concrete is like a sponge. It holds water deep in its pores. If you seal that water in with a floor, it has nowhere to go but up. It hits the bottom of your flooring and starts to rot the wood or dissolve the adhesive on your vinyl. I use a calcium chloride test or an electronic moisture meter. If the readings are high, we wait. Or we use a moisture mitigation system, which is basically an epoxy shield. It is expensive, but so is replacing an entire house of flooring. People get impatient. They want their house finished. I tell them that nature does not care about their move-in date. If the subfloor is wet, the floor will fail. Period. It is a chemical reality that no amount of wishing will change.
| Subfloor Type | Max Deviation Tolerance | Leveling Method | Required Tools |
|---|---|---|---|
| Concrete Slab | 3/16 inch over 10 feet | Grinding or SLU | Diamond Cup Wheel, Vacuum |
| Plywood / OSB | 1/8 inch over 6 feet | Sanding or Shimming | Belt Sander, 40 Grit Paper |
| Old Tile | 1/16 inch over 3 feet | Embosing Leveler | Flat Trowel, Primer |
Laminate and the click of death
Laminate flooring requires a flat substrate to maintain the integrity of its click-lock system. When a high spot exists, the core material (usually HDF) is subjected to shear forces. This leads to joint separation and peaking where the planks meet.
I call it the click of death. It is that sound a floor makes when the locking mechanism finally gives up. It usually happens in high-traffic areas like hallways or kitchen entries. You walk over it, and the floor gives way. There is a small gap that opens up between the planks. Dirt gets in there. Then moisture from a mop gets in there. The HDF core swells up, and now you have a permanent bump. All of this could have been avoided with a ten dollar flashlight and an hour of grinding. Laminate is sold as a DIY product, which is the biggest lie in the home improvement industry. It is actually one of the most temperamental floors you can install because it is so rigid. It has zero tolerance for subfloor errors. If you have a peak, the laminate will fight it until the laminate loses. And the laminate always loses eventually. I have spent many nights awake thinking about floors I installed years ago, wondering if I missed a spot. That is what twenty five years in this business does to your brain.
Showers and the slope of necessity
Shower floor installation requires the opposite of a flat plane; it requires a prescribed slope to the drain. Using mud beds or pre-sloped pans ensures water evacuation and prevents standing water, which leads to mold growth and efflorescence in grout joints.
Tile is a whole different beast. In a shower, you are not looking for level; you are looking for pitch. The TCNA guidelines are very specific. You need a quarter-inch drop for every foot of distance to the drain. But the subfloor under the shower pan still needs to be structurally sound. I have seen guys try to build a mud bed over a bouncy subfloor. The grout cracks within a month. Water gets under the tile, eats the thin-set, and eventually rots the joists. It is a slow-motion car crash. When I am doing a shower, I check the subfloor for deflection first. If that floor moves even a hair, I am adding another layer of plywood or sistering the joists. You cannot have movement under tile. It is like trying to build a brick wall on a trampoline. The peaks in a shower area are usually caused by bad plumbing rough-ins. A pipe sticking up too high or a flange that is not flush will create a high spot that makes the tile teeter-totter. I spend more time with a chisel and a grinder in a bathroom than I do with a trowel.
Carpet installation and the hidden bumps
Carpet install is often thought to hide subfloor defects, but high spots will cause premature wear on the carpet fibers. The flashlight test is essential for commercial carpet where rolling loads are present, as unevenness causes tripping hazards and seam failure.
People think carpet is the great concealer. They think they can hide a bad slab under a thick pad and some frieze. They are wrong. A peak under a carpet acts like a piece of sandpaper. Every time someone walks over it, the backing of the carpet rubs against the peak. From the top, you start to see a bald spot. The fibers break down because they are being crushed against the high point of the concrete. In a few years, you have a hole in your carpet and a dusty mess underneath. I always run the flashlight across a room before a carpet install. If I find a peak, I knock it down. It is easier to do it now than to explain to a client why their carpet wore out in three years. Carpet installers are usually the fastest guys on the job site, but fast is the enemy of quality. I have seen tack strips installed over high spots that caused the stretcher to pop right off the wall. It is all connected. The subfloor is the foundation of everything.
The Subfloor Prep Checklist
- Remove all drywall mud and paint overspray from the substrate using a floor scraper.
- Conduct a flashlight test every four feet across the entire room.
- Mark all high spots with a red lumber crayon and low spots with a blue crayon.
- Measure the moisture content of the subfloor using an approved meter.
- Grind down all red-circled peaks until they are flush with the surrounding plane.
- Fill all blue-marked valleys with a high-compressive strength cementitious patch.
- Vacuum the entire surface to remove fine dust that prevents adhesive bonding.
Mastering the leveling compound
Self-leveling underlayment (SLU) is a polymer-modified cement designed to create a flat surface over irregular substrates. Correct priming of the subfloor is pivotal to prevent the leveler from pinholing or shrinking during the hydration process.
SLU is a miracle product, but it is not magic. It is a chemical reaction in a bucket. If you do not mix it to the exact ratio specified by the manufacturer, it will fail. Too much water and the cement separates. Too little and it does not flow. I see guys just dump it out and hope for the best. You have to work it with a spiked roller and a gauge rake. You have to treat it with respect. And for the love of all that is holy, you must prime the floor first. If you don’t prime, the dry concrete or wood will suck the water right out of the leveler before it has a chance to flatten out. This causes it to crack and curl. I have spent days chipping up bad leveler because someone thought they could skip the primer. It is a mess you do not want to deal with. When you do it right, though, the floor looks like a sheet of glass. That is the only way to ensure the long-term survival of a modern floor. I don’t care if you are installing laminate, vinyl, or hardwood. If your subfloor is not a perfect plane, you are building on sand. I trust my flashlight more than I trust my own eyes. Shadows do not lie. People lie. Contractors lie. But a shadow cast by a high spot is the truth, and the truth will set your floor straight.
“Deflection is the silent killer of modern flooring; if the substrate moves, the finish fails.” – Master Flooring Axiom