The ‘Tap and Listen’ Trick for Finding Hollow Spots in Floor Leveler
Most guys skip the leveling compound. They think the underlayment will hide the dip. It won’t. I spent three days grinding concrete on a job last month just so the floor wouldn’t click like a castanet. That is the reality of professional floor leveling. You either do the work to ensure a solid bond or you listen to the ghost of your mistakes every time you walk across the room. When you pour a self leveling underlayment, you are betting the entire project on a chemical bond that is often less than an eighth of an inch thick at the edges. If that bond fails, the leveler delaminates from the substrate. It creates a pocket of air. This air pocket is the enemy of every laminate plank and every tile assembly. If you do not find these spots before the finish floor goes down, you are looking at a tear out that will cost triple the original install price.
The acoustic signature of a failed bond
The tap and listen trick identifies hollow spots by using sound waves to detect air gaps between the leveler and the substrate. A solid bond produces a high pitched sharp click when struck with a hard object while a delaminated area produces a low frequency thud or a rattling vibration. This method is the gold standard for verifying the structural integrity of your floor leveling before installing laminate, carpet, or tile. You are listening for the density of the assembly. A well bonded floor acts as a single monolithic mass. When you strike it, the energy of the impact travels through the leveler and into the concrete slab or wooden subfloor without interruption. When there is a gap, the energy reflects back at the point of impact, vibrating the thin shell of the leveler like a drum head. This is the sound of a failure waiting to happen. If you hear that hollow echo, the leveler is not supporting the weight. It will eventually crack under the tongue and groove of your laminate or cause grout lines to crumble in a shower.
“A floor is only as good as the subfloor beneath it; deflection is the enemy of every joint.” – Master Flooring Axiom
Why most levelers fail within forty eight hours
The chemistry of self leveling underlayment is delicate and requires precise environmental controls to succeed. Most failures occur because the installer ignored the substrate preparation or the mixing ratios. If the concrete slab is too porous, it will suck the moisture out of the leveler before the polymers have time to cross link and bond. This creates a dry bond which is essentially just a layer of dust sitting between two hard surfaces. Conversely, if the slab is too dense or contaminated with old adhesive residue, the leveler cannot bite into the pores. We also see failures from over watering. Everyone wants the leveler to flow like water, so they add an extra quart. This sends the heavy aggregates to the bottom and leaves a weak, brittle cream on the top that shears off under the slightest pressure. You must use a moisture meter. You must check the temperature of the room. A cold slab will retard the set time, while a hot draft will cause the surface to skin over and trap moisture underneath. This trapped moisture eventually evaporates and leaves behind a void. That void is exactly what the tap test is designed to find.
Tools for the tap and listen method
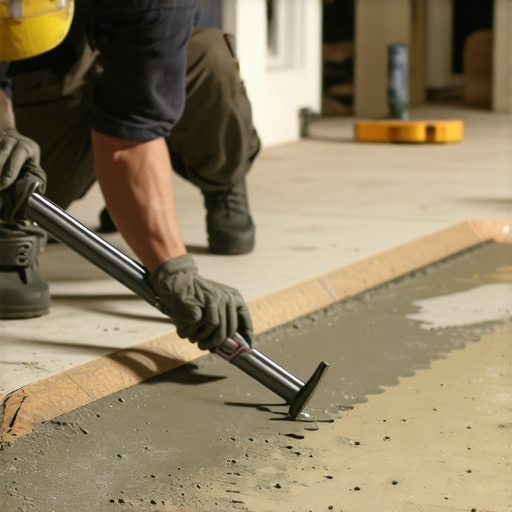
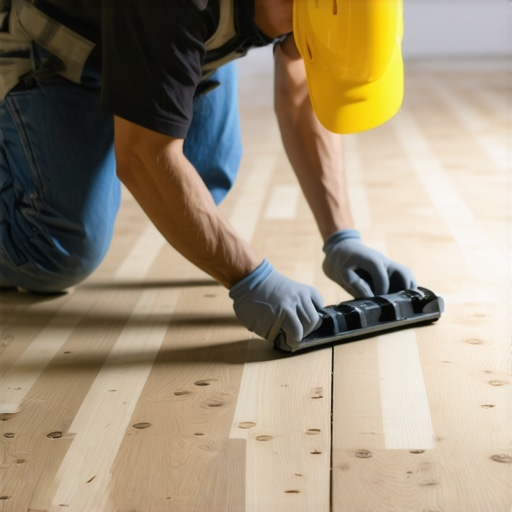
You do not need an expensive laboratory kit to perform a professional acoustic survey of your subfloor. I prefer a heavy steel ball bearing or a standard golf ball for smaller rooms. For large commercial spaces, I use a drag chain made of hardened steel links. The process involves moving systematically across the floor in a grid pattern. You are not looking for a visual cue. You are closing your eyes and focusing on the resonance. When a drag chain hits a hollow spot, the sound changes from a heavy metallic scrape to a hollow rattling hiss. It is unmistakable once you have heard it a dozen times. In showers, where the slope is vital, you must be even more diligent. A hollow spot under a shower pan or a tiled drain is a recipe for a catastrophic leak because the movement will eventually puncture the waterproofing membrane. You need to be a stickler for the details here. If the leveler sounds like a drum, you must break it out and start over. There is no middle ground in structural floor prep.
| Substrate Type | Required Primer | Janka Hardness Equivalent | Acclimation Time |
|---|---|---|---|
| Concrete Slab | Acrylic or Epoxy | N/A (Rigid) | 24 Hours |
| Plywood Subfloor | SBR Latex | Varies | 48 Hours |
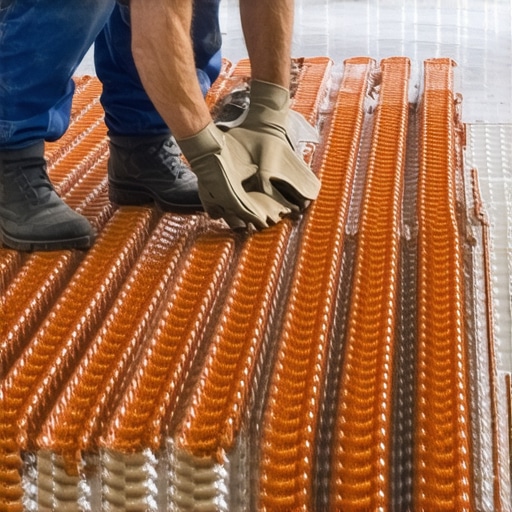
| Radiant Heat Mats | High Polymer SLU | N/A | 72 Hours |
| Existing Ceramic Tile | Eco Prep Grip | Variable | 24 Hours |
The impact of hollow spots on laminate and carpet install
Installing laminate over a hollow leveler is a death sentence for the locking mechanisms. Laminate is a floating floor, but it still requires a flat, solid base. When the floor flexes into a hollow void, the plastic or fiberboard tongues are put under extreme tension. Over time, they will snap. You will hear a clicking sound every time you walk. That click is the sound of your investment breaking into pieces. For carpet install, a hollow spot is less of a structural risk but more of a tactile nuisance. Heavy furniture or high heels can actually crunch through a thin layer of delaminated leveler through the padding. It feels like stepping on a potato chip. It ruins the premium feel of the home. I have seen guys try to fill these spots by drilling tiny holes and injecting epoxy, but that is a surgeon’s job. Most of the time, the leveler failed because the primer was bad, meaning the rest of the floor is likely to fail soon too. You have to decide if you are a professional or a handyman. A professional rips it out and fixes the root cause.
“Subfloor flatness is not a suggestion; it is the foundation of every warranty in the industry.” – Master Flooring Axiom
The physics of surface tension and delamination
When you pour leveler, the surface tension of the liquid determines how it feathers out at the edges. If the surface is dusty, the tension pulls the leveler away from the floor at the molecular level. This is why vacuuming is not enough. You need to use a damp mop or a specialized primer to lock down the microscopic dust particles. We also have to consider the Coefficient of Thermal Expansion. Concrete, wood, and cementitious levelers all expand and contract at different rates when the temperature changes. If the bond is weak, the sheer force of thermal expansion will pop the leveler off the floor. This is why you see so many failures near glass sliding doors where the sun beats down on the floor. The heat expands the leveler faster than the slab, and without a chemical bond, it has nowhere to go but up. This creates a bridge of air. The tap test will find these bridges before they become cracks.
Step by step checklist for the tap test
- Clear the floor of all debris and dust after the leveler has cured for at least twenty four hours.
- Begin in the far corner and move in a three foot wide sweep toward the exit.
- Use a golf ball or a steel rod to strike the floor every six inches.
- Mark any change in pitch with a piece of blue painter’s tape or a lumber crayon.
- Pay extra attention to the perimeter and any transition points where different subfloors meet.
- Verify the size of the hollow spot by tapping in a circle around the initial find.
- Consult with the manufacturer specifications if the hollow area exceeds four inches in diameter.
Remediation and the path to a solid floor
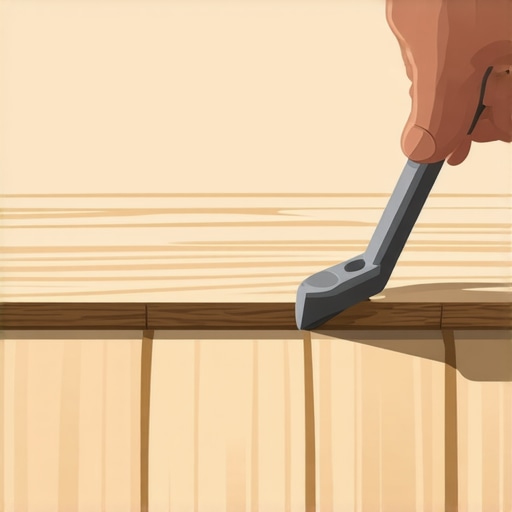
If you find a hollow spot, do not panic, but do not ignore it. Small spots under two inches in a low traffic area might be acceptable for a carpet install, but they are never acceptable for tile or showers. For laminate, anything larger than a silver dollar needs to be addressed. You can use a hammer and chisel to carefully pop the delaminated section. If it comes up easily, that is a sign that your primer failed. If you have to fight to get it up, it might have been a localized air pocket. Clean the area, re prime with a high solids acrylic, and use a patch compound to level it off. Never just pour more leveler over a hollow spot. You are just adding weight to a structural failure. You must be methodical. You must be a master of the subfloor. A floor is a performance surface. It has to handle thousands of pounds of pressure and decades of foot traffic. If the foundation is hollow, the entire project is a lie. Stick to the standards, use the tap test, and make sure every square inch of that floor sounds like solid stone.