How to Level a Plywood Subfloor Without Creating a Weight Issue
The 1/8 inch that ruins everything
Most guys skip the leveling compound. They think the underlayment will hide the dip. It won’t. I spent three days grinding concrete on a job last month just so the floor wouldn’t click like a castanet. When you are dealing with a plywood subfloor, the challenge is twice as hard because you cannot just dump five hundred pounds of self-leveling stone over old joists. I remember a job in a 1920s craftsman where the homeowner wanted a dead-level surface for large-format tile. The previous installer had poured so much standard leveler that the kitchen floor started to sag into the basement. The floor was level, but the house was failing. You have to balance the physics of a flat surface with the structural capacity of the wood framing below. We are looking for flatness, not necessarily levelness in relation to the earth’s core. If the floor is flat within a 1/16 inch tolerance over six feet, your laminate or carpet install will succeed.
Why your subfloor is lying to you
Plywood subfloors often hide structural deflection and moisture-related crowning that standard leveling techniques can actually worsen. To fix a dip without adding massive weight, you must first identify if the issue is a settled joist or a warped sheet. Plywood is an organic material. It breathes. It moves. If you lock it down with a heavy, rigid slab of portland cement, something is going to snap. I smell the oak dust every time I walk into these situations. You can feel the bounce in your heels. That bounce is the enemy of every locking mechanism in a modern floor.
“A floor is only as good as the subfloor beneath it; deflection is the enemy of every joint.” – Master Flooring Axiom
The weight of a bad decision
Standard self-leveling underlayments weigh approximately 100 to 120 pounds per cubic foot, which can easily exceed the live load limits of older residential joists. When you pour three quarters of an inch of traditional leveler over a 200 square foot room, you are adding nearly a thousand pounds of dead weight. That is the equivalent of putting a grand piano in the corner and never moving it. For a plywood system, you need to use lightweight gypsum-based or fiber-reinforced compounds. These materials offer the same compressive strength but at a fraction of the mass. This prevents the very sagging you are trying to fix.
The ghost in the expansion gap
Expansion gaps are not suggestions; they are the lungs of your flooring system that allow for the natural movement of wood fibers. If you pour leveler right up to the drywall, you have created a structural bridge. When the humidity hits in the summer, that plywood is going to expand. If it has nowhere to go, it will crown. The floor will lift off the subfloor. It creates a hollow sound. It feels like walking on a drum. I always use foam sill sealer around the perimeter before I even think about mixing a bucket. It keeps the leveler where it belongs and preserves the gap.
Molecular bonding and the primer trap
Primer is the chemical bridge that prevents the plywood from sucking the moisture out of your leveling compound too quickly. If you skip the primer, the wood will dehydrate the leveler. The leveler will turn to dust. It will crack. It will delaminate. I use a high-solids acrylic primer. I scrub it into the wood pores with a stiff-bristle broom. You want to see the wood change color. You want that chemical bond to be so tight that the leveler becomes an extension of the plywood itself.
Low weight alternatives to liquid stone
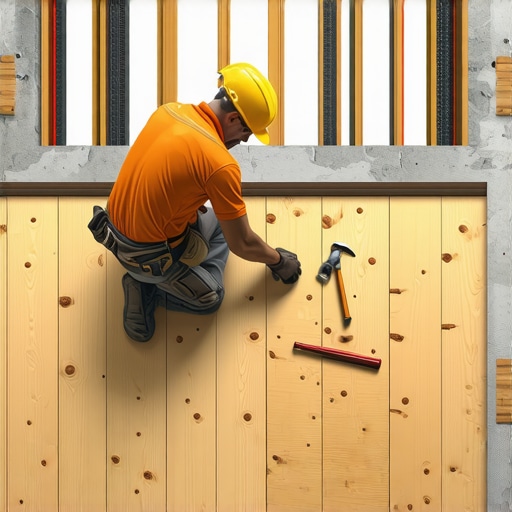
Using cedar shims and a secondary layer of thin plywood is often a superior method for leveling deep dips without adding significant weight. This is the old-school way. You find the low spot. You glue down cedar shims of varying thicknesses. You plane them flat. Then you skin the whole room with 1/4 inch or 3/8 inch Baltic birch or ACX plywood. It is light. It is structural. It adds stiffness to the floor without the risk of a liquid pour. It takes longer. It requires a steady hand and a sharp plane. But it never cracks.
| Material Type | Weight per Sq Ft (1/4″) | Acclimation Time | Best Use Case |
|---|---|---|---|
| Portland Leveler | 2.5 lbs | 24 Hours | Concrete Slabs Only |
| Lightweight Gypsum | 1.2 lbs | 12 Hours | Upper Floor Plywood |
| Plywood Skinning | 0.7 lbs | 48 Hours | Historic Structural Joists |
| Fiber Patch | 1.8 lbs | 4 Hours | Small Transitions/Showers |
The precision of the feather edge
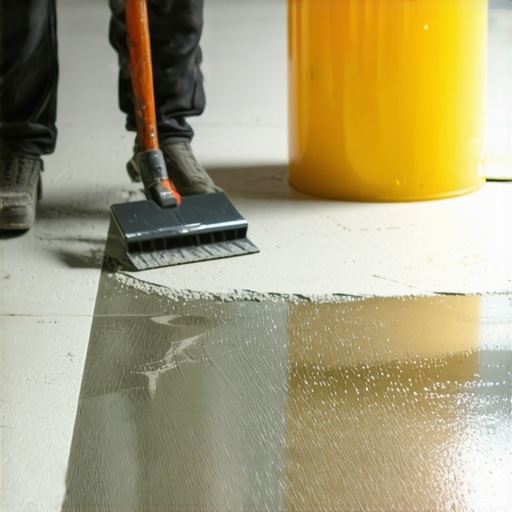
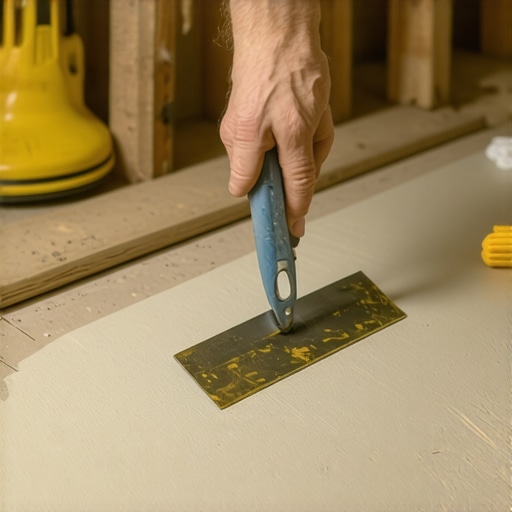
Feathering involves using a straightedge to taper a cementitious patch down to a zero-thickness edge to create a smooth transition between heights. You cannot just glob it on. You need a 12-inch or 24-inch steel trowel. You need to pull that material until it is translucent at the edges. I use a polymer-modified feathering compound for this. It has high latex content. It sticks to anything. It stays flexible. If you are prepping for carpet install, this is your best friend. It hides the seams of the plywood so the carpet doesn’t show a line after six months of foot traffic.
Humidity is the silent architect
Environmental conditions in the crawlspace or basement determine the long-term flatness of the plywood subfloor above. If you have a damp crawlspace, that plywood is always going to be cupped. You can level it all you want, but the moisture will win. I never start a job without my moisture meter. If the subfloor is over 12 percent moisture content, the tools stay in the truck. You have to dry the house out first. You have to address the vapor barrier in the crawlspace. Only then can you trust your leveling work.
The physics of the L/360 standard
The L/360 standard dictates that a floor should not deflect more than the length of the span divided by 360 under a standard load. This is the holy grail of flooring. If your joists are too bouncy, no amount of leveler will help. You might need to sister the joists. You might need to add blocking. For tile and showers, the standard is even stricter at L/720.
“Deflection is not just a measurement; it is the death knell of every ceramic installation.” – Tile Council Manual
Preparation checklist for structural leveling
- Inspect joist integrity from below for any signs of rot or insect damage.
- Screw down every square foot of existing plywood to the joists using 2-inch deck screws.
- Sand down any high spots or peaked seams with 40-grit sandpaper.
- Vacuum the entire surface twice to remove every grain of sawdust.
- Apply two coats of specialized wood primer with a nap roller.
- Install foam perimeter strips to maintain expansion gaps.
- Mix lightweight compound with cold water to extend the working time.
The final verification
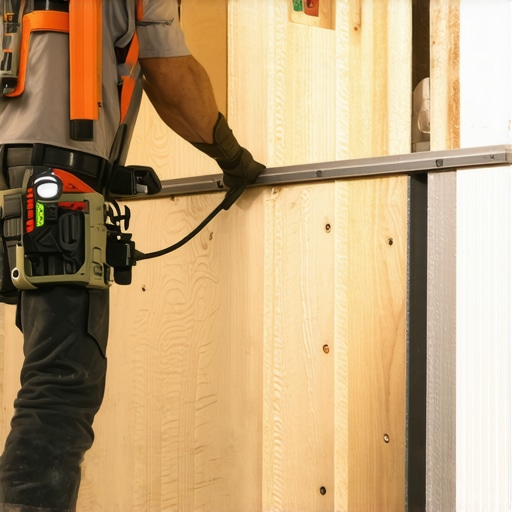
A 10-foot straightedge is the only tool that can truly verify if a subfloor is ready for a finish material. Lasers are great for height, but a straightedge shows you the dips. You slide it across the floor. You look for light underneath. If you can slide a nickel under the bar, you have more work to do. For laminate floors, those dips will cause the tongues to snap over time. For showers, those dips will cause water to pool. It is a game of millimeters. It is a game of patience. It is the difference between a floor that lasts thirty years and one that fails in three.