How to Pour Floor Leveler Over Radiant Heating Without Cracking
The structural gamble of heated substrates
Floor leveling over radiant heat requires specific fiber-reinforced self-leveling underlayment (SLU) to handle thermal expansion. The substrate must be primed with an acrylic or epoxy binder to prevent pinholing and bond failure. Standard concrete levelers will crack under the high heat stress of the cables or pipes.
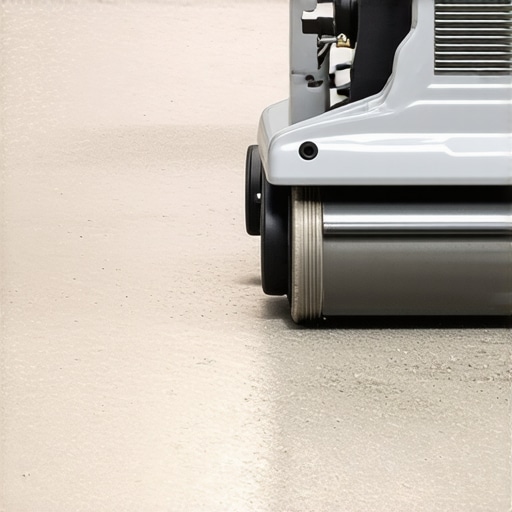
Most guys skip the leveling compound. They think the underlayment will hide the dip. It won’t. I spent three days grinding concrete on a job last month just so the floor wouldn’t click like a castanet. That job was a nightmare because the previous contractor tried to save twenty bucks on a bag of cheap patch. Now I am staring at a radiant heat mat that costs more than my first truck. If you do not get the physics right here, you are not just ruining a floor. You are melting a mechanical system. I have seen fifteen thousand dollar wide plank walnut floors cup so bad they looked like potato chips because the installer did not understand the moisture migration through a heated slab. I smell like oak dust and old coffee most days, but I know one thing for sure. A floor is a performance surface. It is not a decoration. If the subfloor is not flat within three sixteenths of an inch over a ten foot radius, your expensive laminate or LVP is going to fail at the locking joint. It is that simple.
The 1/8 inch that ruins everything
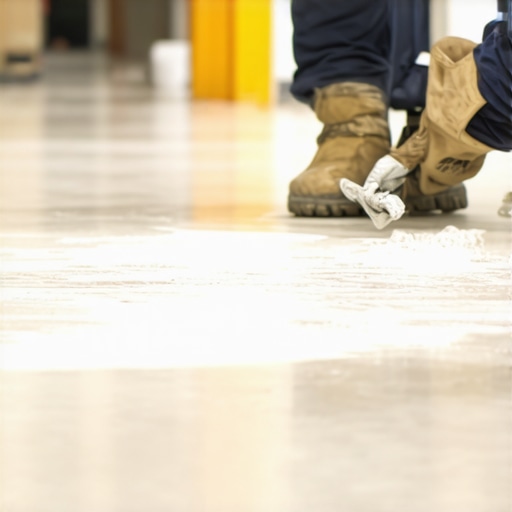
Subfloor flatness is the single most important factor in a successful radiant heat installation. A deviation of just one eighth of an inch can cause air pockets that lead to hotspots and mechanical failure of the flooring. You must use a straightedge to identify every high and low spot before the pour.
When you walk onto a job site, you need to look at the subfloor like a structural engineer. Most plywood or OSB subfloors have a slight crown or a dip at the seams. When you add radiant heat cables into the mix, those imperfections become magnified. You are adding a layer of material that will expand and contract at a different rate than the wood or concrete beneath it. This is where the chemistry of the bond becomes the main character. You need a leveler with a high polymer content. These polymers act like tiny rubber bands inside the cement matrix. They allow the leveler to flex just enough when the heat kicks on. Without them, the leveler is too brittle. It will snap. You will hear it. A loud pop in the middle of the night. That is the sound of your bond breaking. Then comes the crunching sound when you walk over it. That is the sound of a failed installation.
“A floor is only as good as the subfloor beneath it; deflection is the enemy of every joint.” – Master Flooring Axiom
The chemical dance of thermal expansion
Thermal expansion occurs when the radiant heating elements warm the surrounding leveler and substrate. Materials expand at different rates, which creates internal shear stress at the bond line. Using a leveler with a matched coefficient of expansion is vital for long term durability and integrity.
Let us zoom into the molecular level of this pour. When the electric cables or hydronic pipes heat up, they push outward. If you used a standard portland cement leveler, the rigid structure cannot absorb that movement. You need calcium aluminate based levelers for these applications. They hydrate faster and have a more stable crystalline structure. I have seen guys try to use cheap thin-set to fill the gaps around radiant wires. That is a recipe for a callback. Thin-set is designed for a thin application. When you heap it on, it shrinks. Shrinkage leads to cracking. Cracks lead to wire damage. I prefer a leveler that has a compressive strength of at least 4,000 PSI after twenty eight days. This ensures that the floor can handle the point load of heavy furniture without the leveler crumbling under the finished floor. Whether you are doing a carpet install or putting down laminate, that base must be rock solid.
Why your subfloor is lying to you
Moisture content in the subfloor can hide beneath the surface and cause the leveler to delaminate or bubble during the curing process. Always use a pinless moisture meter to check the levels across the entire room before applying any primer or leveling compound.
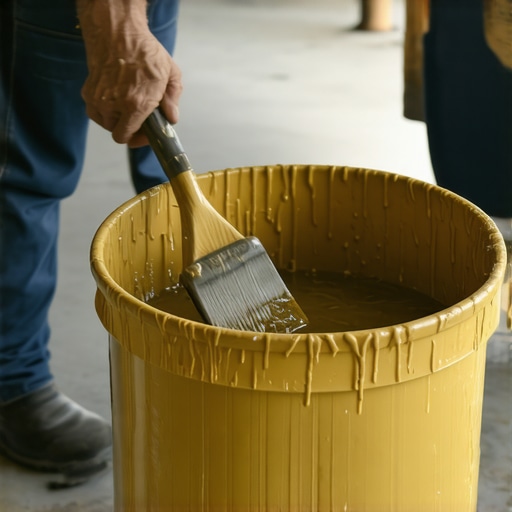
You might think the floor looks dry. It is not. Concrete slabs can hold onto moisture for years. If you pour a leveler over a wet slab, you are trapping that water. It has nowhere to go but up. It will push against the leveler, creating bubbles called pinholes. These pinholes are the death of a smooth finish. They happen because the air in the concrete is being displaced by the water in the leveler. To prevent this, you need to seal the floor. I use a high quality acrylic primer. I scrub it into the pores of the substrate with a stiff broom. You do not just paint it on. You work it in. This creates a mechanical bond that the leveler can grab onto. If you are working in a humid environment like Houston, this step is even more vital. The humidity will slow down your dry time and mess with the chemistry of the pour. You have to wait until the primer is tacky, not wet, and not bone dry. There is a window. You have to hit it.
| Material Property | Standard Leveler | Fiber Reinforced Leveler | High Performance SLU |
|---|---|---|---|
| Compressive Strength | 2500 PSI | 4000 PSI | 5500+ PSI |
| Flexural Strength | Low | Moderate | High |
| Thermal Stability | Poor | Excellent | Superior |
| Min Thickness | 1/4 inch | 1/8 inch | 1/16 inch |
Preparation protocols that save the heating cables
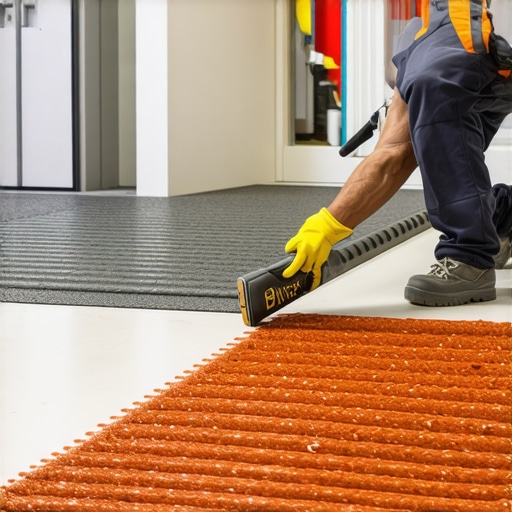
Protecting the radiant heat elements during the pour is a technical requirement that prevents electrical shorts or leaks. You must secure the cables firmly to the substrate and use a plastic notched squeegee to avoid damaging the protective coating on the wires.
- Vacuum the entire floor twice to remove every grain of sawdust and grit.
- Check the continuity of the heating cables with a multi-meter before you start.
- Install foam expansion strips around the entire perimeter of the room.
- Seal any holes in the subfloor where the leveler could leak into the floor below.
- Mix the leveler with a high speed drill to ensure a lump free consistency.
- Apply the leveler in one continuous pour to maintain a wet edge.
I once saw a guy use a metal rake to spread leveler over a gold heat mat. He sliced through the insulation on three different loops. The homeowner did not find out until the tile was down and the heat would not turn on. That was a thirty thousand dollar mistake. I use my hands and a plastic spreader. You have to be gentle. You are working with a system that is sensitive. The leveler needs to flow under and around the cables. It needs to encase them completely. This ensures even heat distribution. If there are air gaps around the wires, those spots will overheat. The wire will eventually burn out. It is like a lightbulb that cannot dissipate heat. It will fail. You want a solid mass of stone-like material surrounding those heat sources.
“Deflection of the subfloor shall not exceed L/360 for ceramic tile or L/720 for natural stone installations.” – TCNA Handbook
Primer is the invisible hero of the bond
Primer acts as a bridge between the old substrate and the new leveling layer while also sealing the surface to prevent rapid water loss. Without a proper prime coat, the leveler will lose its moisture too quickly to the substrate and fail to hydrate properly.
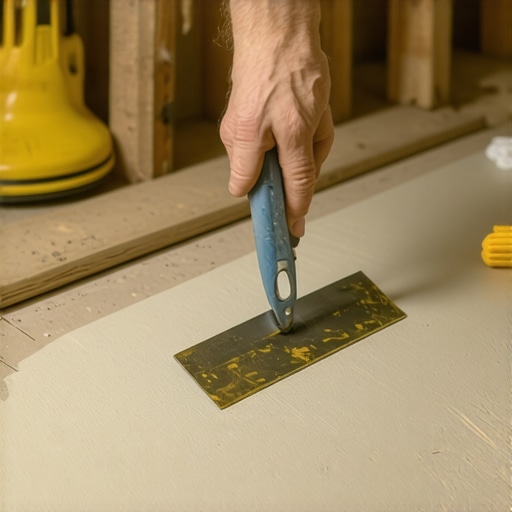
If you pour leveler on a thirsty subfloor, the wood or concrete will suck the water right out of the mix. The leveler will turn into a chalky mess before it can even level out. It will not be strong. It will just be a layer of dust sitting on your floor. I like to use a primer that changes color when it is dry. It starts off neon green or blue and turns clear or dark when it is ready for the pour. This takes the guesswork out of it. If you are doing showers or wet areas, you might even need a waterproof primer or a specialized membrane. You have to match the primer to the substrate. If you have old adhesive residue, you need a primer specifically designed for non-porous surfaces. You cannot just use the standard stuff. It will not stick. I have spent too many hours scraping up failed leveler with a floor scraper to take shortcuts here. It is backbreaking work that nobody pays you for.
Pouring the mix without creating air pockets
Mixing the leveler with the exact amount of water specified by the manufacturer is the only way to ensure the flow rates and strength are achieved. Even an extra half-quart of water can weaken the crystalline structure of the cement and lead to surface dusting.
You need a dedicated mixing station. I use two or three five-gallon buckets and a heavy duty mixer. You want the consistency of heavy cream. No lumps. If you see a lump, do not pour it. It will show up as a bump in your floor. Once you pour, you use a spiked roller. This is a tool that looks like a medieval weapon. It rolls over the wet leveler and pops the air bubbles. It also helps the different pours blend together. You have to work fast. You usually have about ten to fifteen minutes of working time before the leveler starts to set. This is why you need a partner. One guy mixes, one guy pours. If you try to do it alone, you will end up with cold joints. Those are lines where one pour has already started to harden before the next one hits it. They are weak points. They will crack. It is a race against the clock and the chemistry of the cement.
Thermal shock and the curing timeline
Allowing the leveler to cure fully before activating the radiant heat prevents thermal shock which can shatter the bond of the new floor. Most manufacturers require a minimum of seven to twenty eight days before the heating system can be incrementally powered on.
This is the part where homeowners get impatient. They want their warm floors now. But if you turn that heat on too soon, you will ruin everything. The leveler is still undergoing a chemical reaction. It is hydrating. If you add heat, you drive off the water that the cement needs to finish that reaction. You will end up with a brittle, weak floor. I tell my clients that the heat stays off for at least two weeks. When you do turn it on, you do it five degrees at a time. You do not just crank it to eighty. You have to let the whole assembly expand slowly. This is the difference between a floor that lasts fifty years and one that lasts five. I have seen the results of rushing. It is not pretty. Cracks, loose tiles, and clicking planks. Do it right the first time. Respect the cure. Your subfloor is the foundation of your home’s comfort. Treat it with the respect it deserves.